
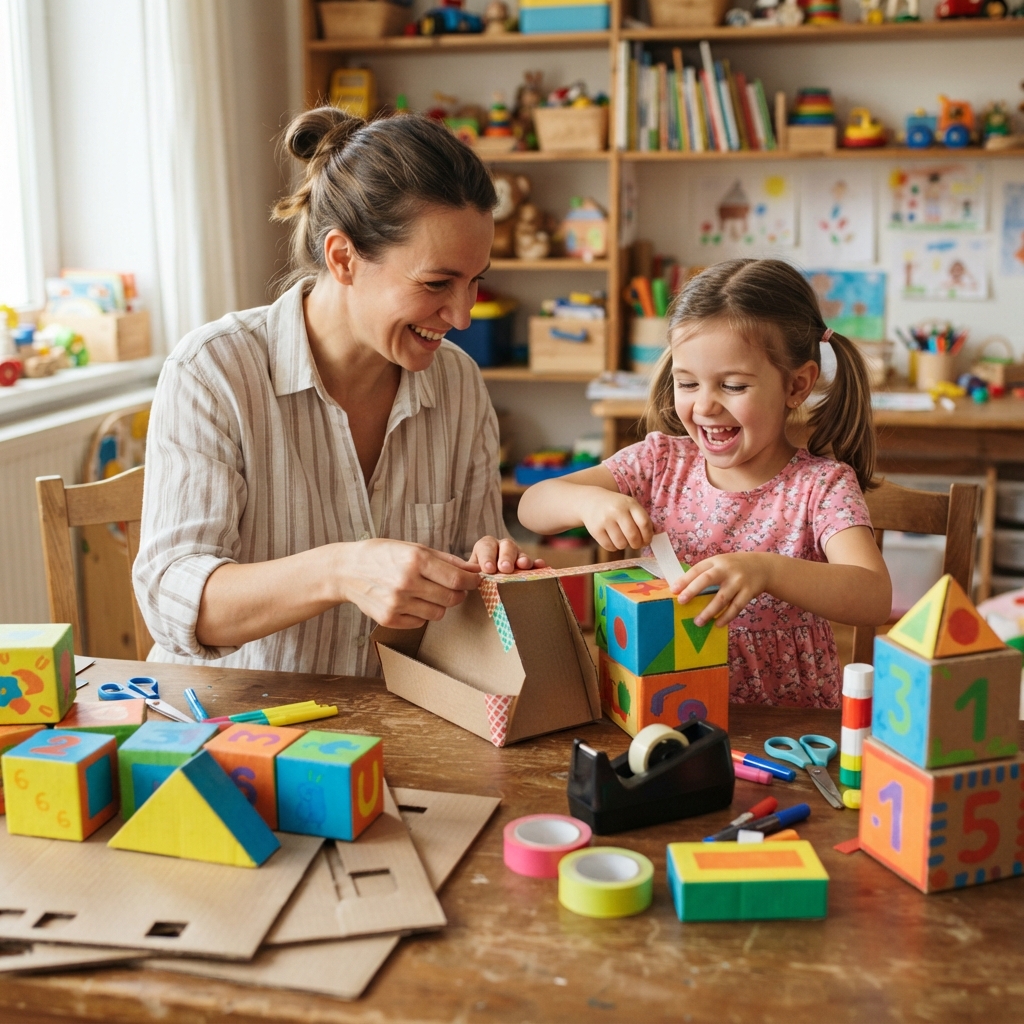
Cardboard building blocks are a fantastic craft project that encourages children to design, build, and explore their creativity using simple recycled materials. With a few cardboard boxes, colorful paper, and basic craft supplies, kids can create lightweight building blocks that are perfect for imaginative play, classroom activities, and STEM learning.
This project is ideal for families, teachers, and after-school programs. It helps children develop problem-solving skills, hand-eye coordination, creativity, and an appreciation for recycling. These homemade blocks are designed for creative play only and should not be used as climbing or support structures.
Why Make Cardboard Building Blocks?
Children naturally enjoy stacking, sorting, and building. Creating their own building blocks adds another level of excitement because they get to design the toys before playing with them.
This project helps children:
- Develop creativity and imagination.
- Strengthen fine motor skills.
- Practice measuring, folding, and gluing.
- Learn basic engineering concepts.
- Build patience and concentration.
- Discover the value of recycling everyday materials.
Materials You’ll Need
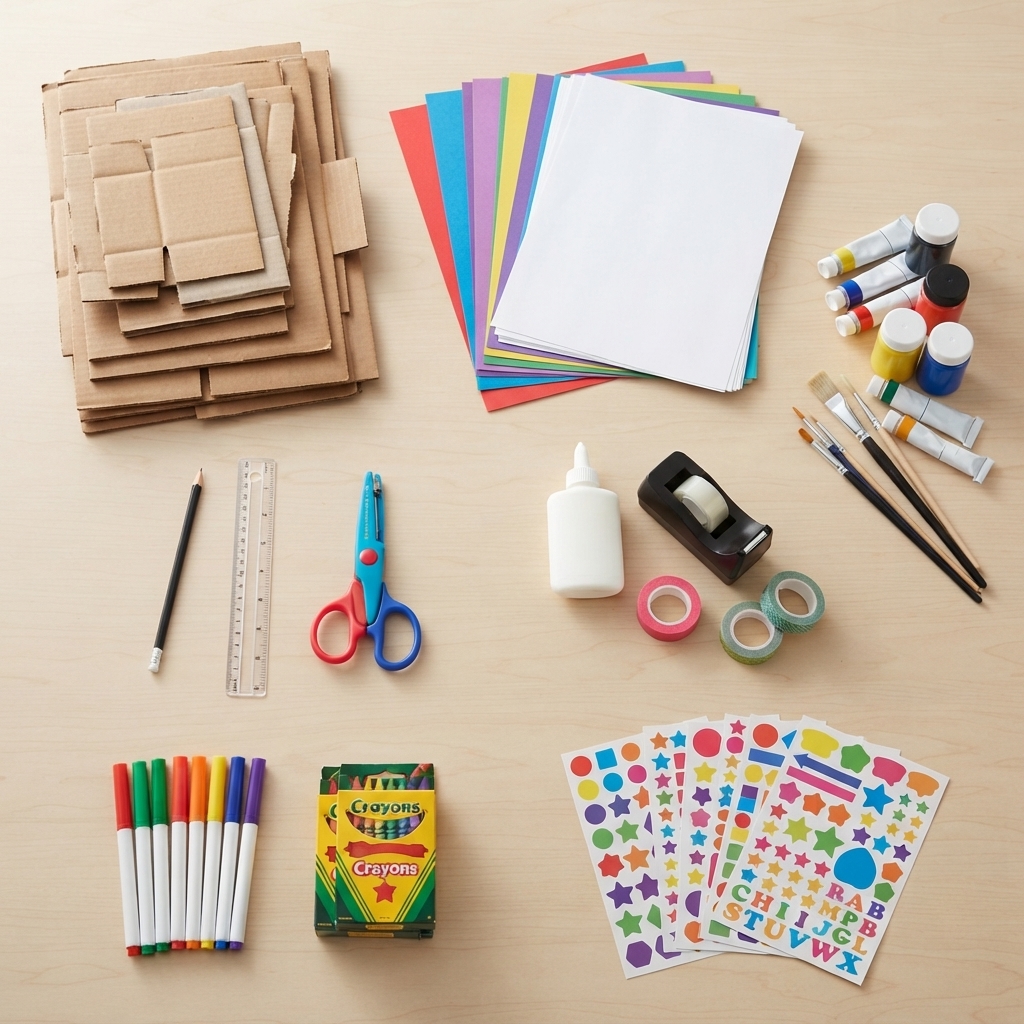
Gather these simple supplies:
- Recycled cardboard boxes
- Colored construction paper
- White paper
- Pencil
- Ruler
- Child-safe scissors
- Craft glue
- Tape
- Markers or crayons
- Paint (optional)
- Paintbrushes
- Stickers
- Decorative washi tape (optional)
Most of these materials are inexpensive and easy to find at home.
Prepare Your Craft Area
Before starting:
- Cover your workspace with newspaper or a craft mat.
- Organize all supplies.
- Keep glue and scissors within easy reach.
- Ask an adult for help when cutting thick cardboard.
A tidy workspace makes crafting more enjoyable.
Step 1: Draw the Block Shapes
Use a ruler to draw squares or rectangles on cardboard.
You can create blocks in different sizes to make building more interesting.
Larger blocks are easier for younger children to handle.
Step 2: Cut Out the Pieces
Carefully cut along the lines.
Each block needs:
- One top
- One bottom
- Four side panels
Take your time to make the edges as straight as possible.
Step 3: Assemble the Blocks
Fold the cardboard along the edges.
Glue the sides together to form a hollow box.
Seal the top after the glue begins to dry.
If needed, reinforce the inside with small cardboard strips.
Step 4: Strengthen the Blocks
To make the blocks more durable:
- Add a second layer of cardboard.
- Reinforce the corners with tape.
- Press each glued edge firmly.
Allow the blocks to dry completely before decorating.
Step 5: Decorate Your Building Blocks
This is the most creative part!
Children can decorate the blocks with:
- Bright colors
- Numbers
- Letters
- Stars
- Hearts
- Flowers
- Animals
- Shapes
- Rainbows
- Their names
Each block becomes unique.
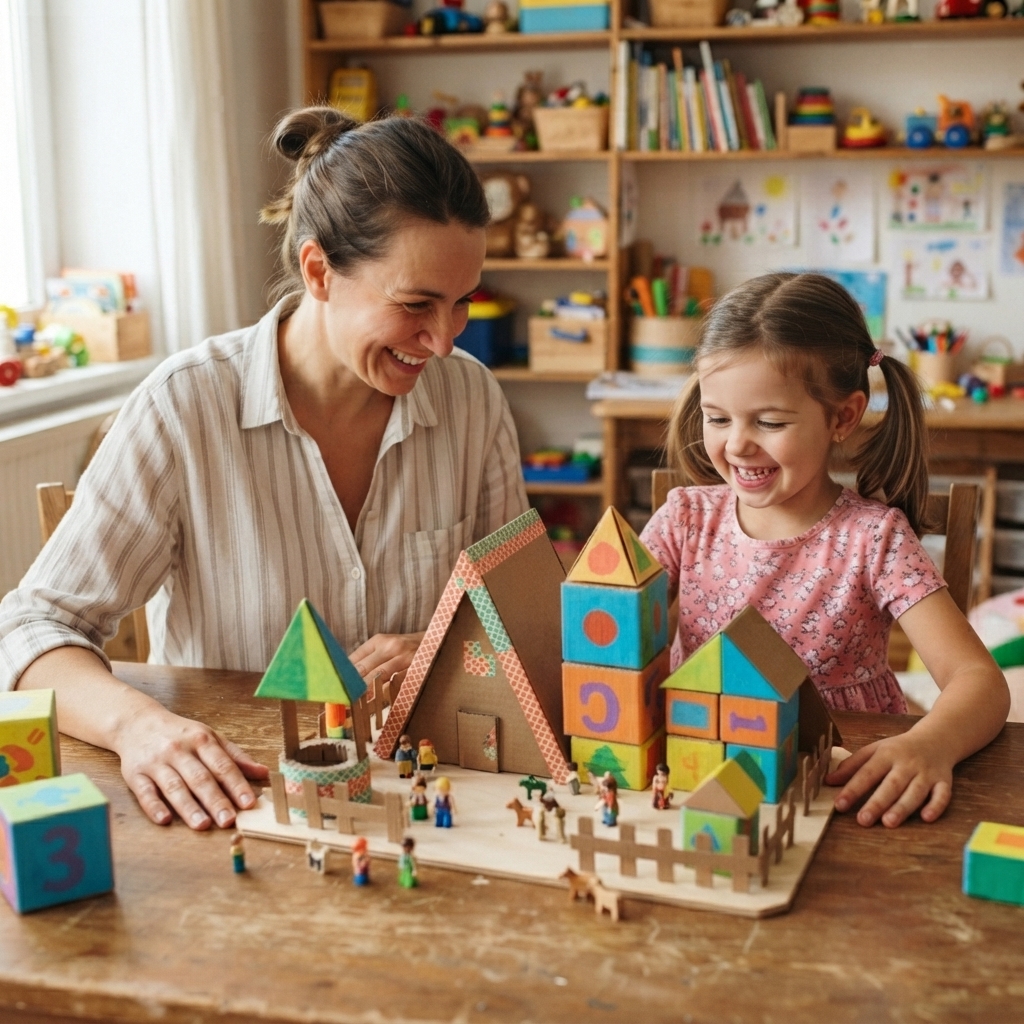
Fun Decoration Ideas
Rainbow Blocks
Decorate every block with a different rainbow color.
Alphabet Blocks
Write one letter on each side to help children learn the alphabet.
Number Blocks
Add numbers for counting and simple math games.
Nature Blocks
Decorate with trees, flowers, butterflies, and birds.
Space Blocks
Draw rockets, planets, stars, and astronauts.
Animal Blocks
Cover each block with a different favorite animal.
Skills Children Learn
Making cardboard building blocks helps children develop:
- Fine motor skills
- Hand-eye coordination
- Creativity
- Problem-solving
- Concentration
- Patience
- Measuring skills
- Folding and gluing techniques
- Recycling awareness
These skills support both creative play and early learning.
Learning Through Play
Once the blocks are finished, children can use them to:
- Build towers.
- Create houses.
- Design castles.
- Make bridges.
- Construct roads.
- Build animal shelters.
- Invent entire cities.
Building activities encourage children to think creatively while exploring balance, shapes, and simple engineering concepts.
Educational Activities
Teachers and parents can use the blocks for:
- Letter recognition
- Number practice
- Sorting by color
- Shape matching
- Pattern building
- Storytelling games
- Team-building challenges
The possibilities are endless.
Pair with Other Cardboard Crafts
Cardboard building blocks work well alongside other handmade projects such as:
- A paper toolbox
- A cardboard construction helmet
- A paper hammer
- A cardboard drill
- A cardboard wrench
- A safe paper saw
- A paper measuring tape
- A cardboard construction shovel
- A small paper handcart
Together, these projects create a complete pretend construction site that encourages imaginative play.
Perfect for School Projects
This activity is ideal for:
- Classroom art lessons
- STEM learning
- Recycling projects
- Engineering challenges
- Construction-themed activities
- Family craft nights
Students can also work together to build one giant cardboard city.
Safety Tips
To keep the project safe:
- Always use child-safe scissors.
- Ask an adult to cut thick cardboard.
- Make sure all corners are smooth.
- Use only lightweight recycled materials.
- Never stand or climb on the finished blocks.
These simple precautions help everyone enjoy the activity safely.
Tips for Success
For the best results:
- Use strong cardboard.
- Let the glue dry completely.
- Reinforce large blocks with extra cardboard.
- Encourage every child to create their own designs.
- Celebrate creativity instead of perfection.
Every handmade block is special because it reflects the child’s imagination.
Conclusion
Making cardboard building blocks is a fun, affordable, and educational craft project that combines creativity, recycling, and learning. With just a few simple materials, children can build their own colorful blocks and enjoy endless hours of imaginative play.
Whether at home, at school, or in a community workshop, this project transforms ordinary cardboard into exciting building toys. Combined with other paper and cardboard construction crafts, these homemade blocks inspire children to explore, create, solve problems, and have fun while learning valuable life skills.
