
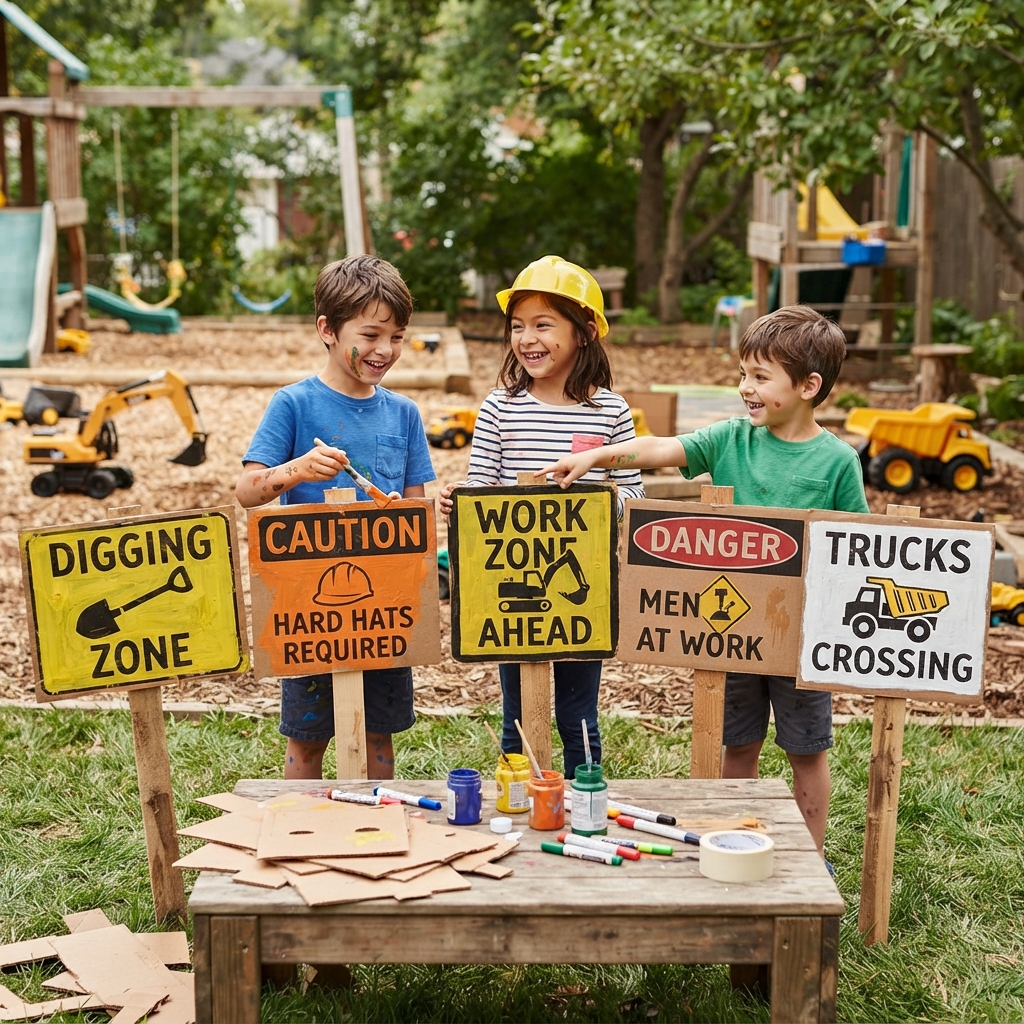
Construction sites are full of colorful signs that help workers stay safe and know where to go. Children often notice these bright signs when they see roads being repaired or new buildings being built. Making construction site signs out of cardboard is a fun craft project that lets kids create their own mini work zone while learning about safety, creativity, and construction.
This easy project is perfect for classrooms, rainy days at home, birthday parties, or family craft time. With a few simple materials, children can design realistic construction signs and use them in imaginative play.
Why Make Cardboard Construction Site Signs?
Creating cardboard construction signs is more than just an art activity. It helps children practice important skills while having fun.
Benefits of this project include:
- Encourages creativity and imagination
- Improves fine motor skills
- Develops cutting and coloring abilities
- Introduces basic road and construction safety
- Encourages problem-solving
- Inspires pretend play
- Builds confidence through hands-on learning
Children enjoy creating signs that look just like the ones they see in real life.
Materials You’ll Need
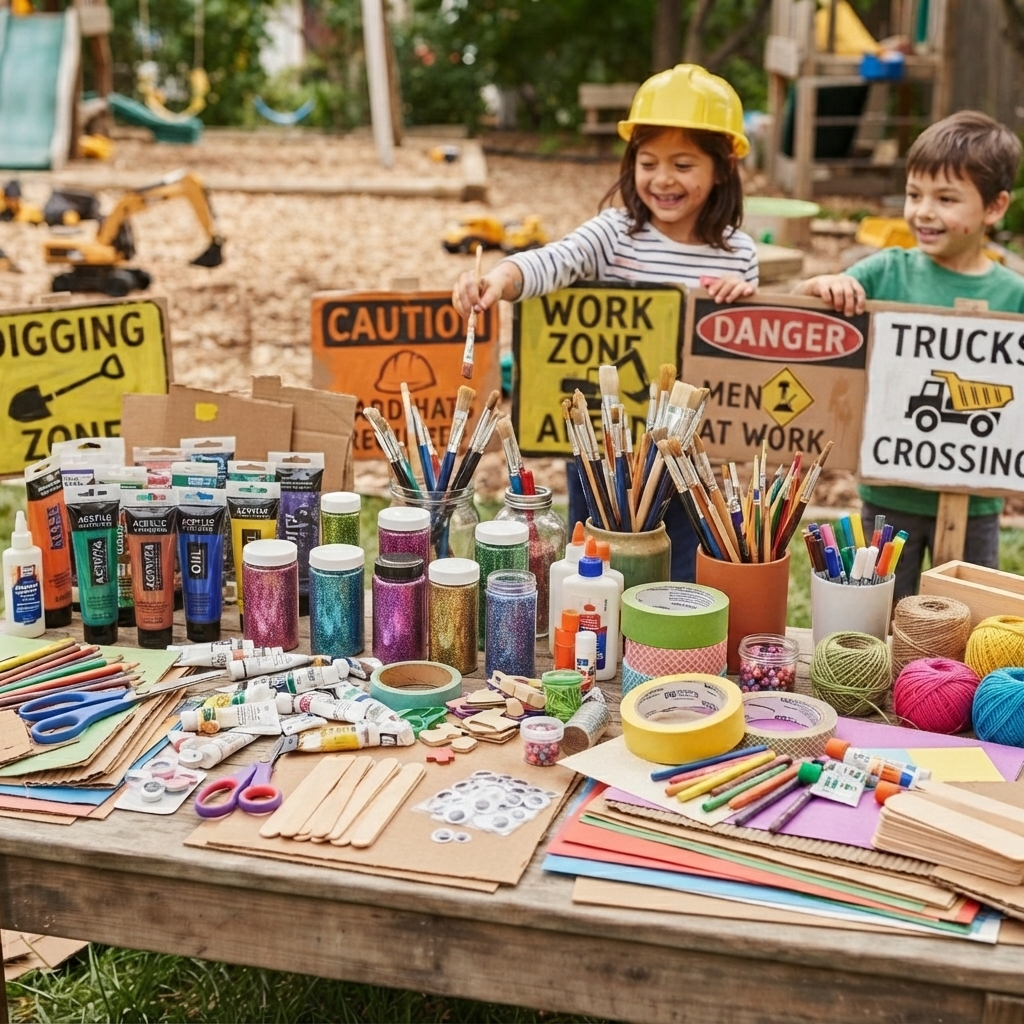
Most of the supplies are inexpensive and easy to find.
Gather these materials before you begin:
- Cardboard from cereal boxes or shipping boxes
- Colored construction paper
- Child-safe scissors
- Glue or glue stick
- Pencil
- Ruler
- Black marker
- Colored markers or crayons
- Craft sticks or popsicle sticks
- Tape
- Stickers (optional)
Using recycled cardboard also teaches children about reusing materials in creative ways.
Step 1: Cut Out the Sign Shapes
Draw different shapes on the cardboard and carefully cut them out.
Try making:
- Circles
- Squares
- Rectangles
- Diamonds
- Triangles
- Octagons
Each shape can represent a different construction or safety sign.
Step 2: Cover the Cardboard
Glue colored paper onto each cardboard shape.
Popular colors include:
- Yellow
- Orange
- Red
- White
- Blue
Bright colors help the signs stand out just like real construction signs.
Step 3: Draw Construction Symbols
Now it’s time to decorate the signs.
Children can draw simple pictures such as:
- A worker wearing a hard hat
- A shovel
- A dump truck
- A crane
- A bulldozer
- Traffic cones
- Road barriers
- Safety helmets
Simple drawings are perfect for younger children.
Step 4: Add Safety Messages
Older children can write short safety messages on their signs.
Examples include:
- Construction Ahead
- Slow Down
- Hard Hat Area
- Road Work
- Stop
- Detour
- Watch for Trucks
- Keep Out
Writing these messages helps children practice reading and spelling while learning about safety.
Step 5: Make Sign Posts
Glue or tape a craft stick to the back of each cardboard sign.
The sticks allow children to hold the signs or place them into play areas.
For larger signs, use two sticks for extra strength.
Step 6: Decorate Your Signs
Children can personalize their signs by adding:
- Warning stripes
- Bright borders
- Glitter
- Stickers
- Smiley faces
- Stars
- Construction company names
- Numbers
Every sign becomes unique and colorful.
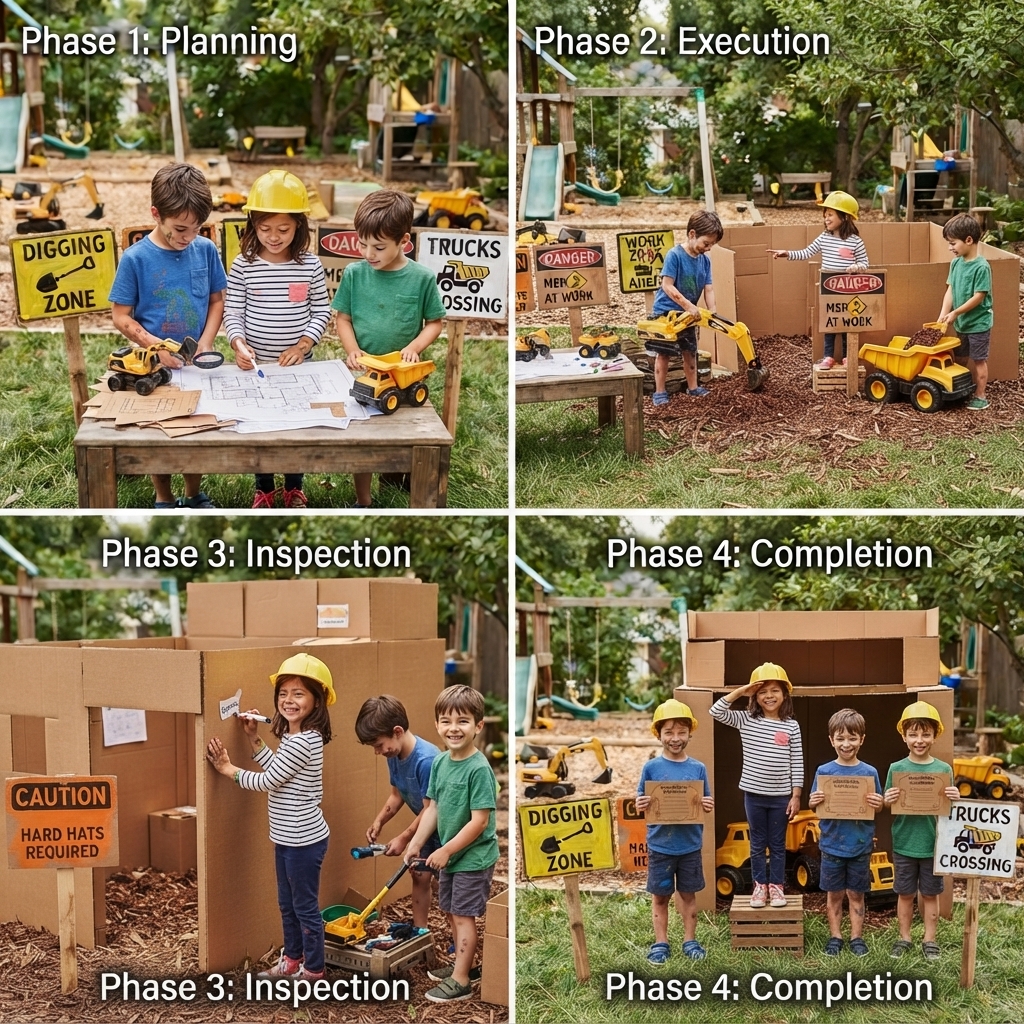
Build a Mini Construction Site
After making several signs, children can create an entire pretend construction zone.
Add homemade items such as:
- Paper traffic cones
- Cardboard barriers
- Toy trucks
- Paper cranes
- Cardboard forklifts
- Dump trucks
- Small roads made from black paper
- Tiny cardboard buildings
The signs help bring the whole construction scene to life.
What Children Learn
This craft teaches many valuable skills beyond art.
Road Safety
Children begin to recognize common construction signs and understand why they are important.
Creativity
Designing colorful signs encourages imagination and artistic expression.
Fine Motor Skills
Cutting, gluing, and coloring strengthen hand muscles and improve coordination.
Reading Practice
Simple words and safety messages help children build vocabulary.
Problem-Solving
Children think about which sign belongs in different parts of their construction site.
Fun Classroom Activities
Teachers can expand this craft into exciting group lessons.
Students can:
- Design different safety signs
- Build a classroom construction zone
- Create role-playing games
- Match signs to their meanings
- Give presentations about road safety
- Work together to build a miniature town
These activities combine creativity with teamwork.
Creative Sign Ideas
Encourage children to invent their own signs, such as:
- Dinosaur Dig Zone
- Toy Truck Parking
- Kid Builders at Work
- Future Engineers
- Safety First
- Junior Construction Crew
- Building Fun Ahead
- Craft Zone
These imaginative signs make pretend play even more exciting.
Safety Tips
Always supervise children when using scissors.
Use child-safe craft supplies and non-toxic glue.
Cover work surfaces with newspaper or a craft mat.
Remind children to clean up their materials when the project is finished.
Extend the Project
Construction site signs pair perfectly with other cardboard crafts.
Children can also build:
- Bulldozers
- Excavators
- Cement mixers
- Tower cranes
- Dump trucks
- Forklifts
- Traffic lights
- Bridges
- Road rollers
Together, these projects create a complete miniature construction world full of learning and imaginative play.
Conclusion
Making construction site signs out of cardboard is a simple, affordable, and educational craft that children will love. With recycled cardboard, colorful paper, and a little creativity, kids can design realistic safety signs while improving fine motor skills, learning about construction, and exploring the importance of road safety. Once finished, the signs become part of an exciting pretend construction site where imagination, storytelling, and hands-on learning come together. This fun DIY project is perfect for home, school, or any creative activity that inspires young builders.
