
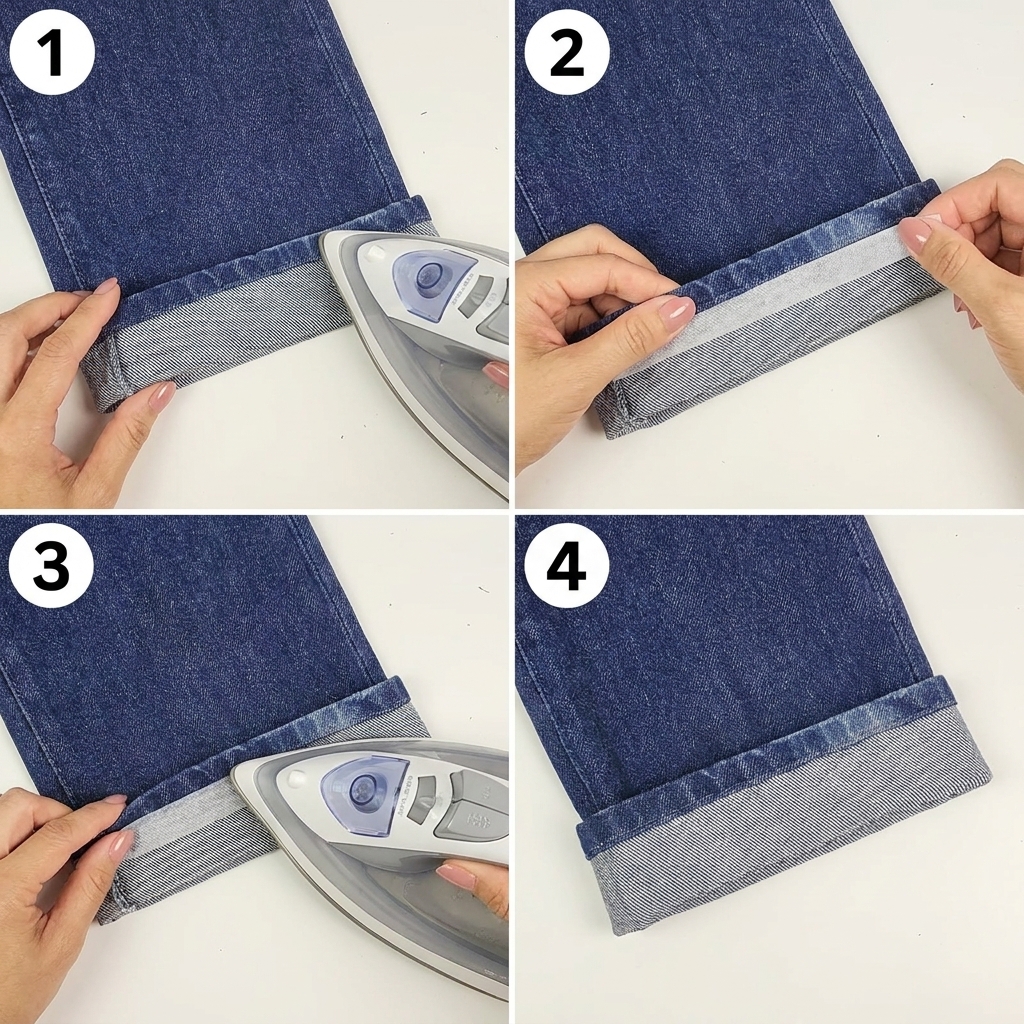
Trousers that are too long can be uncomfortable, drag on the ground, and wear out quickly. Fortunately, you don’t need a sewing machine to adjust the length. With a few basic tools and a little patience, you can shorten trousers by hand and achieve a clean, professional-looking hem.
Whether you’re hemming jeans, dress pants, school uniforms, or casual trousers, this beginner-friendly guide will show you how to shorten them without using a sewing machine.
Why Shorten Trousers by Hand?
Hand hemming is an excellent skill for anyone who wants to make quick clothing adjustments without investing in expensive equipment.
Benefits include:
- Saves money on tailoring
- Requires only basic sewing supplies
- Easy for beginners
- Works almost anywhere
- Produces neat, durable results
- Extends the life of your clothing
With practice, hand hemming can look almost as neat as machine stitching.
Tools You’ll Need
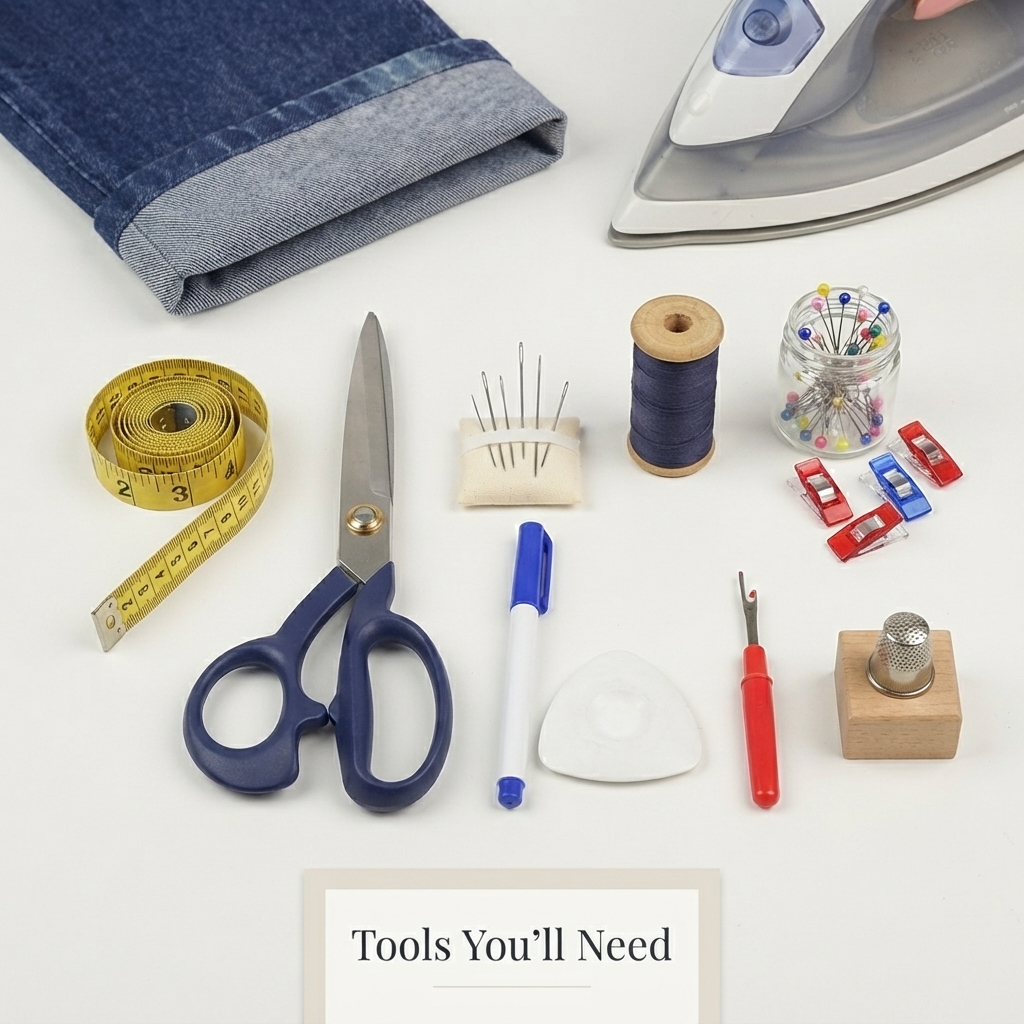
Gather these simple supplies before you begin:
- Flexible measuring tape
- Fabric scissors
- Sewing needle
- Matching thread
- Straight pins or sewing clips
- Tailor’s chalk or a fabric marker
- Iron and ironing board
- Seam ripper (if removing an old hem)
- Thimble (optional)
Having everything ready will make the process smoother and more enjoyable.
Step 1: Try On the Trousers
Put on the trousers with the shoes you plan to wear most often.
Stand naturally and check where you want the hem to fall.
For dress trousers, the hem usually rests lightly on the top of the shoe.
For casual trousers or jeans, you may prefer a slightly shorter length.
Ask someone to help mark the correct length if possible.
Step 2: Mark the New Length
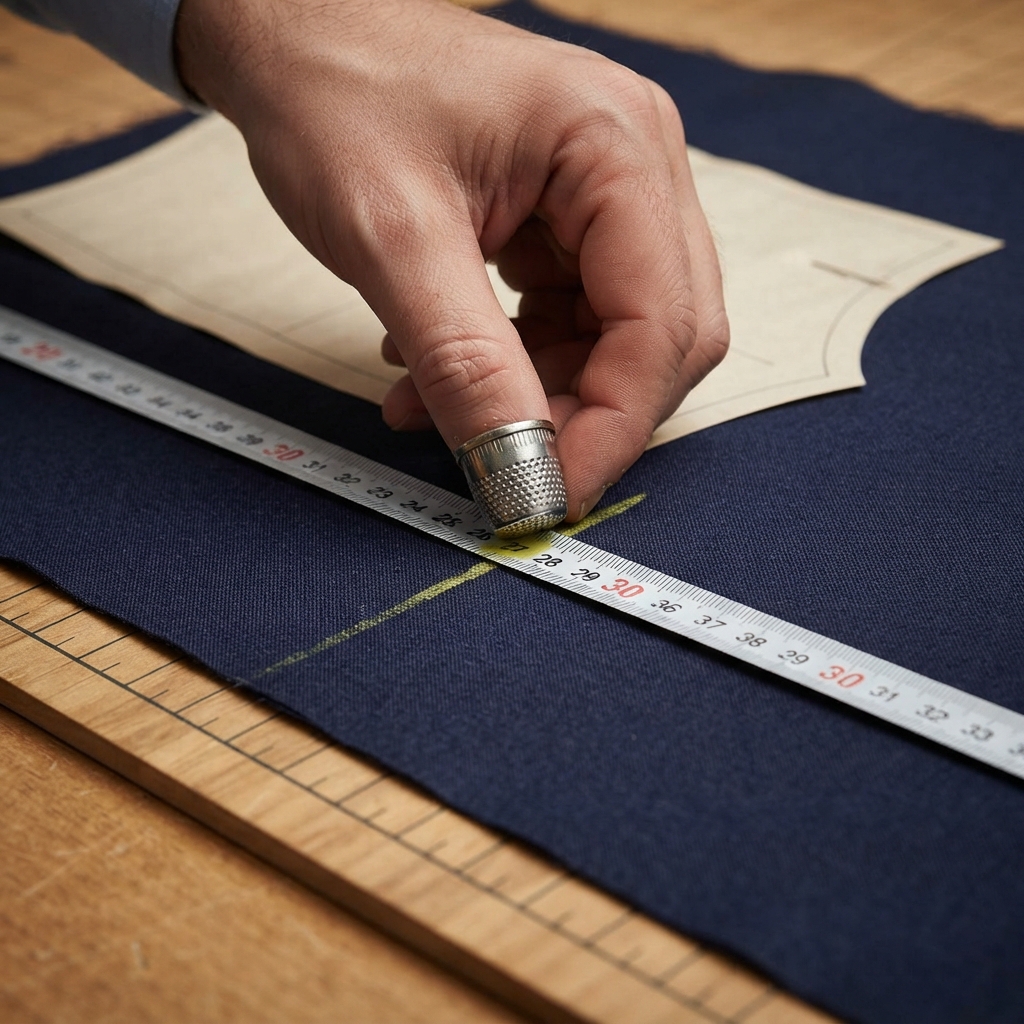
Use tailor’s chalk or a washable fabric marker to mark the desired hemline.
Measure from the floor to ensure both legs are the same length.
Double-check your measurements before cutting.
Step 3: Remove the Old Hem (If Necessary)
If the trousers already have a finished hem:
- Carefully remove the stitches using a seam ripper.
- Pull away the loose threads.
- Press the fabric flat with an iron.
Removing the old hem creates a cleaner finish.
Step 4: Measure the Hem Allowance
Leave extra fabric below the finished length to create the new hem.
A typical hem allowance is:
- 1 inch (2.5 cm) for lightweight trousers
- 1½ inches (4 cm) for dress pants
- 2 inches (5 cm) for trousers that may need future adjustments
Mark the cutting line clearly.
Step 5: Trim the Excess Fabric
Using sharp fabric scissors, carefully cut away the extra material.
Cut slowly to keep the edge straight and even.
Avoid cutting too close to the finished hemline.
Step 6: Fold and Press the Hem
Fold the raw edge inward by about ½ inch (1.3 cm) and press it with an iron.
Then fold the hem up to the final length and press again.
Ironing helps create crisp folds that are easier to sew.
Step 7: Pin the Hem in Place
Secure the folded hem using straight pins or sewing clips.
Space the pins evenly around each pant leg.
Check once more that both legs are exactly the same length.
Step 8: Thread Your Needle
Choose a thread color that closely matches the fabric.
Cut a manageable length of thread, thread the needle, and tie a knot at the end.
Using shorter lengths of thread helps prevent tangles.
Step 9: Sew the Hem by Hand
Several hand stitches work well for hemming trousers.
Slip Stitch
The slip stitch is nearly invisible from the outside and is ideal for dress trousers.
Take tiny stitches through the folded hem while catching only a few fabric threads on the outside.
Blind Hem Stitch
A blind hem stitch creates an almost invisible finish and is commonly used for formal clothing.
Whip Stitch
For casual trousers or children’s clothing, a whip stitch provides a simple and durable hem.
Choose the stitch that best suits your fabric and skill level.
Step 10: Secure the Thread
When you reach the end of the hem:
- Sew two or three small stitches in the same spot.
- Tie a secure knot.
- Trim the remaining thread neatly.
A well-secured thread prevents the hem from coming undone.
Step 11: Press the Finished Hem
After sewing, press the hem one final time.
This smooths the stitches, flattens the fabric, and gives the trousers a polished appearance.
Never skip the final pressing—it makes a noticeable difference.
Tips for a Professional Finish
Follow these tips for the best results:
- Measure twice before cutting.
- Use sharp fabric scissors.
- Match the thread color to the fabric.
- Keep stitches small and even.
- Press after every fold.
- Work slowly and carefully.
Patience leads to a cleaner, more professional hem.
How to Hem Different Types of Trousers
Dress Trousers
Use a blind hem or slip stitch for an invisible finish.
Jeans
Denim is thicker, so use a strong needle and durable thread. A whip stitch or backstitch works well.
Linen Trousers
Press carefully, as linen wrinkles easily.
Children’s Trousers
Leave a slightly larger hem allowance so the trousers can be lengthened as the child grows.
Common Mistakes to Avoid
Many beginners make these simple mistakes:
- Cutting before checking the length
- Forgetting to wear shoes while measuring
- Uneven pant legs
- Using thread that doesn’t match the fabric
- Pulling stitches too tightly
- Skipping the ironing step
Avoiding these mistakes will improve the appearance of your finished trousers.
Alternative No-Sew Methods
If you don’t want to sew at all, there are temporary alternatives.
Iron-On Hem Tape
Hem tape uses heat from an iron to bond the fabric together without stitches.
Fabric Glue
Fabric glue creates a quick hem for lightweight fabrics, although it may not be as durable as sewing.
These methods are convenient but may not last as long as a hand-sewn hem.
Caring for Hand-Hemmed Trousers
To keep your hem looking neat:
- Wash garments according to the care label.
- Iron the hem after washing.
- Check stitches occasionally for wear.
- Repair loose threads promptly.
Proper care helps your hand-sewn hem last for years.
Final Thoughts
Shortening trousers without a sewing machine is a practical skill that anyone can learn. With just a needle, thread, a measuring tape, and a few basic sewing tools, you can create a neat, durable hem that looks polished and professional. By measuring carefully, pressing each fold, and using small, even stitches, you’ll be able to adjust trousers to the perfect length while saving money on tailoring. With practice, hand hemming becomes a simple and rewarding part of everyday clothing care.
