
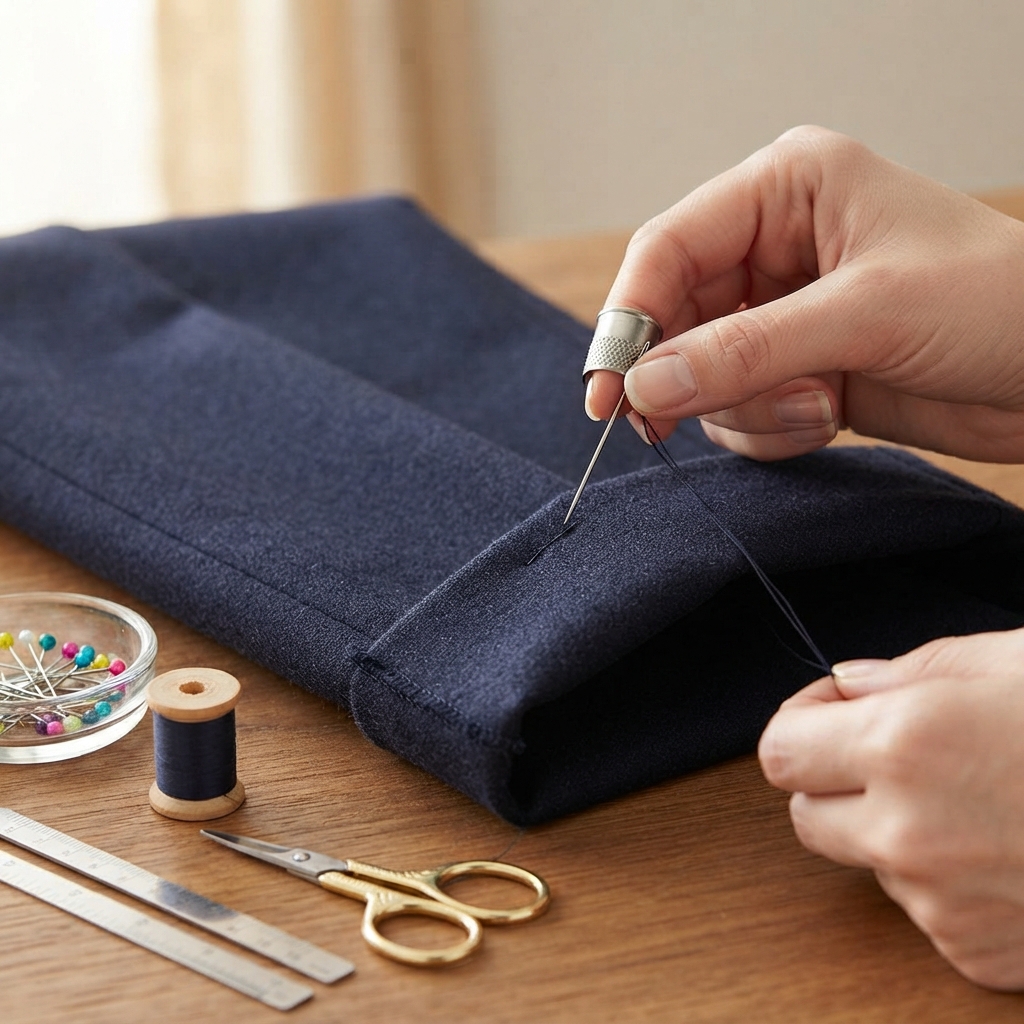
Learning how to make a hem by hand is one of the most useful sewing skills you can develop. Whether you’re shortening a dress, finishing a skirt, adjusting trousers, or repairing a favorite shirt, a neatly sewn hem gives your garment a polished and professional appearance. Best of all, you don’t need a sewing machine to achieve beautiful results. With a needle, thread, and a little patience, you can create a strong, nearly invisible hem that lasts through regular wear and washing.
This beginner-friendly guide explains everything you need to know about hemming a garment by hand, from gathering your supplies to choosing the best hand stitch for your project.
What Is a Hem?
A hem is the finished edge of a piece of fabric that has been folded and stitched to prevent fraying. Hems are commonly found on trousers, skirts, dresses, sleeves, shirts, curtains, and tablecloths.
Besides protecting the raw fabric edge, a hem improves the garment’s appearance and helps it keep its shape over time.
Why Sew a Hem by Hand?
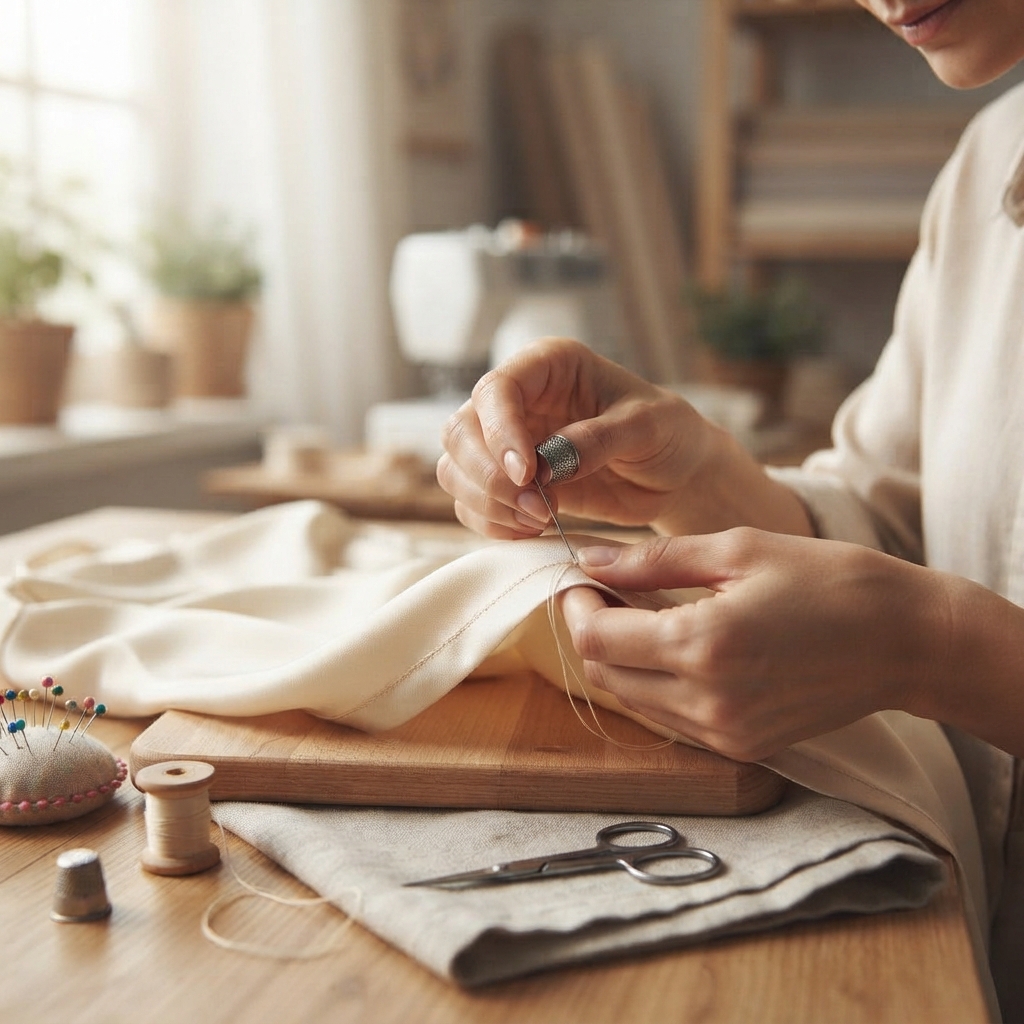
Although sewing machines make hemming faster, hand sewing offers several advantages.
Benefits include:
- No sewing machine required
- Excellent for beginners
- Creates nearly invisible stitches
- Perfect for delicate fabrics
- Easy to repair clothing
- Greater control over fine details
- Ideal for travel or quick alterations
Hand hemming is especially useful for formal garments where visible stitching should be kept to a minimum.
Supplies You’ll Need
Before you begin, gather the following tools:
- Sewing needle
- Matching thread
- Fabric scissors
- Measuring tape or ruler
- Tailor’s chalk or fabric marker
- Straight pins or sewing clips
- Iron and ironing board
- Seam ripper (if removing an old hem)
- Thimble (optional)
Having your supplies ready helps make the sewing process smoother.
Step 1: Determine the Hem Length
Try on the garment and decide where you want the finished hem to fall.
Wear the shoes you plan to pair with the garment, especially when hemming trousers or long dresses.
Use tailor’s chalk to mark the desired length.
Measure carefully to ensure the hem is even all the way around.
Step 2: Remove the Old Hem (If Necessary)
If the garment already has a hem that needs adjusting:
- Carefully remove the existing stitches using a seam ripper.
- Pull away any loose threads.
- Press the fabric flat with an iron.
Removing the old hem creates a clean surface for the new one.
Step 3: Measure the Hem Allowance
A hem allowance is the extra fabric folded inside the garment.
Common hem allowances include:
- ½ inch (1.3 cm) for lightweight fabrics
- 1 inch (2.5 cm) for shirts and skirts
- 1½ to 2 inches (4–5 cm) for dresses and trousers
Mark the fold line using tailor’s chalk.
Step 4: Trim Excess Fabric
If necessary, trim away extra fabric below the hem allowance.
Use sharp fabric scissors to make a clean, straight cut.
Leave enough fabric for the folded hem.
Step 5: Fold the Hem
Fold the raw edge inward about ¼ to ½ inch (0.6–1.3 cm) to hide the unfinished edge.
Press the fold with an iron.
Next, fold the hem up to the desired length and press again.
Well-pressed folds make hand sewing much easier.
Step 6: Pin the Hem in Place
Secure the folded hem using straight pins or sewing clips.
Space the pins evenly around the garment.
Check that the hem is smooth and even before sewing.
Step 7: Thread Your Needle
Choose a thread color that closely matches the fabric.
Cut a piece of thread about 18–24 inches (45–60 cm) long.
Thread the needle and tie a small knot at the end.
Shorter thread lengths help prevent tangles.
Step 8: Choose the Best Hand Stitch
Several hand stitches are suitable for hemming.
Slip Stitch
The slip stitch creates an almost invisible finish.
It is ideal for:
- Dresses
- Skirts
- Dress trousers
- Jackets
Take tiny stitches through the folded hem while catching only a few threads of the outer fabric.
Blind Hem Stitch
The blind hem stitch is another excellent option for formal clothing.
Its stitches are barely visible from the outside of the garment.
Whip Stitch
The whip stitch is simple and durable.
It works well for:
- Casual clothing
- Children’s garments
- Home décor
- Thick fabrics
Catch Stitch
The catch stitch creates a flexible hem that works especially well on heavier fabrics.
Its crisscross pattern allows the fabric to move naturally while maintaining a secure hem.
Step 9: Sew Around the Hem
Work slowly around the garment.
Keep your stitches:
- Small
- Evenly spaced
- Consistent
- Loose enough to allow natural fabric movement
Avoid pulling the thread too tightly, which may cause puckering.
Step 10: Secure the Thread
When you reach the starting point:
- Make two or three small stitches.
- Tie a secure knot.
- Trim the thread close to the fabric.
Your hem is now complete.
Step 11: Press the Finished Hem
Press the finished hem with an iron one final time.
This helps flatten the stitches and gives the garment a crisp, professional finish.
A final press also improves the garment’s overall appearance.
Choosing the Right Stitch for Different Fabrics
Different fabrics benefit from different hemming techniques.
Lightweight Fabrics
Use a slip stitch or blind hem stitch for an invisible finish.
Examples include:
- Cotton
- Silk
- Chiffon
- Rayon
Medium-Weight Fabrics
A slip stitch, blind hem stitch, or whip stitch works well.
Examples include:
- Linen
- Polyester blends
- Poplin
Heavy Fabrics
Use a catch stitch or whip stitch for added strength.
Examples include:
- Denim
- Wool
- Canvas
- Tweed
Common Beginner Mistakes
Avoid these common hemming mistakes:
- Measuring only once
- Cutting too much fabric
- Skipping the ironing step
- Uneven folds
- Large visible stitches
- Pulling the thread too tightly
- Using thread that doesn’t match the fabric
Taking your time helps produce better results.
Helpful Tips for Perfect Hand Hems
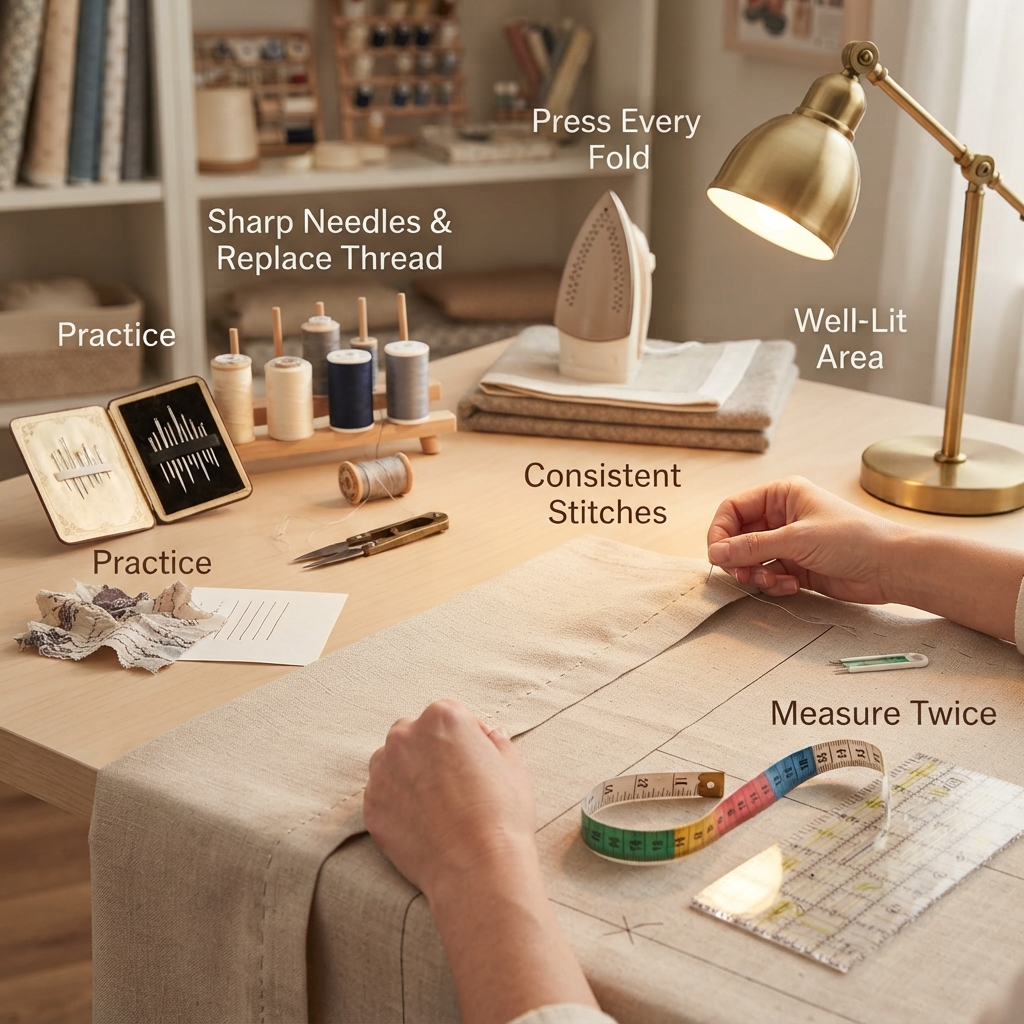
Improve your sewing with these practical tips:
- Practice on scrap fabric first.
- Use sharp needles.
- Replace worn thread.
- Press every fold before sewing.
- Keep your stitches consistent.
- Work in a well-lit area.
- Measure twice before cutting.
Small details make a big difference.
Caring for a Hand-Sewn Hem
To keep your hem looking its best:
- Follow the garment’s washing instructions.
- Press after laundering if needed.
- Inspect stitches occasionally.
- Repair loose threads promptly.
Proper care extends the life of your handmade hem.
Final Thoughts
Making a hem on a garment by hand is a valuable sewing skill that every beginner should learn. It requires only a few basic tools, simple techniques, and a little patience to achieve a clean, professional-looking finish. Whether you’re shortening a dress, repairing trousers, or finishing a handmade project, a carefully sewn hem improves both the appearance and durability of your clothing. With regular practice, you’ll gain confidence and discover that hand hemming is an easy and rewarding part of sewing.
