
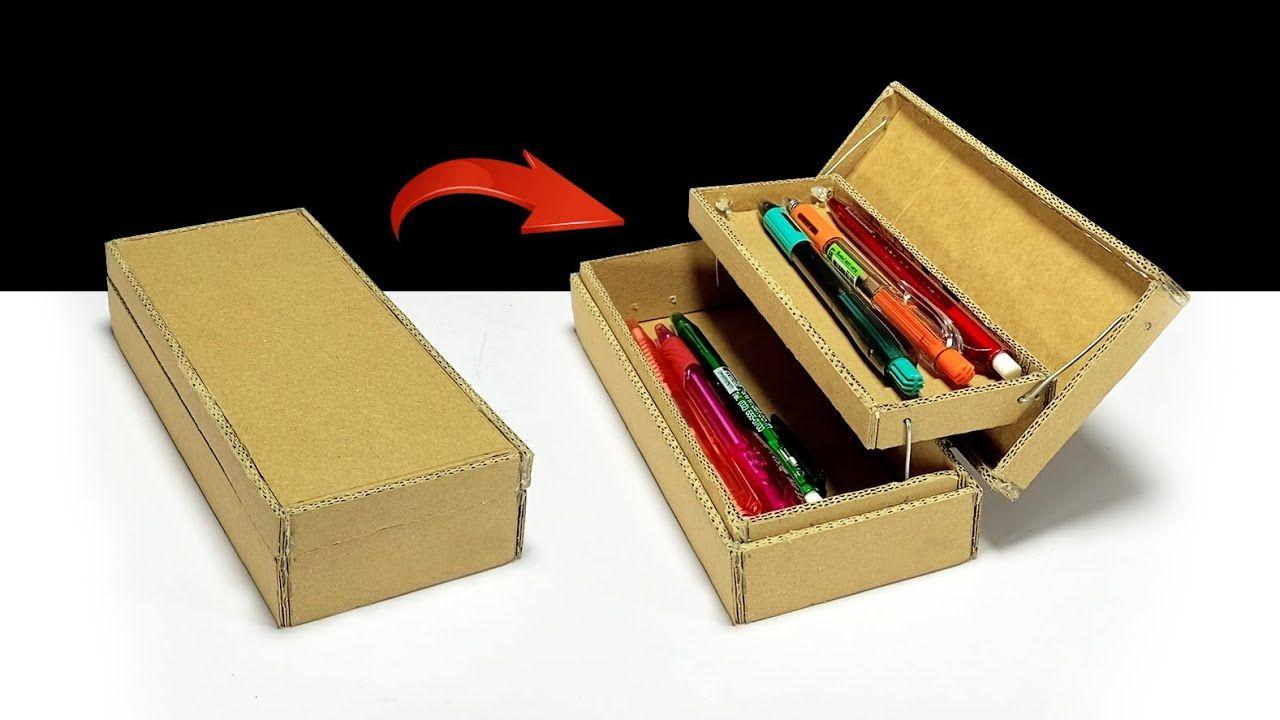
A homemade pencil case is a creative and practical project that children will love. Learning how to make a school pencil case out of cardboard is an excellent way to recycle materials, encourage creativity, and develop fine motor skills. With just a few simple supplies, kids can design a unique pencil case that is perfect for storing pencils, crayons, markers, erasers, and other school essentials.
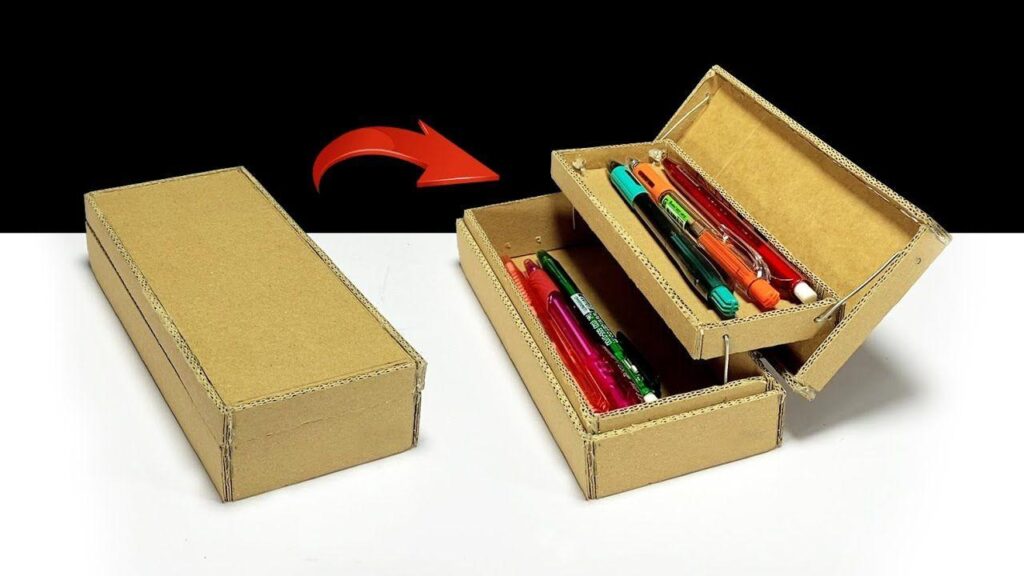
This easy cardboard craft is ideal for classrooms, homeschool activities, rainy afternoons, or back-to-school projects. Best of all, every child can personalize their pencil case with their favorite colors, stickers, and decorations.
Why Make a Cardboard Pencil Case?
Creating a pencil case from cardboard offers many benefits beyond being a fun craft.
Some advantages include:
- Encourages creativity and imagination
- Teaches recycling and sustainability
- Improves cutting and gluing skills
- Develops problem-solving abilities
- Saves money on school supplies
- Makes a personalized school accessory
Kids also enjoy using something they made with their own hands every day at school.
Materials You’ll Need
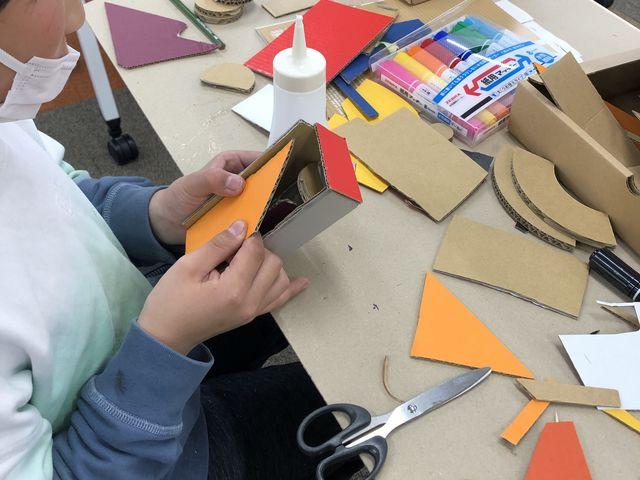
Gather these simple materials before starting:
- Thick cardboard
- Colored paper or craft paper
- Scissors
- Craft glue
- Ruler
- Pencil
- Markers or crayons
- Decorative stickers
- Washi tape (optional)
- Ribbon or elastic band (optional)
- Velcro dots or a small button (optional)
Most of these supplies are already available at home or in the classroom.
Step 1: Measure the Cardboard
Start by measuring the size of the items that will fit inside the pencil case.
A simple size is approximately:
- 22 cm long
- 10 cm wide
Draw the shape using a ruler and pencil.
Make sure the cardboard is thick enough to keep the pencil case sturdy.
Step 2: Cut Out the Pieces
Carefully cut:
- One large base
- Two side pieces
- One front panel
- One back panel
- One lid
Young children should always have adult supervision when using scissors.
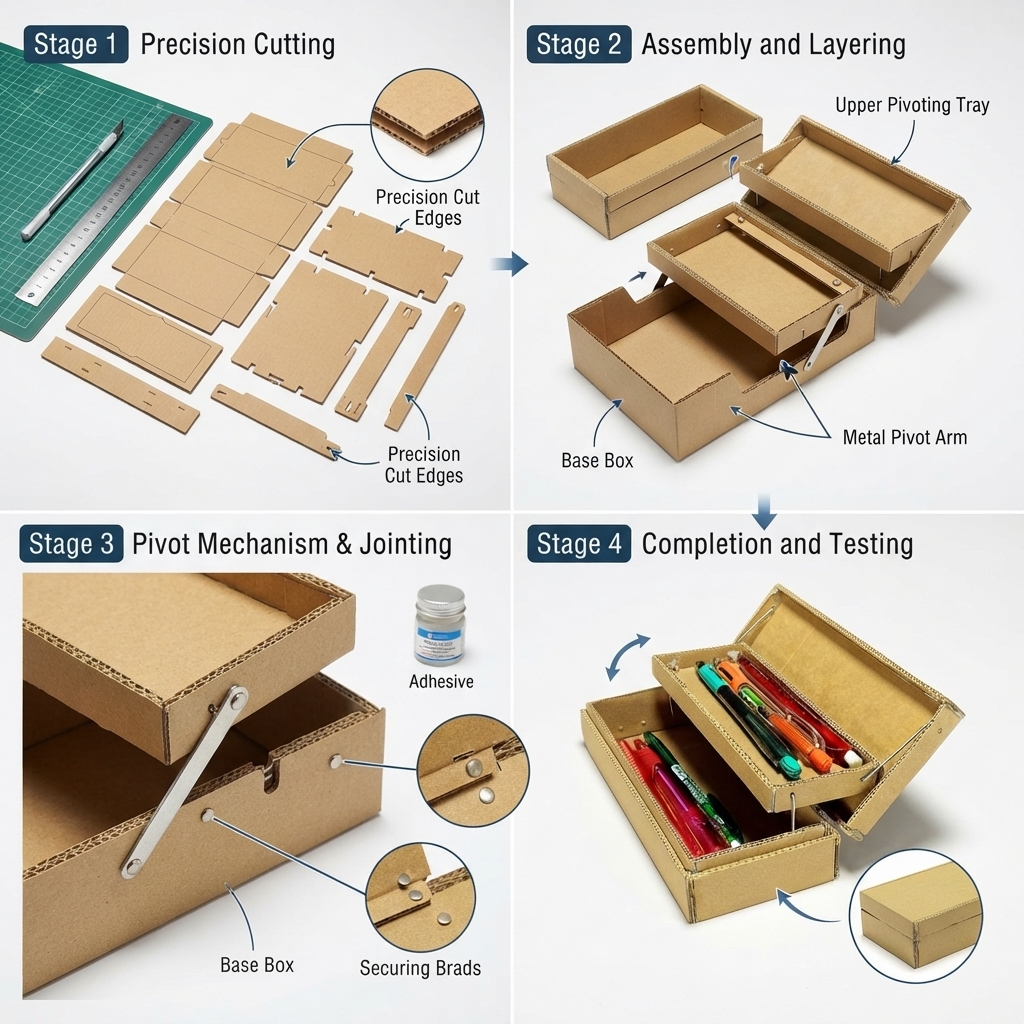
Step 3: Assemble the Pencil Case
Glue the side panels onto the base.
Next:
- Attach the front panel.
- Glue the back panel.
- Leave the lid open until the glue dries.
- Attach the lid using tape or a strip of cardboard as a flexible hinge.
Allow everything to dry completely before decorating.
Step 4: Cover with Colorful Paper
Wrap the outside with colorful paper.
Popular choices include:
- Blue
- Red
- Yellow
- Green
- Rainbow prints
- Cartoon patterns
Smooth the paper carefully to avoid wrinkles.
Step 5: Decorate the Pencil Case
Now comes the most exciting part!
Children can decorate using:
- Stickers
- Glitter
- Foam shapes
- Alphabet letters
- Animal drawings
- Stars
- Hearts
- Flowers
- Superhero designs
- Space themes
Each child can create a one-of-a-kind pencil case.
Step 6: Add a Closure
Keep school supplies secure with a simple closure.
Easy options include:
- Velcro dots
- Elastic band
- Ribbon tie
- Small button and string
- Magnetic closure
Choose the method that works best for your materials.
Fun Decoration Ideas
Try these creative themes:
Rainbow Pencil Case
Cover the box with rainbow-colored paper and clouds.
Animal Pencil Case
Create a panda, fox, cat, lion, or bear face.
Space Theme
Decorate with rockets, planets, astronauts, and stars.
Dinosaur Design
Add colorful dinosaurs and volcanoes.
Underwater Theme
Use fish, seaweed, turtles, dolphins, and bubbles.
Superhero Style
Decorate with comic book colors and lightning bolts.
Flower Garden
Add colorful flowers, butterflies, and bees.
Personalize It
Children love adding personal touches.
Ideas include:
- Their name
- Favorite colors
- School logo
- Positive quotes
- Initials
- Number stickers
Personalizing helps children recognize their pencil case easily.
Learning Benefits
This project supports many important developmental skills.
Children practice:
- Measuring
- Cutting
- Folding
- Gluing
- Planning
- Creativity
- Fine motor coordination
- Organization
Craft activities also build confidence as children complete each step.
Safety Tips
For a safe crafting experience:
- Use child-safe scissors.
- Protect the table with newspaper.
- Wash hands after crafting.
- Keep glue away from eyes.
- Ask an adult for help with difficult cuts.
Safety should always come first.
Classroom Activity Idea
Teachers can turn this into a fun group project.
Each student designs a different pencil case theme, and everyone shares their finished creations. A classroom display of colorful handmade pencil cases adds excitement to the learning environment and encourages creativity.
Eco-Friendly Craft
Using cardboard teaches children the importance of recycling.
Instead of throwing away packaging boxes, they can transform them into useful school supplies. This simple project introduces sustainability in a fun and memorable way.
Tips for the Best Cardboard Pencil Case
For the best results:
- Use thick cardboard for durability.
- Measure carefully before cutting.
- Let the glue dry fully.
- Decorate after assembling.
- Reinforce corners with extra glue.
- Keep the design simple for younger children.
These tips will help create a sturdy and attractive pencil case.
Conclusion
Making a school pencil case out of cardboard is an enjoyable craft that combines creativity, recycling, and practical learning. With only a few inexpensive materials, children can create a colorful and personalized pencil case that they will proudly use every day. Whether at home, in the classroom, or during a back-to-school craft session, this DIY project inspires imagination while teaching valuable hands-on skills. The finished pencil case is not only useful but also a wonderful reminder that simple recycled materials can become something truly special.
