
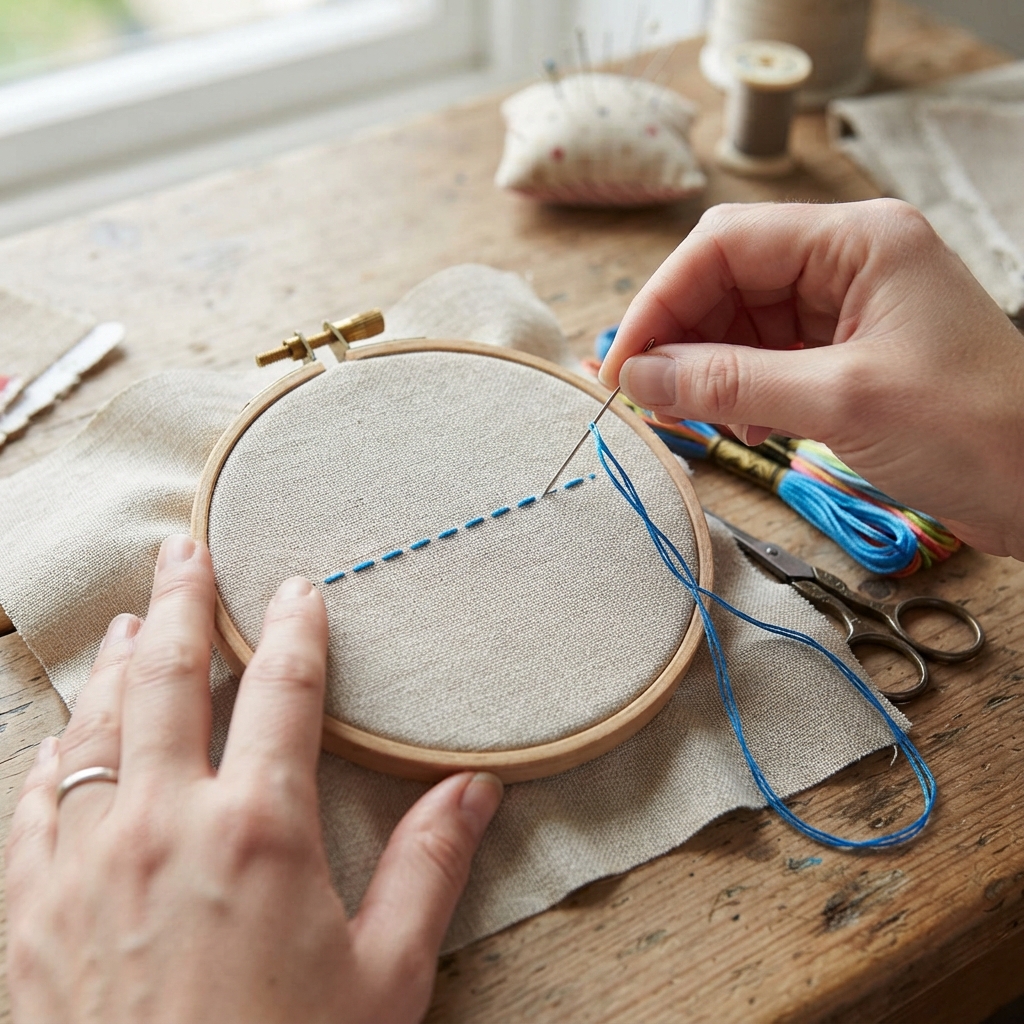
The running stitch is one of the first and most important hand-sewing techniques every beginner should learn. Simple, versatile, and easy to master, this basic stitch forms the foundation of many sewing projects. Whether you’re repairing clothes, creating crafts, quilting, or practicing hand sewing for the first time, the running stitch is an essential skill that will help you build confidence and improve your sewing abilities.
In this beginner-friendly guide, you’ll learn what the running stitch is, the tools you’ll need, how to sew it step by step, common mistakes to avoid, and practical projects to help you practice.
What Is a Running Stitch?
A running stitch is the simplest type of hand stitch. It is made by passing a needle in and out of the fabric at regular intervals, creating a series of evenly spaced stitches and gaps.
Because of its simplicity, the running stitch is often the first stitch taught to beginners. It is widely used for temporary seams, gathering fabric, decorative designs, quilting, and many basic sewing projects.
Why Learn the Running Stitch?
Mastering the running stitch provides a strong foundation for learning more advanced sewing techniques.
Benefits include:
- Easy for beginners to learn
- Requires only basic sewing tools
- Ideal for clothing repairs
- Useful for quilting projects
- Great for fabric crafts
- Helps improve hand-eye coordination
- Builds confidence in hand sewing
Once you become comfortable with this stitch, learning other hand stitches becomes much easier.
Tools You’ll Need
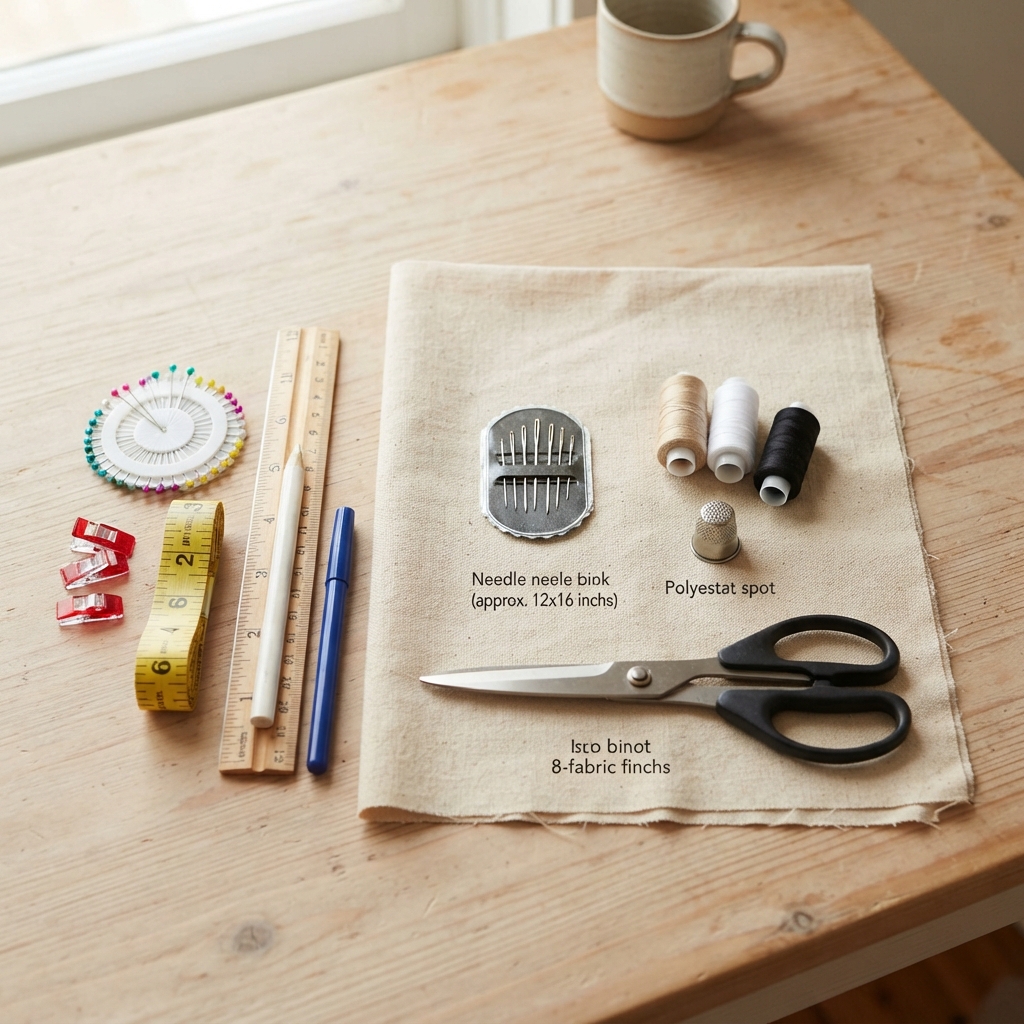
Before you begin, gather these basic sewing supplies:
- Hand sewing needle
- Cotton or polyester thread
- Practice fabric (cotton is ideal)
- Fabric scissors
- Straight pins or sewing clips
- Measuring tape or ruler
- Fabric marker or tailor’s chalk
- Thimble (optional)
These inexpensive tools are enough to start practicing.
Choosing the Right Needle and Thread
For beginners, a medium-sized hand sewing needle works best because it is easy to hold and thread.
Choose thread that:
- Matches your fabric
- Is smooth and strong
- Is approximately 18–24 inches (45–60 cm) long to reduce tangles
Avoid using thread that is too long, as it can easily knot while sewing.
Preparing Your Fabric
Before sewing:
- Iron the fabric to remove wrinkles.
- Cut a small square or rectangle for practice.
- Draw straight guide lines with tailor’s chalk if needed.
- Secure the fabric with pins if working with multiple layers.
Preparing your fabric makes stitching easier and helps improve accuracy.
Step 1: Thread the Needle
Cut a comfortable length of thread.
Thread the needle and pull the thread through until both ends are even, or leave a single strand if preferred.
Tie a small knot at the end of the thread to prevent it from pulling through the fabric.
Step 2: Start the Stitch
Push the needle from the back of the fabric to the front.
Pull the thread gently until the knot rests against the wrong side of the fabric.
This creates the starting point for your running stitch.
Step 3: Make the First Stitch
Insert the needle back into the fabric a short distance from where it emerged.
A stitch length of about ¼ inch (6 mm) is a good starting point for beginners.
Pull the thread through gently.
Step 4: Continue Sewing
Bring the needle back up through the fabric, leaving a small gap before the next stitch.
Repeat the process:
- Up through the fabric
- Down through the fabric
- Pull the thread gently
Continue until you reach the end of the sewing line.
Step 5: Keep Your Stitches Even
The secret to a neat running stitch is consistency.
Try to keep:
- All stitches the same length
- All spaces between stitches equal
- The stitching line straight
- The thread tension even
Even stitches create a cleaner and more professional appearance.
Step 6: Finish the Stitch
When you reach the end:
- Make one small backstitch to secure the thread.
- Tie a small knot on the back of the fabric.
- Trim the excess thread with scissors.
Your running stitch is now complete.
Common Uses for the Running Stitch
The running stitch is surprisingly versatile.
It can be used for:
- Temporary seams (basting)
- Simple garment repairs
- Decorative embroidery
- Quilting
- Fabric gathering
- Children’s sewing projects
- Felt crafts
- Handmade decorations
- Pillow covers
- Small fabric bags
Many advanced sewing techniques also begin with this simple stitch.
Tips for Better Running Stitches
Improve your sewing with these helpful tips:
- Work slowly.
- Practice on scrap fabric.
- Use sharp needles.
- Replace worn thread.
- Keep your fabric flat.
- Maintain even stitch spacing.
- Relax your hands while sewing.
Regular practice quickly improves stitch quality.
Common Beginner Mistakes
Everyone makes mistakes while learning.
Watch out for these common problems:
Uneven Stitches
Inconsistent stitch lengths make seams look untidy.
Pulling the Thread Too Tight
Excessive tension causes the fabric to pucker.
Using Thread That Is Too Long
Long thread is more likely to knot and tangle.
Crooked Stitching Lines
Use fabric guidelines or draw practice lines until your accuracy improves.
Forgetting to Secure the Ends
Always knot or backstitch your thread to keep the stitches from unraveling.
Practice Exercises
Build your confidence by trying these simple exercises.
Straight Lines
Draw several parallel lines and stitch directly on each one.
Curved Lines
Practice following gentle curves to improve needle control.
Squares and Shapes
Sew around squares, circles, and triangles to develop precision.
Decorative Patterns
Create simple borders using rows of evenly spaced running stitches.
Practicing different shapes helps improve control and consistency.
Beginner Projects Using the Running Stitch
Once you’ve mastered the basics, try these easy projects:
- Fabric bookmarks
- Felt ornaments
- Lavender sachets
- Small pillows
- Drawstring bags
- Simple coasters
- Patchwork squares
- Hand-sewn napkins
These projects reinforce your skills while producing useful handmade items.
Caring for Hand-Sewn Projects
To keep your stitches looking their best:
- Wash fabrics according to the care label.
- Avoid pulling on stitched seams.
- Press finished projects with an iron if needed.
- Repair loose stitches promptly.
Good care helps your sewing last longer.
Benefits of Learning the Running Stitch
Although simple, the running stitch teaches many important sewing skills.
It helps you:
- Develop better hand control
- Improve stitch consistency
- Understand fabric handling
- Prepare for advanced hand stitches
- Build confidence for larger sewing projects
Every experienced sewist begins with the basics.
Final Thoughts
Learning the running stitch is an excellent first step into the world of hand sewing. Its simple technique, wide range of uses, and beginner-friendly nature make it one of the most valuable stitches to master. With just a needle, thread, and a little practice, you’ll be able to repair clothing, create handmade crafts, and build the confidence needed to explore more advanced sewing techniques. Remember that every stitch you sew is an opportunity to improve, so practice regularly and enjoy the creative journey of learning this timeless sewing skill.
