
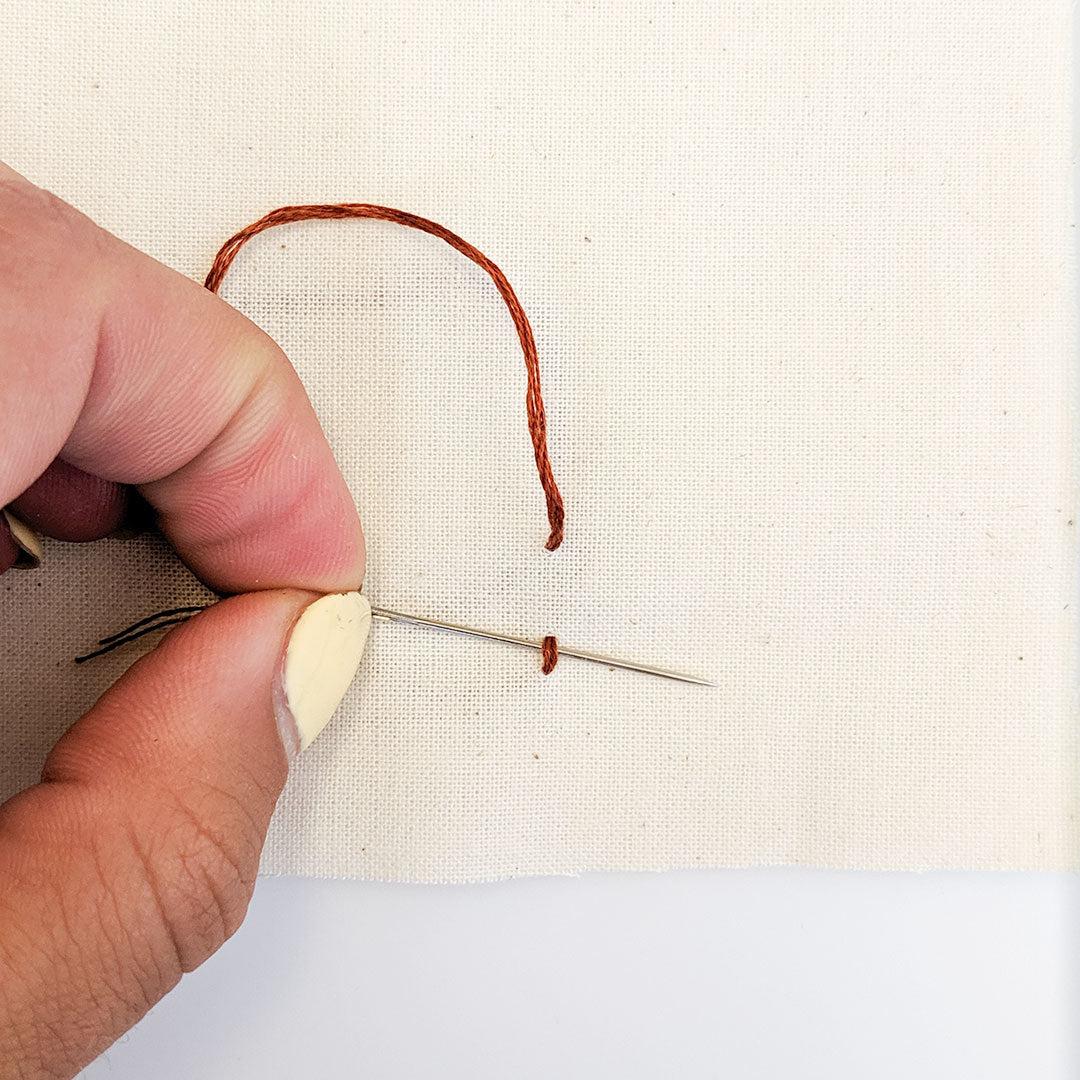
The chain stitch is one of the oldest and most beautiful embroidery stitches in the world. Known for its series of connected loops that resemble the links of a chain, this decorative stitch is widely used in hand embroidery, textile art, clothing decoration, and craft projects. It is easy to learn, highly versatile, and perfect for beginners who want to add elegant designs to fabric.
Whether you’re decorating a tote bag, personalizing clothing, or creating embroidered artwork, mastering the chain stitch will open the door to countless creative possibilities. This guide explains everything you need to know, from the tools you’ll need to step-by-step instructions, practical tips, and common uses.
What Is the Chain Stitch?
The chain stitch is a decorative hand embroidery stitch made from a series of looped stitches that connect together to form a chain-like pattern. It creates textured lines that can be used for outlines, borders, lettering, floral stems, and decorative motifs.
The stitch is popular because it is both attractive and durable, making it suitable for many types of embroidery projects.
Why Learn the Chain Stitch?
The chain stitch is one of the most versatile embroidery stitches available.
Its advantages include:
- Easy for beginners to learn
- Creates beautiful textured lines
- Suitable for outlines and borders
- Works well with many embroidery patterns
- Can be sewn in straight or curved lines
- Adds depth and dimension to fabric
- Suitable for decorative and artistic projects
Once mastered, the chain stitch becomes a valuable addition to any embroidery toolkit.
Tools You’ll Need
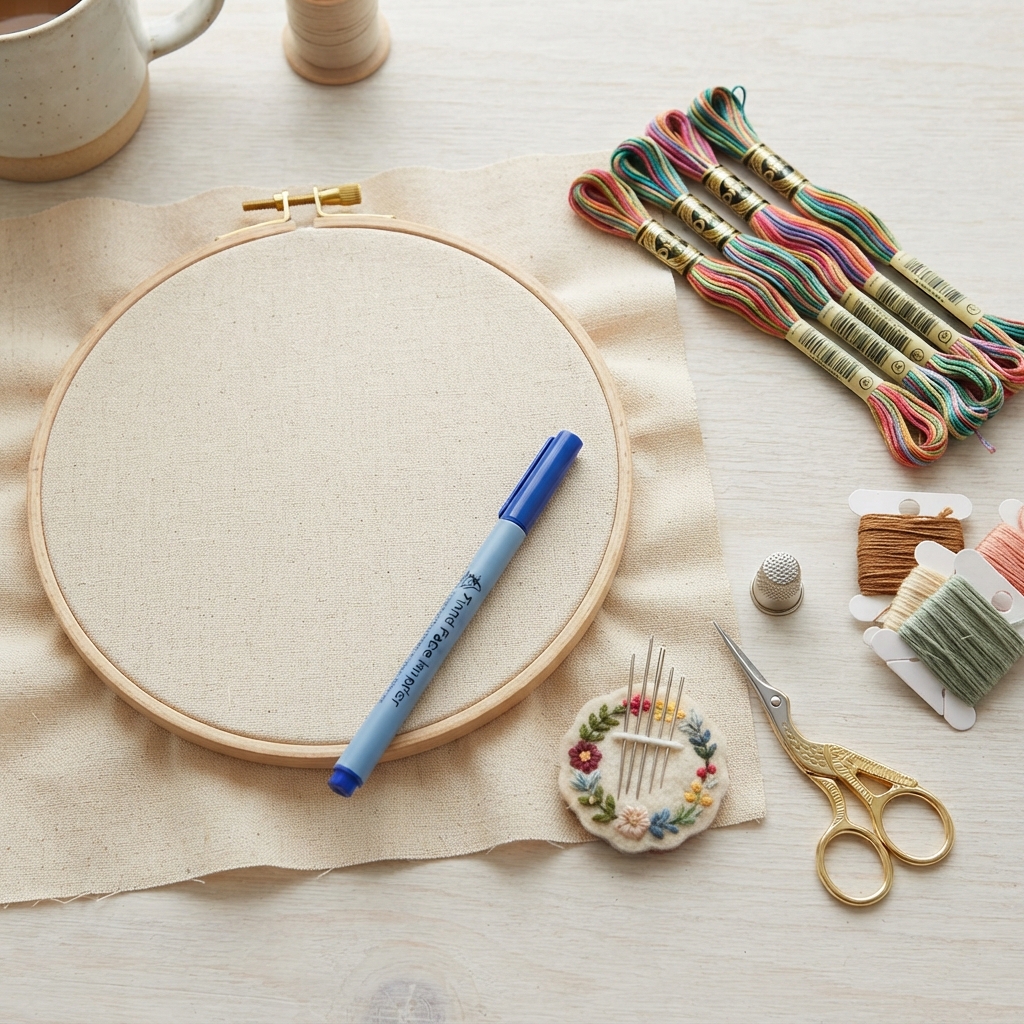
Before you begin, gather these basic embroidery supplies:
- Embroidery needle
- Embroidery floss or thread
- Cotton or linen fabric
- Embroidery hoop
- Fabric scissors
- Fabric marker or washable pen
- Thimble (optional)
Using an embroidery hoop keeps the fabric taut and makes stitching easier.
Choosing the Right Fabric and Thread
For beginners, smooth woven fabrics are the easiest to embroider.
Good choices include:
- Cotton
- Linen
- Canvas
- Muslin
Embroidery floss is available in many colors and thicknesses. Six-strand cotton embroidery floss is the most common choice because you can separate the strands to create different effects.
Preparing Your Fabric
Before stitching:
- Wash and iron the fabric if necessary.
- Place the fabric inside the embroidery hoop.
- Tighten the hoop until the fabric is smooth and firm.
- Draw your design lightly with a washable fabric marker if needed.
Proper preparation helps produce neat, even stitches.
Step 1: Thread the Needle
Cut about 18–24 inches (45–60 cm) of embroidery floss.
Thread the needle and tie a small knot at one end.
Using shorter thread lengths helps prevent tangles and keeps your stitches smooth.
Step 2: Bring the Needle Up
Push the needle from the back of the fabric to the front at your starting point.
Pull the thread through until the knot rests against the back of the fabric.
This marks the beginning of your chain stitch.
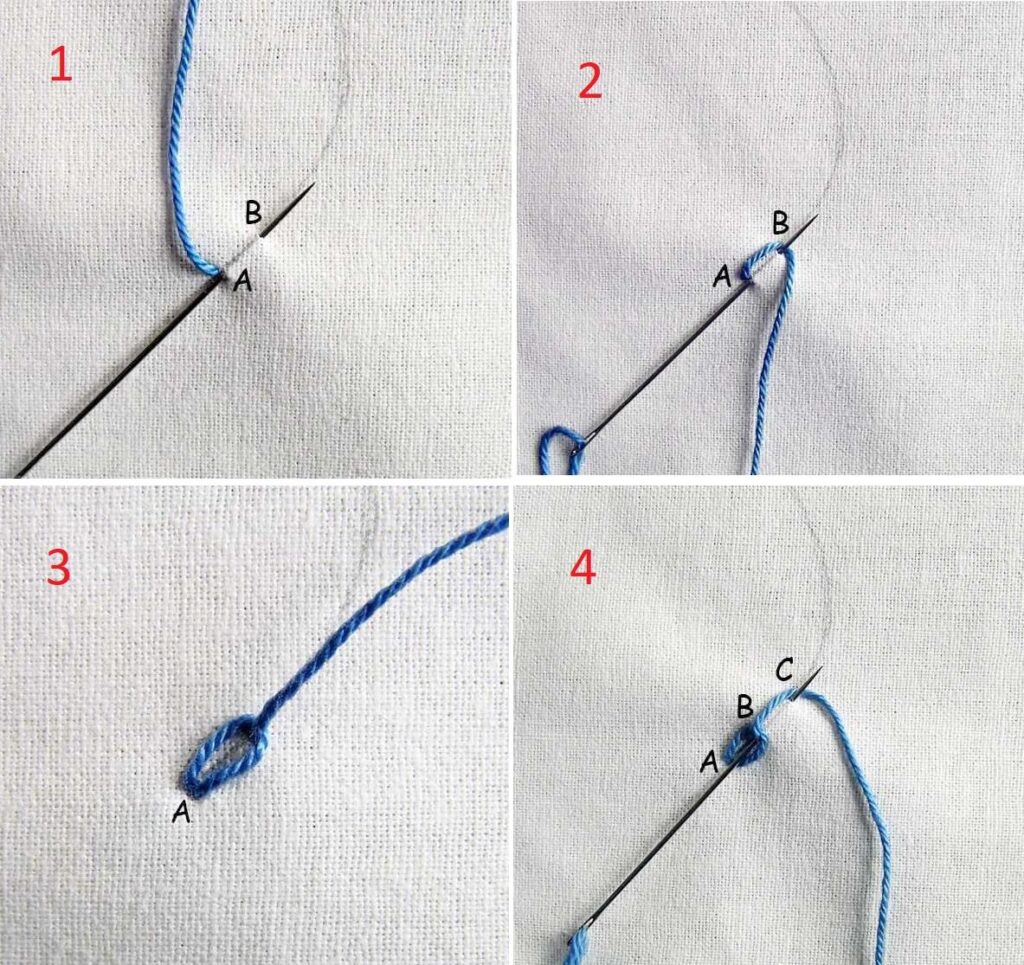
Step 3: Form the First Loop
Insert the needle back into the same hole or very close to it without pulling the thread all the way through.
Bring the needle back up a short distance ahead, making sure the working thread stays under the needle.
Gently pull the thread until a neat loop forms.
This loop becomes the first link in the chain.
Step 4: Continue the Chain
Repeat the same process:
- Insert the needle into the end of the previous loop.
- Bring the needle forward the same distance.
- Keep the thread under the needle.
- Pull gently to create another loop.
Each new loop passes through the previous one, forming the chain.
Step 5: Finish the Stitch
When you reach the end of your design:
- Make one final loop.
- Insert the needle just outside the last loop.
- Pull the thread through to anchor the chain.
- Tie a small knot on the back of the fabric.
- Trim the excess thread.
Your chain stitch is now complete.
Tips for Even Chain Stitches
Consistent loops create a clean and professional appearance.
Try to keep:
- Loop size equal
- Stitch spacing consistent
- Thread tension even
- Curves smooth and natural
Working slowly improves accuracy and stitch quality.
Common Uses of the Chain Stitch
The chain stitch is widely used in decorative embroidery.
Popular applications include:
Floral Stems
Its linked loops create natural-looking flower stems and vines.
Decorative Borders
The chain stitch makes elegant borders on napkins, pillowcases, table runners, and clothing.
Embroidered Lettering
The textured appearance makes it ideal for monograms, names, and decorative words.
Clothing Decoration
Chain stitches can embellish:
- Jackets
- Dresses
- Denim
- Children’s clothing
- Shirts
- Tote bags
Traditional Embroidery
Many cultural embroidery styles use chain stitch to create intricate geometric and floral patterns.
Textile Art
Artists often combine chain stitches with other embroidery techniques to create detailed fabric artwork.
Variations of the Chain Stitch
Once you’ve mastered the basic stitch, try these popular variations.
Detached Chain Stitch
Also called the lazy daisy stitch, this variation creates individual loops used for flower petals and leaves.
Twisted Chain Stitch
Adds extra texture by twisting each loop.
Heavy Chain Stitch
Produces thicker decorative lines using additional thread.
Open Chain Stitch
Creates wider decorative borders with spaced loops.
Learning these variations expands your embroidery skills and creativity.
Best Fabrics for Chain Stitch
The chain stitch works well on many woven fabrics, including:
- Cotton
- Linen
- Canvas
- Denim
- Wool
- Felt
Avoid very stretchy fabrics until you gain more experience.
Common Beginner Mistakes
Everyone makes mistakes while learning.
Watch out for these common problems:
Uneven Loops
Keep each stitch the same length for a balanced appearance.
Pulling the Thread Too Tight
Excessive tension causes the loops to lose their rounded shape.
Loose Stitches
Loops should lie neatly against the fabric without becoming floppy.
Skipping the Embroidery Hoop
Loose fabric makes it difficult to create consistent stitches.
Using Thread That Is Too Long
Long thread is more likely to tangle and wear out.
Practice Exercises
Build confidence by practicing simple designs.
Try stitching:
- Straight lines
- Curved lines
- Circles
- Spirals
- Leaves
- Flowers
- Hearts
- Simple letters
Each exercise improves control and stitch consistency.
Beginner Projects Using Chain Stitch
Once you’re comfortable with the technique, try these easy embroidery projects:
- Personalized handkerchiefs
- Decorative pillow covers
- Embroidered bookmarks
- Tote bags
- Fabric wall art
- Kitchen towels
- Baby bibs
- Greeting cards with fabric accents
These projects provide enjoyable ways to practice your new skills.
Caring for Embroidered Projects
To keep your embroidery looking beautiful:
- Wash gently according to the fabric’s care instructions.
- Avoid harsh detergents.
- Iron from the reverse side when possible.
- Store embroidered items flat or carefully folded.
Proper care helps preserve your decorative stitching for years.
Final Thoughts
The chain stitch is a timeless embroidery technique that combines beauty, texture, and versatility. Its distinctive linked loops make it perfect for outlining designs, decorating garments, creating floral patterns, and adding elegant details to handmade projects. With just a needle, embroidery thread, and regular practice, beginners can quickly master this classic stitch and use it in countless creative ways. As your confidence grows, you’ll enjoy experimenting with different chain stitch variations and incorporating them into unique embroidery designs that showcase your personal style.
