
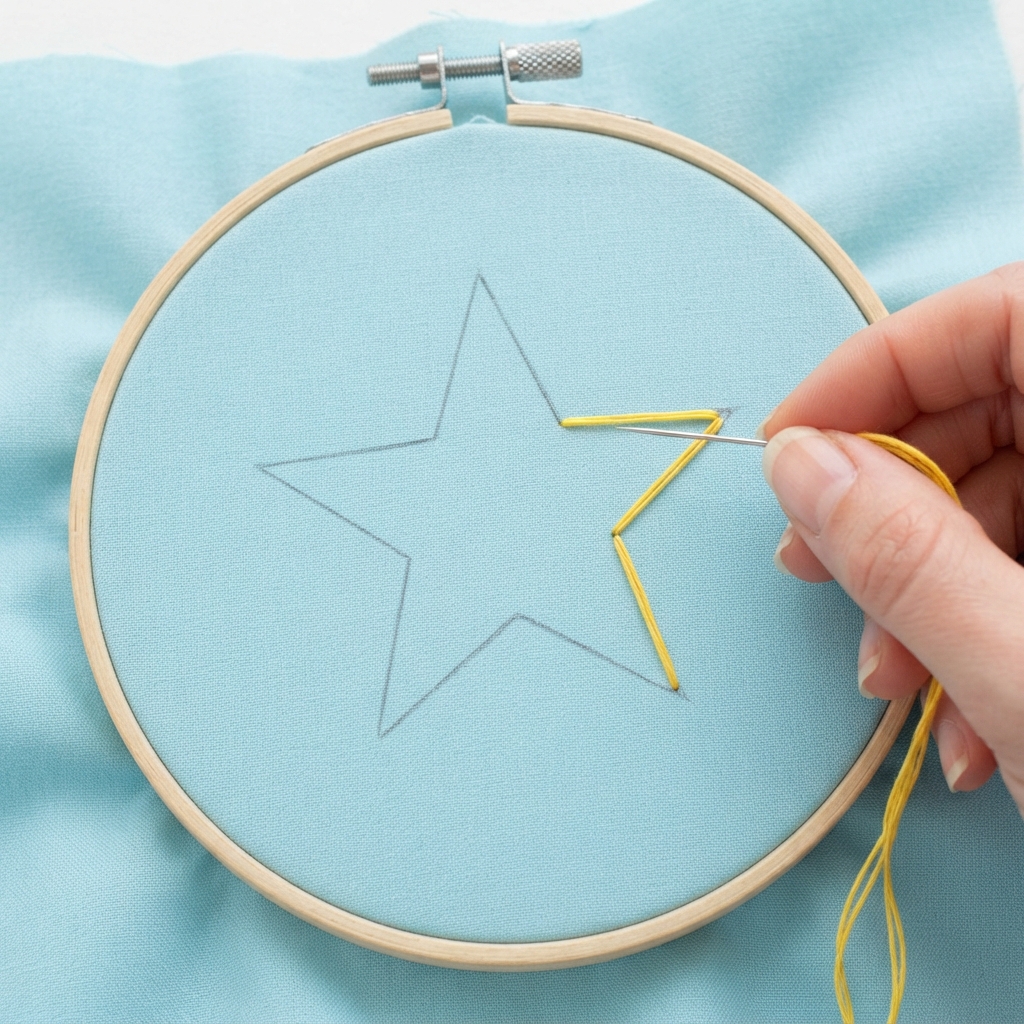
Colorful star embroidery is a fun and creative sewing project for beginners. With a piece of fabric, some embroidery thread, and a few simple stitches, you can create bright and beautiful stars by hand. This project is easy to customize, so you can choose your favorite colors and make every star look different.
Embroidered stars can be used to decorate clothing, tote bags, pillow covers, pencil cases, fabric bookmarks, wall decorations, and handmade gifts. They are also a great project for practicing basic embroidery skills.
Materials You Will Need
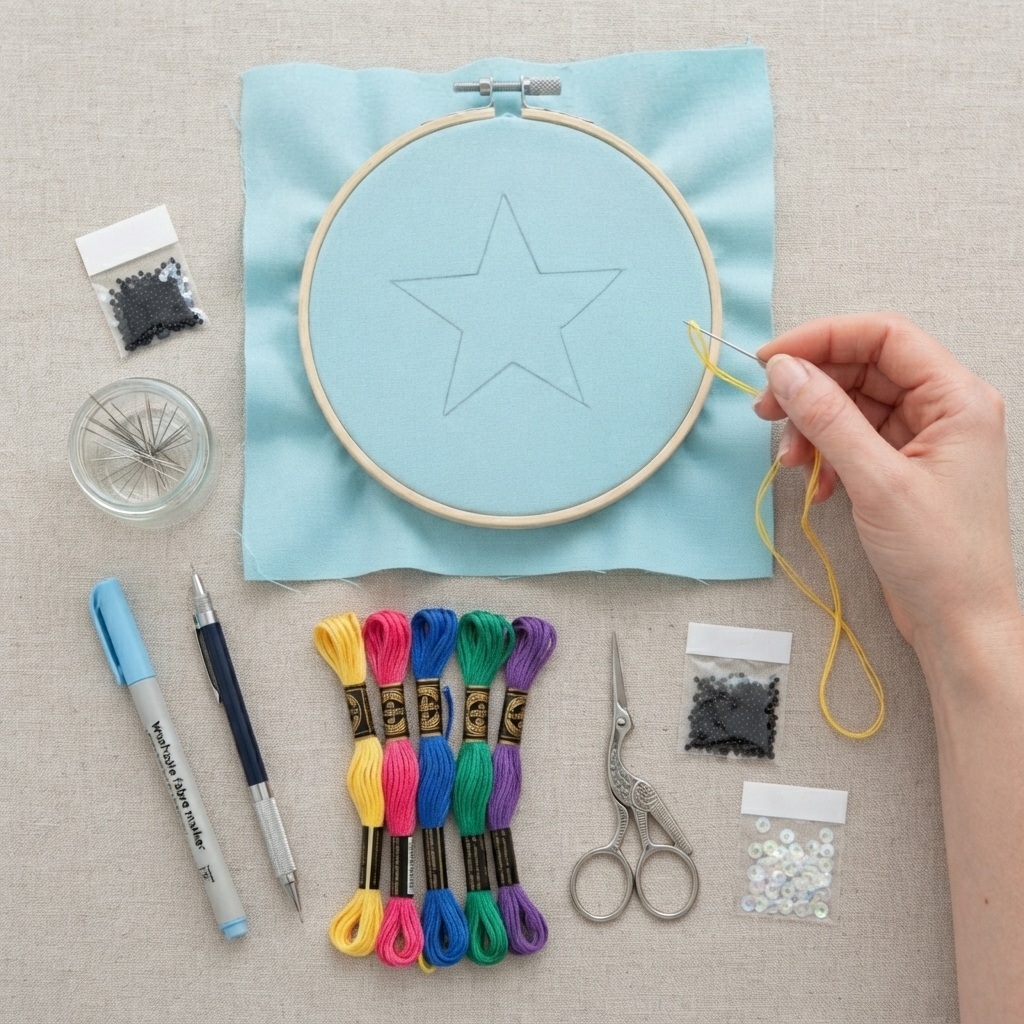
Before starting your colorful star embroidery, gather these simple materials:
- A piece of cotton or linen fabric
- An embroidery hoop
- Embroidery needle
- Embroidery floss in several colors
- Small scissors
- Pencil or washable fabric marker
- Optional: black or dark thread for outlining
- Optional: small beads or sequins for extra decoration
Choose light-colored fabric if you want the bright embroidery threads to stand out.
Step 1: Draw a Star
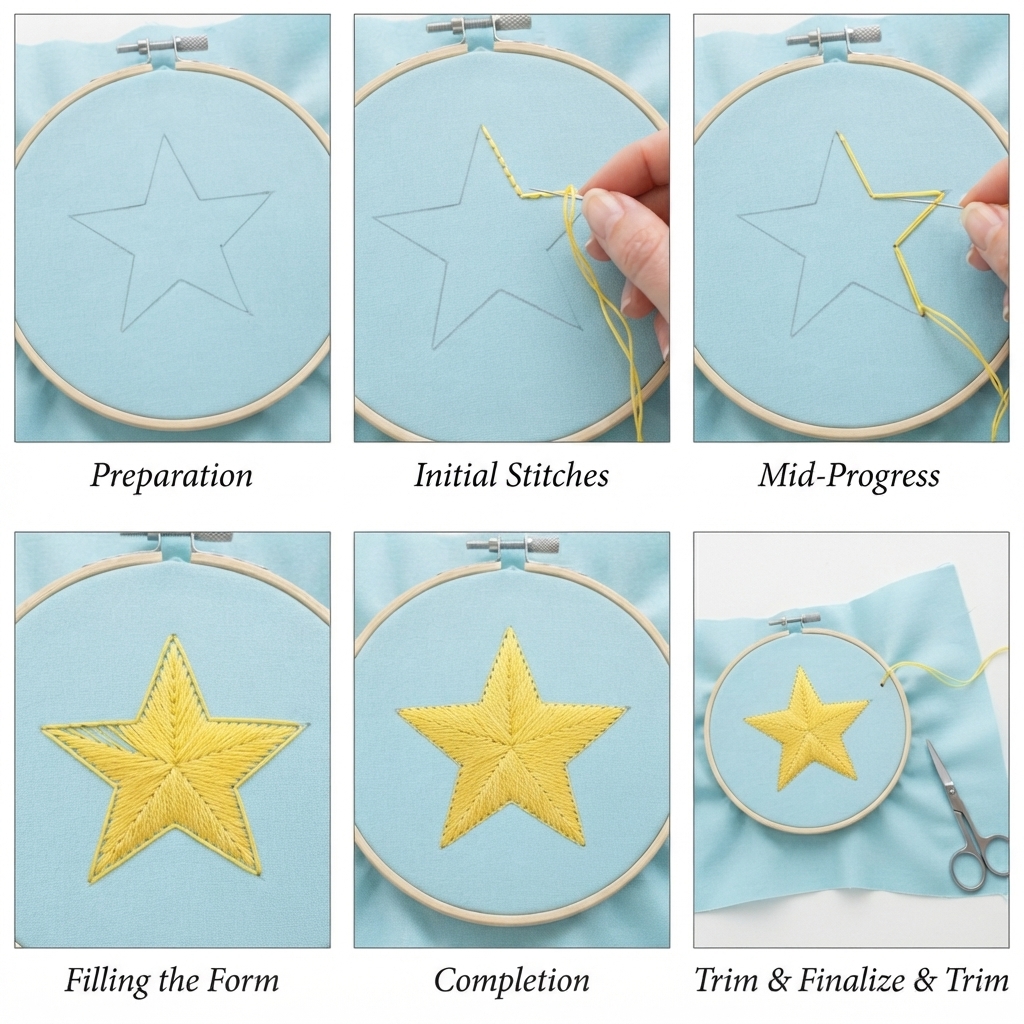
Place the fabric inside the embroidery hoop and tighten it gently until the fabric is smooth.
Use a pencil or washable fabric marker to draw a simple five-pointed star. You can draw one large star or several smaller stars.
Do not worry about making every point perfectly symmetrical. A handmade design can look charming even when it has small imperfections.
Step 2: Choose Your Colors
The most exciting part of this project is choosing the colors.
You can use:
- Red and orange
- Blue and purple
- Pink and yellow
- Green and turquoise
- Rainbow colors
For a cheerful design, give each section of the star a different color. You can also use different shades of one color for a softer effect.
Step 3: Outline the Star
Start by outlining the star using a backstitch.
Thread your needle with your chosen color and make a small knot at the back of the fabric. Bring the needle up through the fabric at the beginning of the outline.
Make a small stitch forward, then bring the needle back up where the previous stitch ended.
Continue around the entire star until the outline is complete.
For an extra colorful effect, change thread colors as you move from one side of the star to another.
Step 4: Fill the Star
Once the outline is finished, you can fill the inside of the star.
The satin stitch is a simple choice for filling larger areas. Make straight stitches close together until the fabric inside the star is covered.
You can use one color for the entire star or divide it into sections.
For example, the top point could be yellow, the left side pink, the right side blue, and the bottom points purple and green.
Step 5: Try Different Stitches
You do not have to use only one embroidery stitch.
Experiment with different stitches to create interesting textures.
Running Stitch
Running stitch creates simple dashed lines. It is useful for adding decorative patterns inside the star.
Backstitch
Backstitch creates strong outlines and works especially well around the edges.
Satin Stitch
Satin stitch gives the star a smooth, filled appearance.
French Knots
French knots can be added as tiny dots around the star or in the center for extra decoration.
Chain Stitch
Chain stitch can create a textured border around the star.
Step 6: Add Decorative Details
After filling the star, add a few small details to make it more interesting.
You can embroider:
- Tiny dots
- Small hearts
- Curved lines
- Mini stars
- Flowers
- Swirls
You can also sew small beads or sequins onto the star if you want a little sparkle.
Step 7: Create a Rainbow Star
For a colorful rainbow effect, divide the star into five sections.
Use a different color for each section. You could use red, orange, yellow, green, and blue.
Fill each section with satin stitches and keep the stitches close together.
The finished star will have a bright rainbow appearance.
Step 8: Make a Star Pattern
Instead of creating one large star, try making several small stars across the fabric.
Draw stars in different sizes and arrange them randomly.
Use a different color combination for each star. This creates a fun pattern that works especially well on tote bags, pillow covers, and children’s fabric projects.
Tips for Beginners
Start with a simple star before trying complicated designs. A star measuring about 5–8 centimeters is easy to manage.
Keep your fabric stretched inside the hoop while stitching. This helps make the stitches more even.
Avoid pulling the thread too tightly because this can wrinkle the fabric.
If you make a mistake, do not worry. Carefully remove the stitches and try again.
Practicing on a scrap piece of fabric can also help you become comfortable with each stitch.
Creative Ways to Use Star Embroidery
Your finished colorful star embroidery can be used for many handmade projects.
Try decorating:
- Tote bags
- Pencil cases
- Pillow covers
- Fabric bookmarks
- Denim jackets
- T-shirts
- Wall hangings
- Gift bags
- Fabric pouches
- Children’s clothing
You can also combine stars with moons, clouds, planets, and rainbows to create a fun space-themed design.
A Fun Craft for Children
Colorful star embroidery can be a creative activity for older children who are learning basic sewing skills. An adult should supervise children when needles and scissors are being used.
Let children choose their own colors and decide how they want to decorate their stars. This encourages creativity and gives them an opportunity to practice patience and hand coordination.
For younger children, an adult can draw the star and help with threading the needle.
Final Thoughts
Making colorful star embroidery is a simple project that combines creativity with basic sewing skills. With a few easy stitches and bright embroidery threads, you can turn an ordinary piece of fabric into a cheerful handmade decoration.
Start with one simple star, then experiment with different colors, stitches, patterns, and decorations. Once you become comfortable with the basics, you can create entire collections of colorful embroidered stars for gifts, clothing, accessories, and home decorations.
