
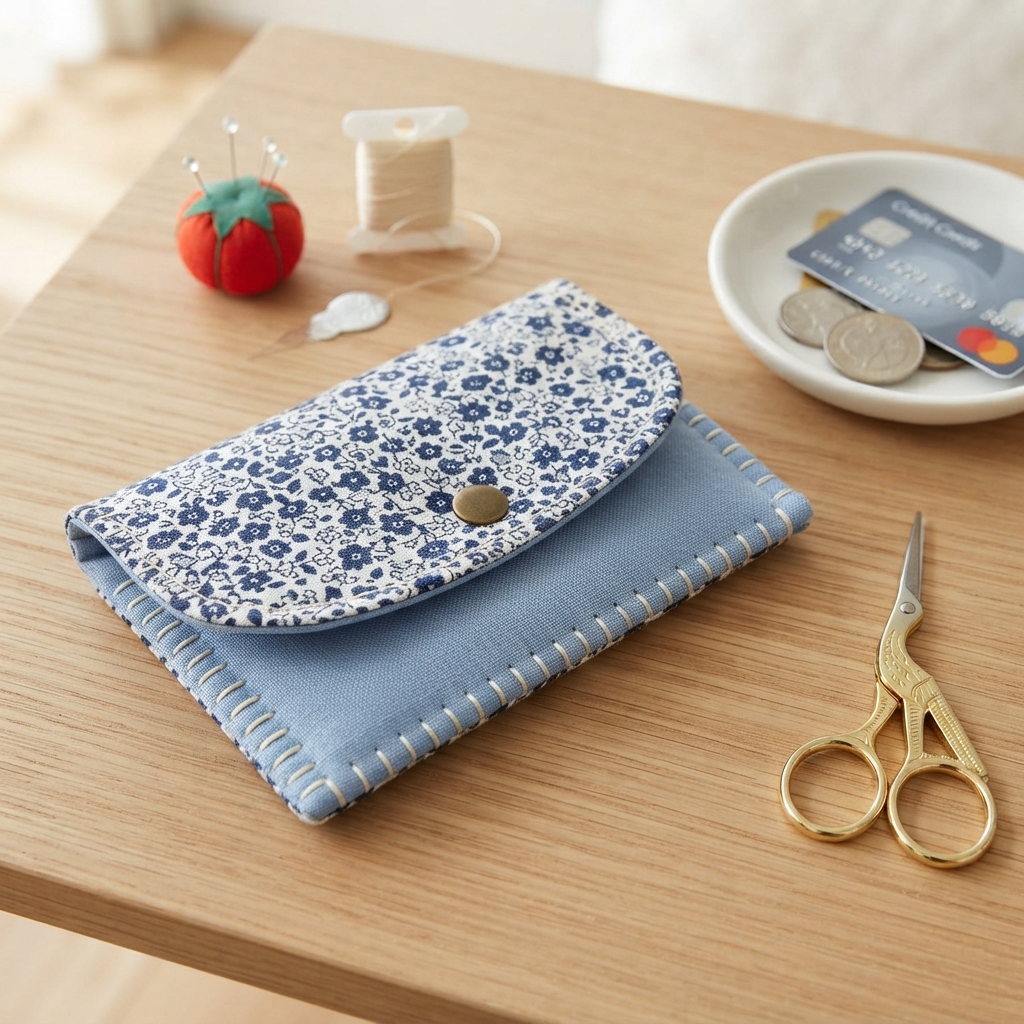
Making a fabric wallet by hand is a fun and rewarding sewing project that is perfect for beginners. It requires only a few basic sewing tools and simple hand stitches, making it an excellent way to practice your sewing skills while creating something practical. A handmade fabric wallet is lightweight, reusable, and fully customizable with your favorite colors, patterns, and decorations.
Whether you want a wallet for yourself, a thoughtful handmade gift, or simply a project to improve your sewing techniques, this step-by-step guide will help you create a beautiful fabric wallet entirely by hand.
Why Make a Fabric Wallet?
A fabric wallet is one of the best beginner sewing projects because it is small, affordable, and easy to complete.
Benefits include:
- Great for learning hand sewing
- Requires minimal fabric
- Budget-friendly
- Fully customizable
- Lightweight and durable
- Perfect for gifts
- Helps reduce fabric waste by using leftover scraps
Even if you have never sewn before, you can complete this project with patience and careful stitching.
Materials You’ll Need
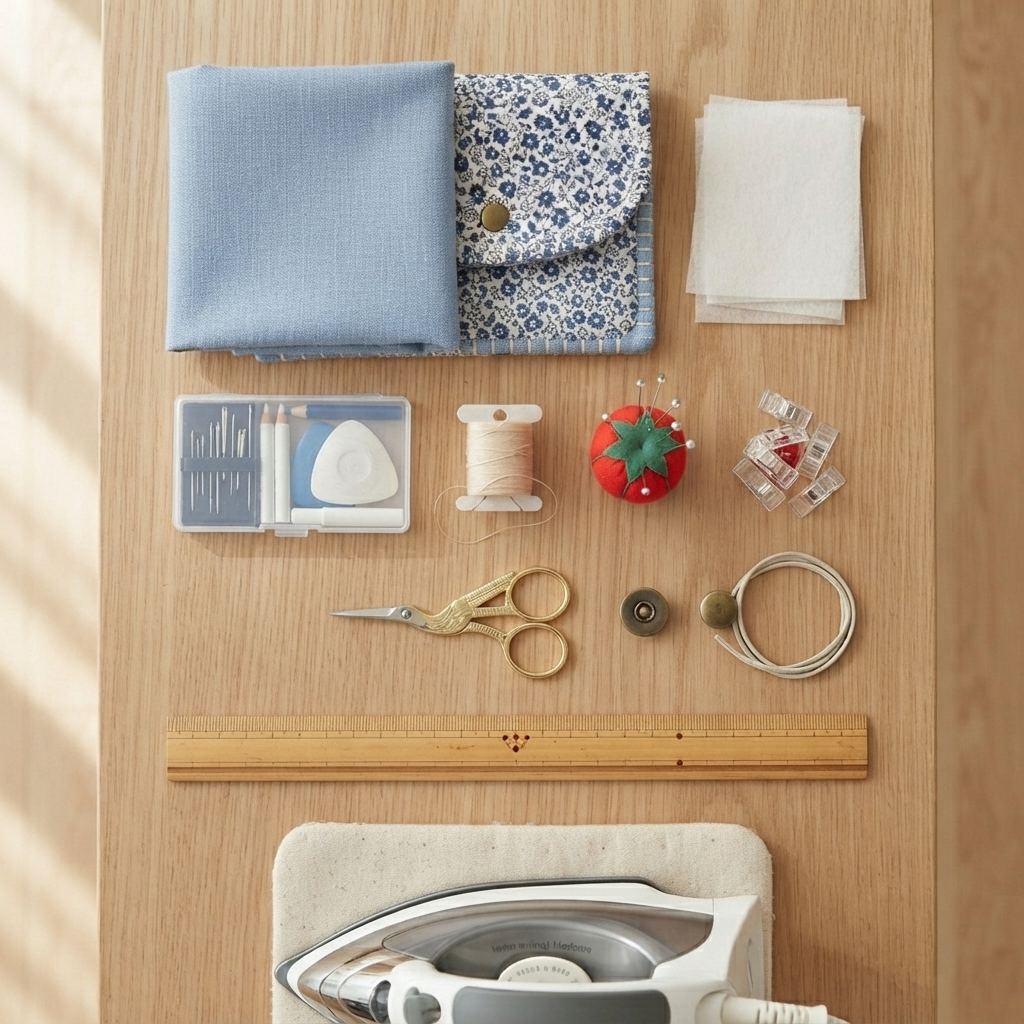
Gather these basic supplies before you begin:
- Cotton fabric for the outer layer
- Cotton fabric for the lining
- Lightweight fusible interfacing (optional)
- Hand sewing needle
- Matching thread
- Fabric scissors
- Measuring tape or ruler
- Fabric marker or tailor’s chalk
- Straight pins or sewing clips
- Iron and ironing board
- Snap button, hook-and-loop tape, or decorative button with elastic loop for closure (optional)
Choose tightly woven cotton fabric because it is easy to sew and holds its shape well.
Step 1: Cut the Fabric
For a simple wallet, cut:
- 1 outer fabric rectangle: approximately 9 × 5 inches (23 × 13 cm)
- 1 lining rectangle: the same size
- 2 pocket pieces: approximately 4½ × 5 inches (11.5 × 13 cm)
If you are using interfacing, cut one piece to match the outer fabric.
Accurate cutting makes assembly much easier.
Step 2: Prepare the Fabric
Iron all fabric pieces to remove wrinkles.
If using fusible interfacing, attach it to the wrong side of the outer fabric following the manufacturer’s instructions.
Pressing the fabric before sewing helps achieve crisp folds and accurate stitching.
Step 3: Prepare the Card Pockets
Fold the top edge of each pocket piece inward by about ¼ inch (6 mm).
Press the fold with an iron.
Sew along the folded edge using a small running stitch or backstitch to create a neat pocket opening.
Step 4: Attach the Pockets
Place the pocket pieces on the right side of the lining fabric.
Align the bottom and side edges.
Pin them in place.
Sew around the sides and bottom of each pocket using a backstitch, leaving the folded top edge open.
You can divide one pocket into smaller card slots by sewing vertical lines through the pocket.
Step 5: Place the Wallet Pieces Together
Lay the outer fabric and lining fabric with their right sides facing each other.
Pin around all four edges.
Leave an opening of about 2 inches (5 cm) along one side so you can turn the wallet right side out later.
Step 6: Sew Around the Edges
Using a backstitch, sew around the wallet with a seam allowance of approximately ¼ inch (6 mm).
Take small, even stitches for a stronger seam.
Remember to leave the turning opening unstitched.
Step 7: Trim the Corners
Carefully trim the fabric at each corner without cutting the stitches.
This reduces bulk and helps create sharp corners when the wallet is turned.
Step 8: Turn the Wallet Right Side Out
Turn the wallet through the opening.
Use a blunt tool, knitting needle, or chopstick to gently push out the corners.
Press the wallet flat with an iron.
Step 9: Close the Opening
Fold the raw edges of the opening inward.
Press them flat.
Close the opening using a slip stitch for an almost invisible finish.
Take your time to keep the stitches neat.
Step 10: Fold the Wallet
Fold the wallet into thirds or in half, depending on your preferred design.
Check that the pockets align correctly and the wallet closes comfortably.
Press the folds lightly.
Step 11: Add a Closure
Choose a closure that suits your style.
Popular options include:
- Sew-on snap button
- Hook-and-loop tape
- Decorative button with an elastic loop
- Magnetic snap
A closure helps keep the wallet securely closed during use.
Optional Decorative Ideas
Personalize your wallet with creative details.
You can add:
- Embroidery
- Appliqué shapes
- Decorative buttons
- Lace trim
- Fabric labels
- Patchwork designs
- Hand-painted fabric
- Contrast stitching
- Monograms or initials
These details make your handmade wallet truly unique.
Best Hand Stitches for This Project
Several hand stitches work well when making a fabric wallet.
Running Stitch
Ideal for simple decorative seams and practice.
Backstitch
Creates strong seams that hold the wallet together securely.
Slip Stitch
Perfect for closing the turning opening with nearly invisible stitches.
Blanket Stitch
A decorative option for finishing the wallet’s outer edges.
Choosing the right stitch improves both appearance and durability.
Tips for Success
Keep these helpful tips in mind:
- Measure carefully before cutting.
- Press the fabric often.
- Use matching thread.
- Keep your stitches small and even.
- Pin fabric securely before sewing.
- Practice on scrap fabric if you’re new to hand sewing.
Patience and accuracy will produce the best results.
Common Beginner Mistakes
Avoid these common problems:
- Uneven fabric pieces
- Crooked seams
- Skipping the ironing step
- Using thread that is too long
- Forgetting to reinforce stress points
- Sewing pockets closed by mistake
Double-check your work after each step.
Caring for Your Fabric Wallet
To keep your wallet looking its best:
- Spot clean when possible.
- Hand wash gently if needed.
- Air dry completely before use.
- Press lightly after washing.
- Repair loose stitches promptly.
Proper care helps your handmade wallet last longer.
Skills You’ll Learn
This project teaches many valuable sewing techniques, including:
- Measuring and cutting fabric
- Hand sewing strong seams
- Making pockets
- Sewing straight lines
- Turning fabric projects
- Closing seams with a slip stitch
- Attaching simple closures
These skills are useful for many future sewing projects.
Final Thoughts
Making a fabric wallet by hand sewing is an enjoyable project that combines creativity with practical sewing skills. Using only a few basic tools and simple hand stitches, beginners can create a stylish wallet for carrying cards, cash, and small essentials. Along the way, you’ll practice important techniques such as cutting fabric, sewing durable seams, attaching pockets, and finishing edges neatly. Once you’ve completed your first wallet, you can experiment with different fabrics, colors, and decorative details to create unique handmade accessories for yourself, family, and friends.
