
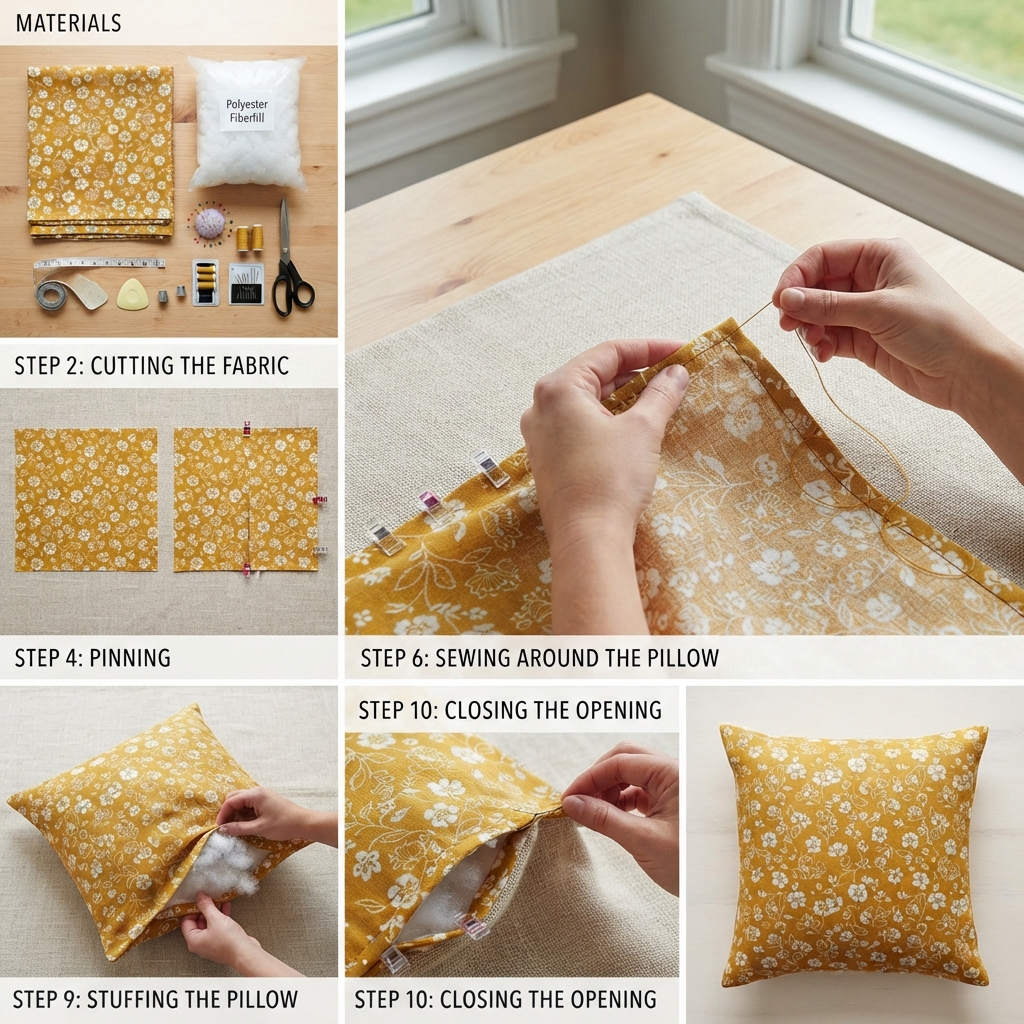
Sewing a decorative pillow by hand is one of the easiest and most rewarding projects for beginner sewists. It requires only a few basic sewing tools, simple hand stitches, and a small amount of fabric. In just a few hours, you can create a beautiful handmade pillow that adds comfort and personality to your living room, bedroom, or reading nook.
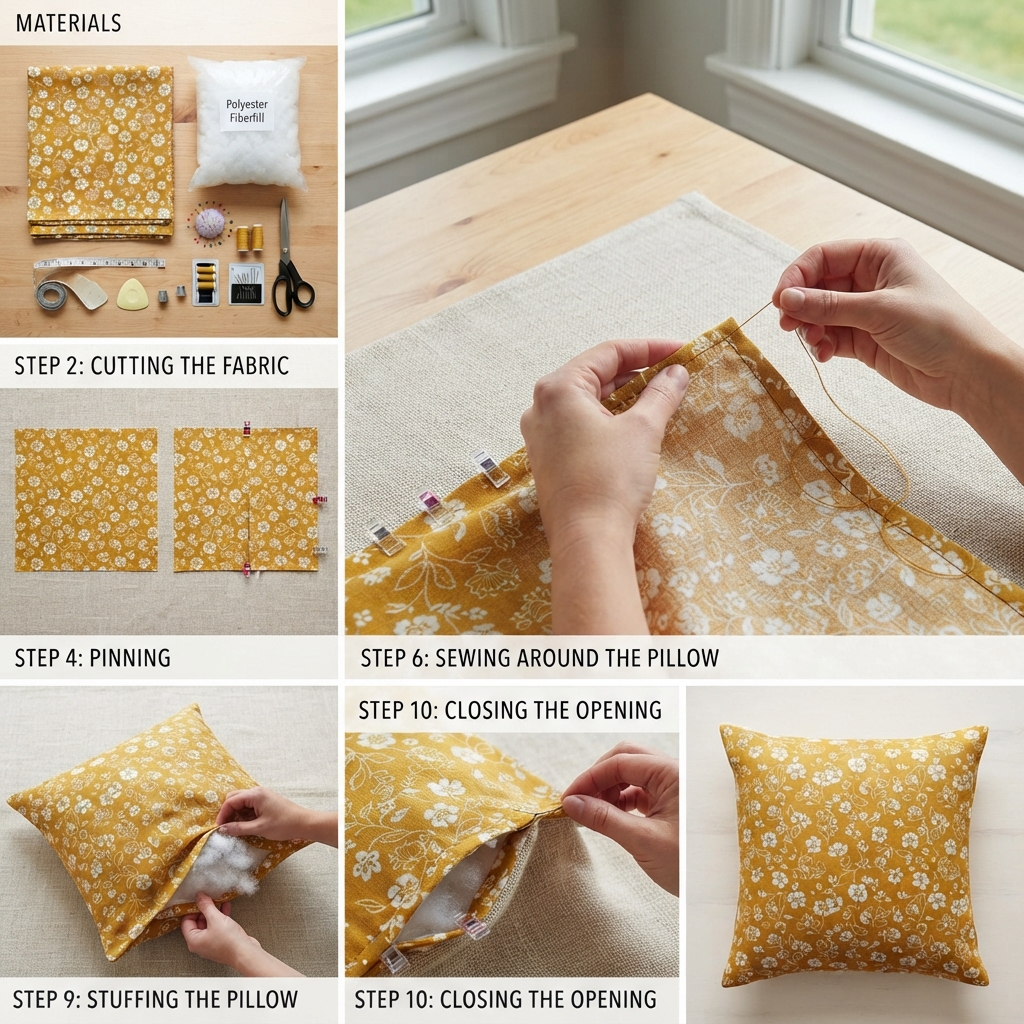
Whether you want to decorate your home, practice your hand-sewing skills, or make a thoughtful handmade gift, this step-by-step guide will show you how to sew a decorative pillow entirely by hand.
Why Make a Decorative Pillow by Hand?
Hand-sewing a pillow is an excellent project because it teaches several essential sewing techniques while producing a useful finished item.
Some benefits include:
- Perfect for beginners
- No sewing machine required
- Inexpensive project
- Great way to practice hand stitches
- Easy to customize with different fabrics
- Makes a wonderful handmade gift
- Adds a personal touch to your home décor
Even if you have never sewn before, this project is simple enough to complete successfully.
Materials You’ll Need
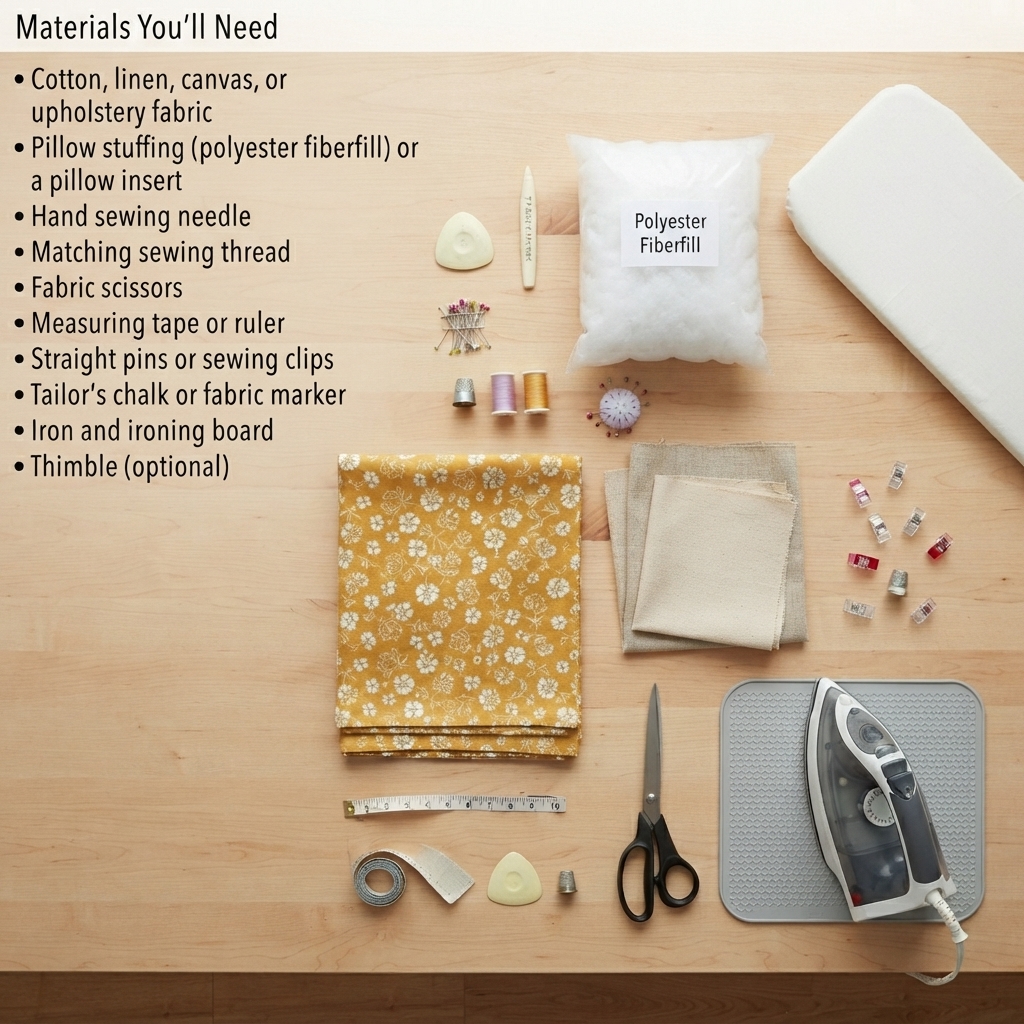
Before you begin, gather the following supplies:
- Cotton, linen, canvas, or upholstery fabric
- Pillow stuffing (polyester fiberfill) or a pillow insert
- Hand sewing needle
- Matching sewing thread
- Fabric scissors
- Measuring tape or ruler
- Straight pins or sewing clips
- Tailor’s chalk or fabric marker
- Iron and ironing board
- Thimble (optional)
Choose medium-weight fabric that is easy to sew and durable enough for everyday use.
Step 1: Choose the Pillow Size
Decide how large you want your finished pillow.
Popular decorative pillow sizes include:
- 12 × 12 inches (30 × 30 cm)
- 16 × 16 inches (40 × 40 cm)
- 18 × 18 inches (45 × 45 cm)
- 20 × 20 inches (50 × 50 cm)
Add approximately ½ inch (1.3 cm) seam allowance on each side when cutting your fabric.
Step 2: Cut the Fabric
Cut two identical fabric squares or rectangles for the front and back of the pillow.
Make sure both pieces are exactly the same size.
Use sharp fabric scissors for clean, straight edges.
Step 3: Press the Fabric
Iron both fabric pieces before sewing.
Pressing removes wrinkles and helps ensure accurate seams.
Smooth fabric is much easier to work with.
Step 4: Pin the Fabric Together
Place the two fabric pieces with their right sides facing each other.
Align all edges carefully.
Secure the layers with pins or sewing clips.
Leave an opening of about 4–6 inches (10–15 cm) on one side for turning and stuffing the pillow later.
Step 5: Thread the Needle
Cut a length of thread about 18–24 inches (45–60 cm) long.
Thread the needle and tie a small knot at one end.
Using shorter thread helps prevent knots and tangles.
Step 6: Sew Around the Pillow
Use a strong backstitch to sew around three sides and most of the fourth side.
Keep a consistent seam allowance of about ½ inch (1.3 cm).
Take small, even stitches for strength and durability.
Remember to leave the stuffing opening unsewn.
Step 7: Trim the Corners
Carefully trim a small amount of fabric from each corner without cutting the stitches.
This reduces bulk and helps create crisp corners when the pillow is turned.
Step 8: Turn the Pillow Right Side Out
Turn the fabric through the opening.
Use your fingers or a blunt tool to gently push out each corner.
Press the pillow cover lightly with an iron if needed.
Step 9: Stuff the Pillow
Fill the pillow evenly using polyester fiberfill.
If you are using a pillow insert, place it inside the cover through the opening.
Distribute the stuffing evenly, especially in the corners.
Avoid overstuffing, as this can strain the seams.
Step 10: Close the Opening
Fold the raw edges of the opening inward.
Pin them in place.
Use a slip stitch (also called a ladder stitch) to close the opening with nearly invisible stitches.
Tie a secure knot and trim the excess thread.
Your decorative pillow is now complete.
Best Hand Stitches for Sewing a Pillow
Different hand stitches serve different purposes during this project.
Backstitch
Best for sewing the pillow seams because it creates strong, durable stitching.
Running Stitch
Suitable for temporary basting or lightweight decorative pillows.
Slip Stitch
Ideal for closing the opening invisibly after stuffing.
Blanket Stitch
Can be used decoratively around the outside edges if the raw edges are intentionally exposed, such as with felt or fleece pillows.
Decorative Ideas
Customize your pillow with creative embellishments.
Popular ideas include:
- Hand embroidery
- Appliqué shapes
- Decorative buttons
- Lace trim
- Pom-pom edging
- Patchwork designs
- Fabric paint
- Monograms
- Tassels
- Contrast stitching
These details add personality and make your pillow one of a kind.
Choosing the Right Fabric
Different fabrics create different styles.
Cotton
Soft, easy to sew, and perfect for beginners.
Linen
Creates a relaxed, natural look.
Canvas
Strong and durable for everyday use.
Velvet
Adds luxury and elegance.
Upholstery Fabric
Ideal for decorative pillows that receive frequent use.
Choose a fabric that complements your home décor and skill level.
Tips for Success
Keep these helpful tips in mind:
- Measure carefully before cutting.
- Iron the fabric before sewing.
- Use matching thread.
- Keep your stitches small and even.
- Do not overfill the pillow.
- Reinforce the corners with extra stitches if needed.
- Work in a well-lit area.
Careful preparation leads to better results.
Common Beginner Mistakes
Avoid these common problems:
- Uneven fabric pieces
- Crooked seams
- Forgetting the seam allowance
- Overstuffing the pillow
- Pulling stitches too tightly
- Leaving gaps when closing the opening
Checking your work at each step helps prevent mistakes.
Caring for Your Handmade Pillow
To keep your decorative pillow looking its best:
- Follow the fabric’s care instructions.
- Spot clean when possible.
- Hand wash delicate fabrics if necessary.
- Air dry completely.
- Repair loose stitches promptly.
Proper care will keep your handmade pillow beautiful for years.
Skills You’ll Learn
This beginner-friendly project helps you practice many useful sewing skills, including:
- Measuring and cutting fabric
- Sewing strong hand seams
- Turning fabric projects
- Stuffing evenly
- Closing seams with a slip stitch
- Creating neat corners
- Finishing projects professionally
These techniques provide an excellent foundation for more advanced sewing projects.
Final Thoughts
Sewing a decorative pillow by hand is a simple and satisfying project that introduces beginners to essential hand-sewing techniques. With just a needle, thread, fabric, and stuffing, you can create a beautiful pillow that adds warmth and style to your home. Along the way, you’ll gain confidence in measuring, stitching, assembling, and finishing fabric projects. As your skills grow, you can experiment with different fabrics, shapes, and decorative details to create unique handmade pillows that reflect your personal style and creativity.
