
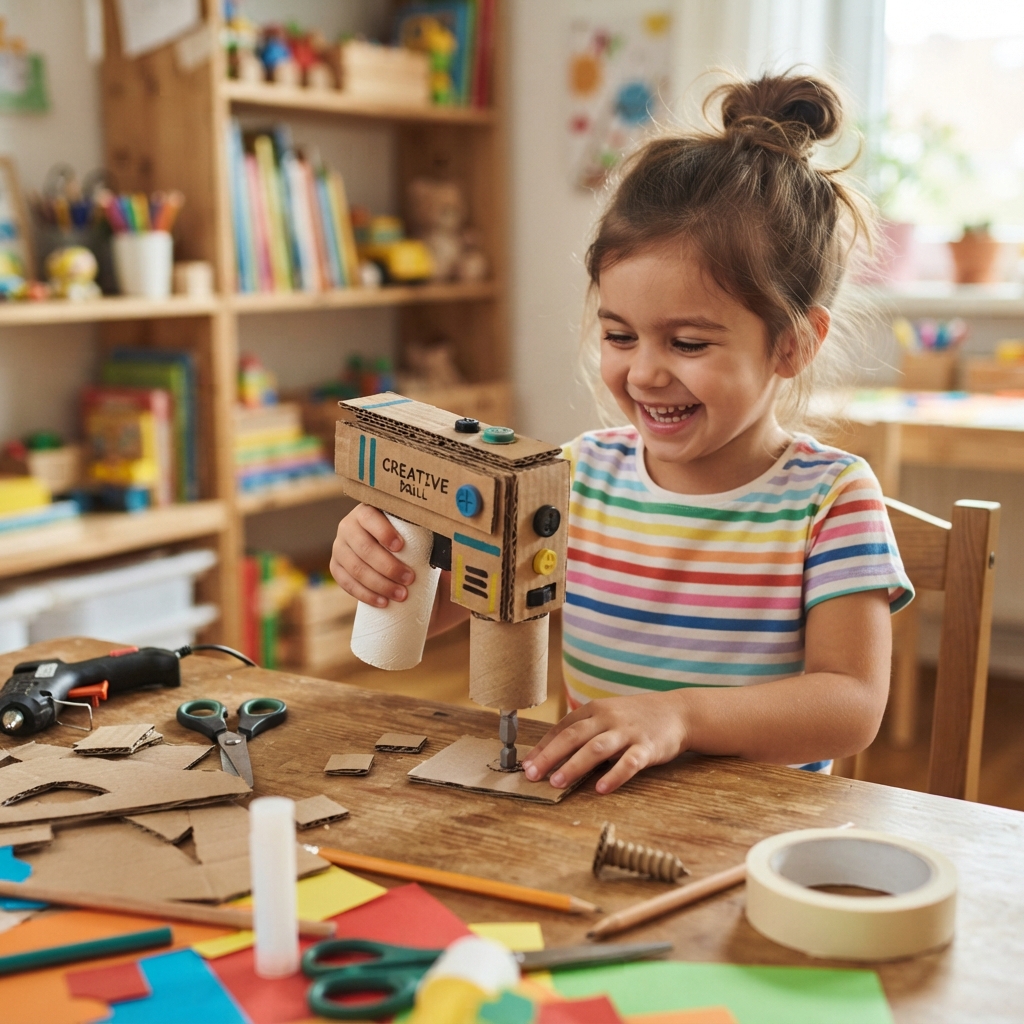
A cardboard drill is an exciting craft project that lets children build their own pretend power tool using recycled cardboard, paper, and simple craft supplies. This hands-on activity combines creativity, recycling, and imaginative play while helping children develop important skills such as cutting, folding, gluing, and problem-solving.
Although it looks like a real cordless drill, a cardboard drill is made entirely from lightweight materials with smooth edges and is designed only for pretend play. It cannot drill holes or operate like a real tool, making it a safe and enjoyable craft for young builders.
Whether you’re a parent, teacher, or camp leader, this easy project is perfect for classrooms, STEM activities, craft workshops, or a fun afternoon at home.
What Is a Cardboard Drill?
A cardboard drill is a handmade toy tool created from recycled cardboard, colored paper, glue, and decorative materials. It is shaped like a cordless drill, complete with a handle, drill body, and a rounded decorative drill bit.
Children can use their finished drill during pretend construction games, repair workshops, engineering adventures, or imaginative building projects.
Why Children Love This Craft
Kids enjoy making a cardboard drill because it is:
- Easy to create
- Safe for imaginative play
- Made from recycled materials
- Fun to decorate
- Great for classroom projects
- Perfect for construction-themed activities
- Encourages creativity and storytelling
- Helps improve fine motor skills
Each child can personalize the drill with favorite colors and unique decorations.
Materials You’ll Need
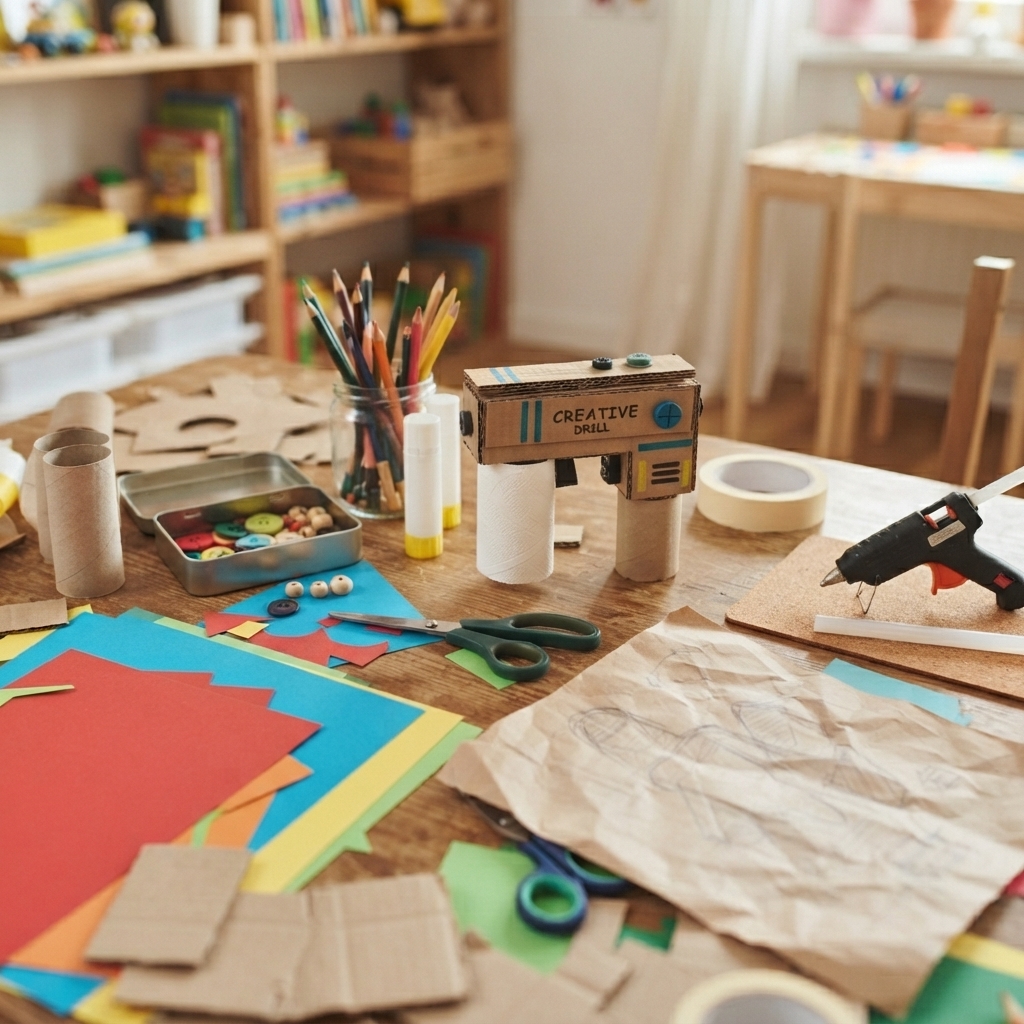
Gather these supplies before starting:
- Lightweight cardboard
- Construction paper
- Gray or silver paper
- Colored paper
- Pencil
- Ruler
- Child-safe scissors
- School glue
- Glue stick
- Clear tape
- Markers
- Crayons or colored pencils
- Paint (optional)
- Paintbrush
- Stickers
- Foam shapes (optional)
- Decorative tape (optional)
These inexpensive materials are easy to find at home or in school.
Prepare Your Workspace
Before beginning:
- Cover your table with newspaper or a craft mat.
- Organize all supplies.
- Keep scissors and glue nearby.
- Wear an apron if using paint.
- Ask an adult to help cut thick cardboard.
A clean workspace helps children stay organized and enjoy the project.
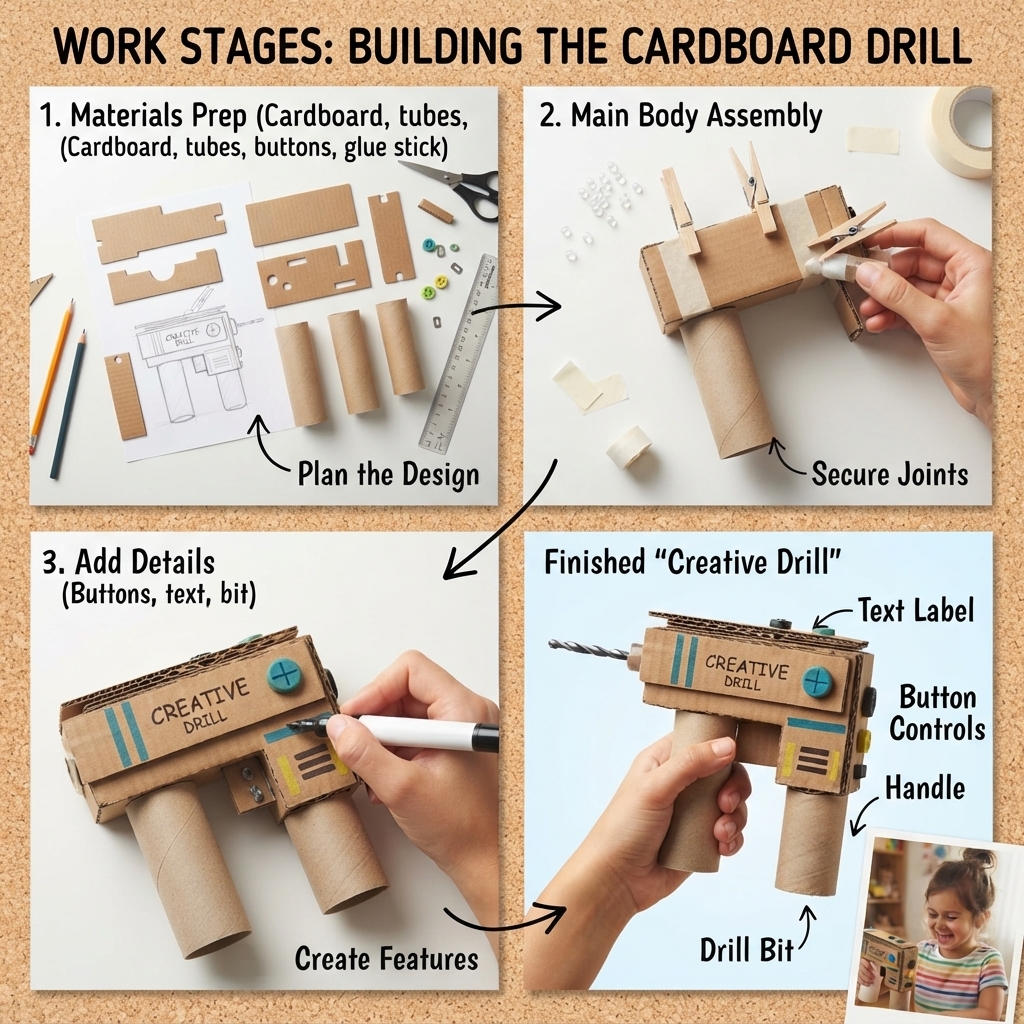
Step 1: Draw the Drill Shape
Using a pencil, draw the outline of a cordless drill on cardboard.
Include:
- A rounded drill body
- A comfortable handle
- A short front section for the drill bit
Avoid sharp angles and keep all corners rounded.
Step 2: Cut Out the Pieces
Carefully cut out:
- Two identical drill body pieces
- Several narrow cardboard strips for the sides
The side strips will create the thickness of the drill.
Step 3: Build the Drill Body
Glue the side strips around one drill body.
Next, glue the second body piece on top.
Press gently until everything is firmly attached.
This creates a sturdy three-dimensional drill.
Step 4: Make the Drill Bit
Roll a small strip of gray paper into a short cylinder.
Glue it to the front of the drill.
Keep the tip rounded and soft so it remains completely safe for pretend play.
Step 5: Add Decorative Details
Cut small circles and rectangles from colored paper.
Glue them onto the drill to represent:
- Power buttons
- Speed controls
- Battery pack
- Decorative screws
- Tool labels
These details make the craft look more realistic without adding any moving parts.
Step 6: Paint or Cover the Drill
Construction tools often come in bright colors.
Children can decorate their drill using:
- Yellow
- Blue
- Red
- Green
- Orange
- Black
- Rainbow colors
Allow paint or glue to dry completely before continuing.
Step 7: Personalize Your Drill
Now it’s time for creativity!
Children can decorate with:
- Their name
- Stars
- Hearts
- Lightning bolts
- Animal stickers
- Foam letters
- Glitter glue
- Construction signs
- Colorful stripes
Every cardboard drill becomes a unique creation.
Creative Theme Ideas
Try one of these exciting styles.
Builder’s Drill
Decorate with yellow and black construction colors.
Rainbow Drill
Use every color of the rainbow for a cheerful design.
Super Builder Drill
Add superhero symbols and colorful lightning bolts.
Space Engineer Drill
Decorate with rockets, planets, and stars.
Dinosaur Builder Drill
Add dinosaur footprints and jungle leaves.
Princess Builder Drill
Use pink, purple, flowers, and glitter.
Robot Workshop Drill
Decorate with gears, metallic patterns, and futuristic designs.
Educational Benefits
Making a cardboard drill helps children develop important skills.
These include:
- Fine motor coordination
- Hand-eye coordination
- Measuring
- Cutting and gluing
- Creative thinking
- Problem-solving
- Following instructions
- Concentration
- Patience
- Confidence
Crafting also teaches children the value of recycling everyday materials.
Learning About Community Helpers
Parents and teachers can use this activity to introduce careers such as:
- Builders
- Carpenters
- Engineers
- Mechanics
- Electricians
- Architects
- Construction workers
Children learn how professionals use real tools carefully while following important safety rules.
Pretend Play Ideas
After finishing the drill, children can pretend to be:
- Builders
- Engineers
- Mechanics
- Workshop managers
- Home repair experts
- Inventors
- Construction supervisors
Pretend play encourages communication, creativity, teamwork, and storytelling.
Build a Complete Builder’s Tool Kit
Pair the cardboard drill with other handmade crafts, including:
- Paper hammer
- Paper screwdriver
- Cardboard wrench
- Safe paper saw
- Paper measuring tape
- Cardboard construction shovel
- Paper toolbox
- Cardboard construction worker’s helmet
Together, these crafts create a complete pretend construction workshop where children can enjoy hours of imaginative play.
Classroom Activities
Teachers can use this craft during lessons about:
- Community helpers
- Construction
- Recycling
- Engineering
- STEM and STEAM education
- Art and design
- Career exploration
Students can proudly display their finished drills or use them during dramatic play activities.
Safety Reminder
Although the cardboard drill resembles a real power tool, it is only for pretend play.
Teach children to:
- Use child-safe scissors while crafting.
- Ask an adult for help when cutting thick cardboard.
- Never point the drill at people’s faces or pets.
- Understand that real power tools should only be used by trained adults with proper safety equipment.
- Treat pretend tools responsibly during games.
Learning safe habits is an important part of every construction-themed activity.
Display Finished Projects
Celebrate everyone’s creativity by:
- Creating a classroom construction display
- Organizing a “Little Builders Workshop”
- Setting up a pretend repair station
- Taking group photos
- Awarding certificates for creativity and teamwork
Displaying finished projects builds confidence and encourages creative learning.
Tips for Success
For the best results:
- Use sturdy recycled cardboard.
- Keep all edges smooth and rounded.
- Reinforce the handle with an extra cardboard layer.
- Allow glue to dry completely before play.
- Encourage children to invent their own colorful designs and imaginative stories.
Most importantly, have fun creating together.
Conclusion
A cardboard drill is a fun, affordable, and educational craft project that combines creativity, recycling, and imaginative play. Using simple materials like cardboard, paper, glue, and markers, children can create a colorful pretend drill while strengthening fine motor skills, problem-solving abilities, and artistic confidence.
Whether completed at home, in the classroom, or during a community craft event, this project inspires young builders to explore the exciting world of construction through safe, hands-on activities. Combined with a paper toolbox, paper hammer, paper screwdriver, cardboard wrench, safe paper saw, paper measuring tape, cardboard construction shovel, and construction worker’s helmet, the cardboard drill becomes part of a complete pretend builder’s toolkit that encourages endless hours of creative learning, teamwork, and fun.
