
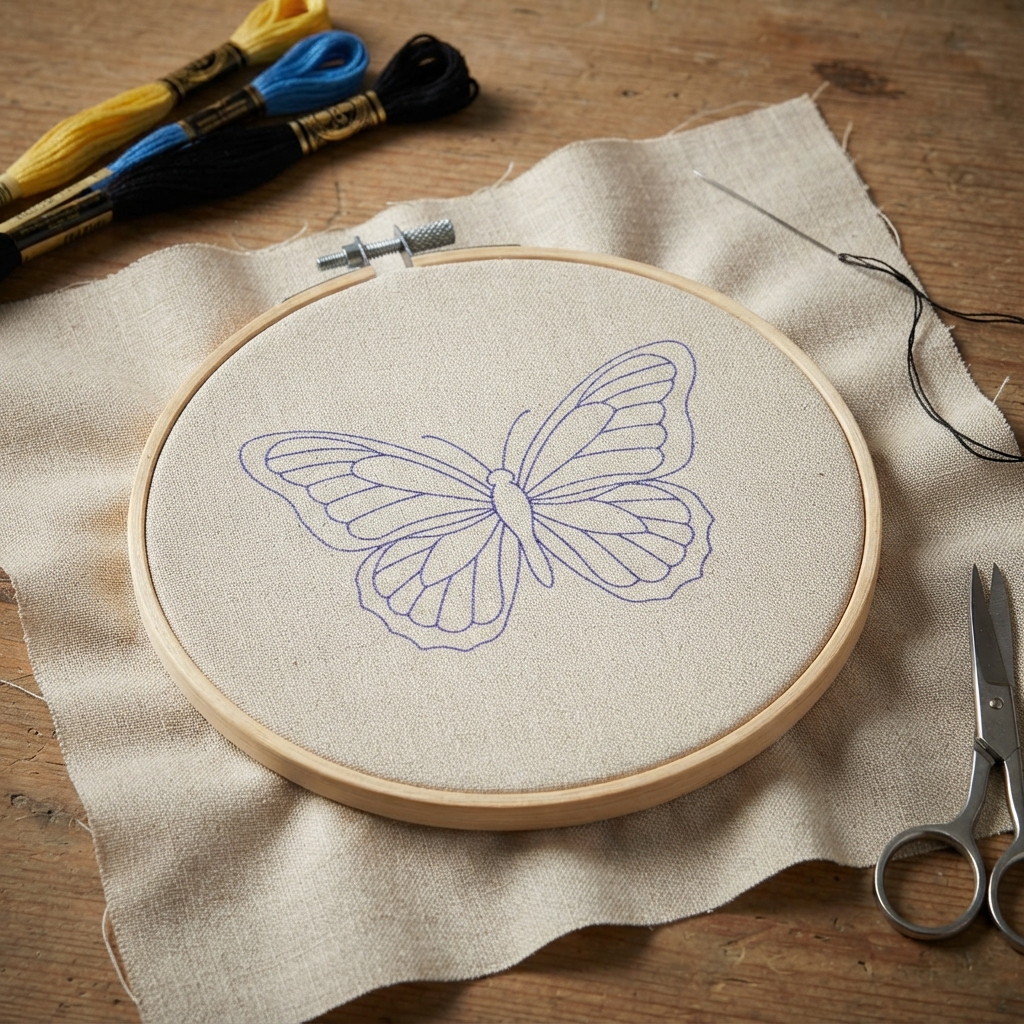
Embroidering a butterfly on fabric is a fun and creative hand-sewing project for beginners. With a few simple embroidery stitches, colorful thread, and a piece of fabric, you can create a beautiful butterfly decoration. This project is easy to learn and can be adapted for both children and adults with appropriate supervision and tools.
A fabric butterfly can be used to decorate clothing, tote bags, pillow covers, fabric pouches, bookmarks, or handmade gifts. You can choose bright colors for a cheerful design or soft colors for a more delicate look.
Materials You Will Need
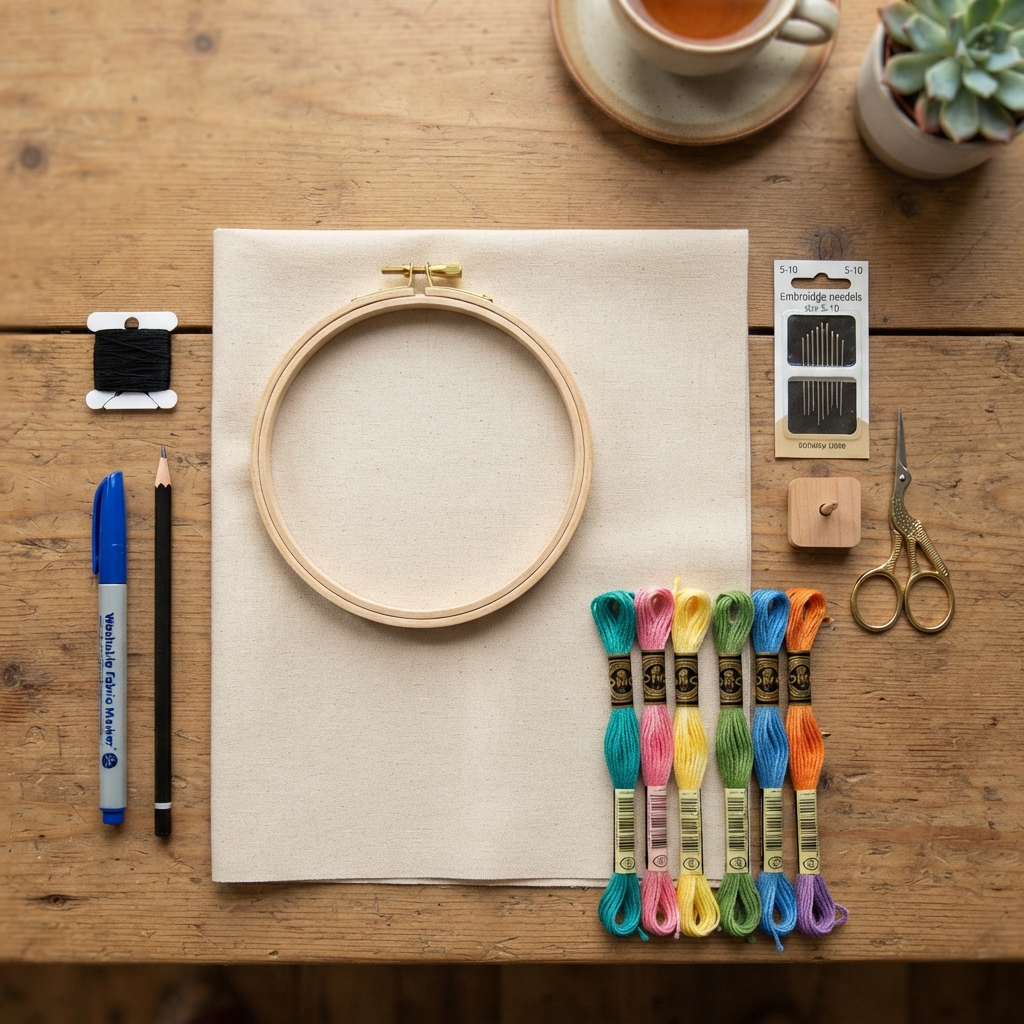
Before you begin, gather the following materials:
- A piece of cotton or linen fabric
- An embroidery hoop
- Embroidery needle
- Embroidery floss in several colors
- Small scissors
- Pencil or washable fabric marker
- Optional: black or dark embroidery thread for the outline
Choose a light-colored fabric so the butterfly design and colorful stitches are easy to see.
Step 1: Draw the Butterfly
Place the fabric inside the embroidery hoop and tighten it until the fabric is smooth.
Use a pencil or washable fabric marker to draw a simple butterfly. Begin with a small body in the center. Then draw two large upper wings and two smaller lower wings.
You do not need to create a complicated design. Simple shapes are perfect for beginners.
Try drawing symmetrical wings, but remember that a handmade butterfly does not have to be perfectly identical on both sides.
Step 2: Choose Your Colors
Butterflies can be decorated with almost any combination of colors. Choose two or three main colors for the wings and a darker color for the body and outlines.
For example, you could use:
- Pink and purple for the wings
- Blue and yellow for a bright butterfly
- Orange and red for a warm design
- Green and turquoise for a nature-inspired butterfly
You can also use different shades of the same color to create a soft gradient effect.
Step 3: Embroider the Butterfly Outline
Start with the butterfly’s body and wing outlines. A backstitch is an easy stitch for this part of the design.
Bring the needle up through the fabric at the beginning of the line. Make a small stitch forward, then bring the needle up again where the previous stitch ended.
Continue following the drawn lines until the wings and body are outlined.
Try to keep the stitches small and even, especially around the curves of the wings.
Step 4: Fill the Wings
Now you can begin decorating the butterfly wings.
One of the easiest stitches for filling large areas is the satin stitch. Make straight stitches close together until the inside of each wing is covered.
You do not have to fill every section with the same color. Try dividing each wing into small areas and using different colors.
For example, the upper part of the wing could be purple, while the lower part could be pink. Add a few yellow stitches near the center for contrast.
Step 5: Add Decorative Details
The most enjoyable part of butterfly embroidery is adding colorful details.
You can use French knots to create small dots on the wings. You can also add tiny lines, circles, or curved shapes using a backstitch.
Another simple option is to use small satin stitches to create decorative spots.
Remember that butterfly wings are naturally colorful and varied, so there is no single correct design.
Step 6: Embroider the Body
Use dark brown, black, or another contrasting color for the butterfly’s body.
A few small backstitches can create the body. You can also use a thicker thread or several strands of embroidery floss to make it stand out.
For the antennae, use thin backstitches. Gently curve the lines upward from the butterfly’s head.
Step 7: Add Leaves or Flowers
If you want to make your embroidery more decorative, add a few small flowers, leaves, or stems around the butterfly.
Use green thread for the leaves and choose bright colors for the flowers. Simple backstitches and satin stitches are enough to create these small details.
This can turn your butterfly into a little garden scene.
Easy Stitches for Butterfly Embroidery
You only need a few basic stitches for this project.
Backstitch
Backstitch is ideal for outlining the butterfly, drawing the body, and creating the antennae.
Satin Stitch
Satin stitch works well for filling the wings with color. Keep the stitches close together for a smooth finish.
French Knot
French knots are perfect for creating small decorative dots on butterfly wings or tiny flower centers.
Stem Stitch
Stem stitch can be used for curved stems, flower branches, or decorative lines.
Tips for Beginners
Keep your butterfly design small when you are learning. A butterfly measuring about 5–10 centimeters is a comfortable size for a beginner.
Do not pull the thread too tightly. Excessive tension can make the fabric wrinkle.
If you make a mistake, simply remove a few stitches and try again. Embroidery is a craft that improves with practice.
It is also helpful to practice the stitches on a scrap piece of fabric before starting your butterfly.
Creative Ideas for Your Embroidered Butterfly
Once you have finished your butterfly, you can use it in many creative projects.
Try embroidering butterflies on:
- Tote bags
- Denim jackets
- Pillow covers
- Fabric pencil cases
- Handkerchiefs
- Bookmarks
- Fabric pouches
- Wall decorations
- Handmade cards
- Small gift bags
You can also create several butterflies in different sizes and colors to make a beautiful fabric pattern.
A Fun Project for Children
Butterfly embroidery can also become a creative activity for older children who are learning basic sewing skills. An adult should supervise children when using needles and scissors.
Children can choose their favorite colors and create their own butterfly designs. This activity can help them practice patience, creativity, hand coordination, and basic sewing techniques.
For younger children, an adult can draw the butterfly first and help with threading the needle and handling the tools.
Final Thoughts
Embroidering a butterfly on a piece of fabric is a simple project that allows you to experiment with colors, shapes, and stitches. With basic techniques such as backstitch, satin stitch, and French knots, you can create a beautiful handmade butterfly without needing advanced embroidery skills.
Start with a simple outline, add colorful wings, and finish with small decorative details. As you gain confidence, experiment with larger butterflies, different patterns, and more creative color combinations. Each butterfly you make can be completely unique.
