
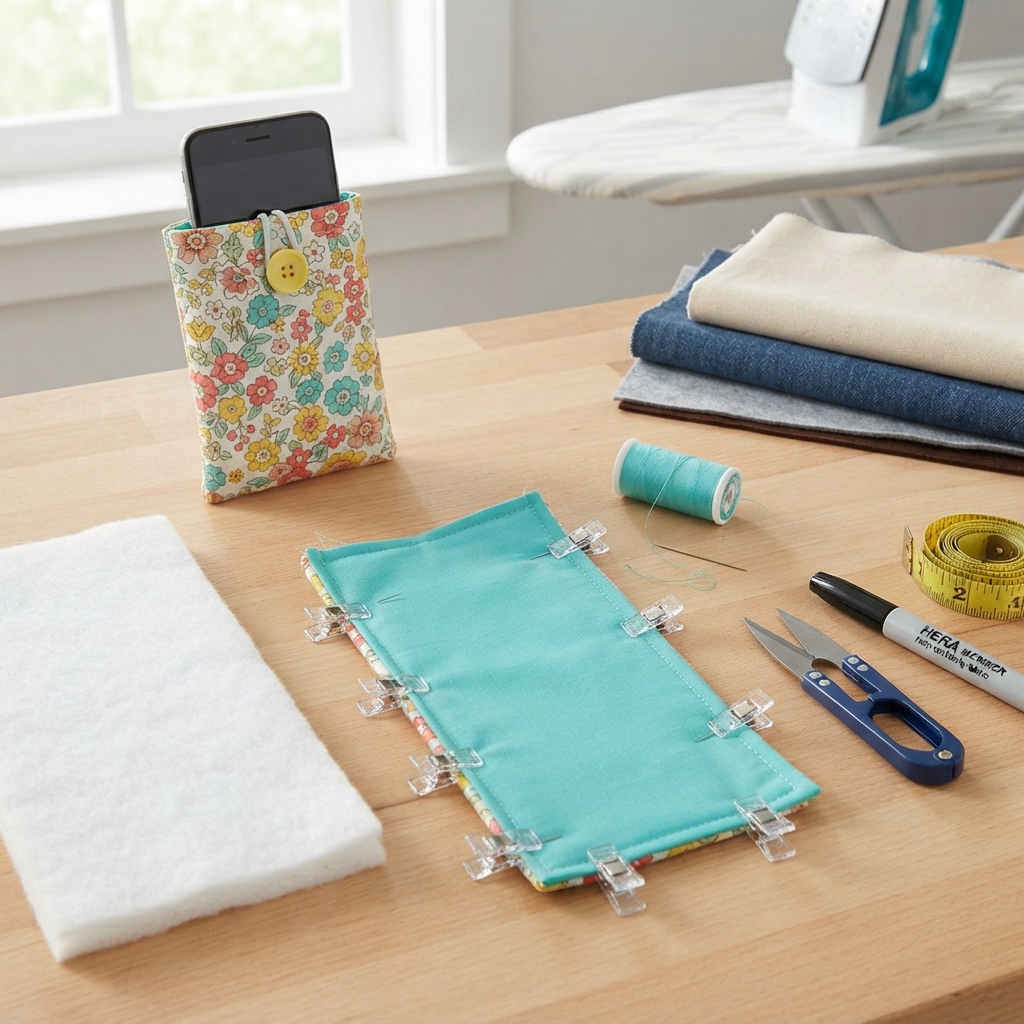
A handmade fabric phone case is a practical and enjoyable sewing project that is perfect for beginners. It requires only a small amount of fabric, a few basic sewing tools, and simple sewing techniques. By making your own phone case, you can choose your favorite colors and patterns while creating a protective sleeve that fits your phone perfectly.
Whether you’re learning to sew by hand or using a sewing machine, this project is an excellent way to practice measuring, cutting, stitching, and finishing seams. You can also personalize the case with decorative details to make it truly one of a kind.
Why Make a Fabric Phone Case?
A fabric phone case is both useful and fun to make. It is an ideal project for anyone who wants to improve their sewing skills while creating something they can use every day.
Some advantages include:
- Beginner-friendly sewing project
- Requires only small fabric pieces
- Protects your phone from scratches
- Fully customizable
- Great way to use fabric scraps
- Makes a thoughtful handmade gift
- Quick to complete
Because of its simple design, a fabric phone case can usually be finished in an afternoon.
Materials You’ll Need
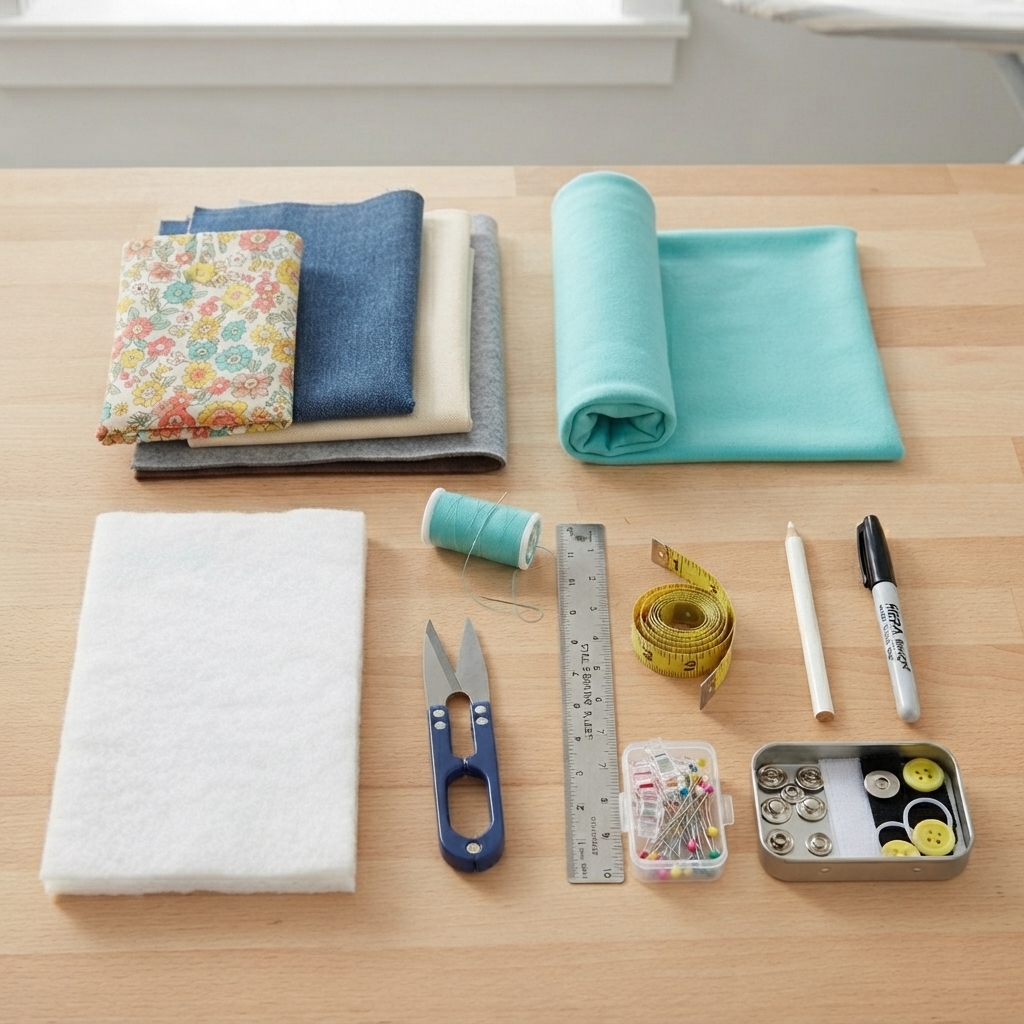
Before you begin, gather the following supplies:
- Cotton, canvas, denim, or felt fabric
- Soft lining fabric (optional)
- Lightweight batting or foam interfacing (optional for extra padding)
- Sewing needle or sewing machine
- Matching thread
- Fabric scissors
- Measuring tape or ruler
- Tailor’s chalk or fabric marker
- Straight pins or sewing clips
- Iron and ironing board
- Snap button, hook-and-loop tape, magnetic snap, or button with an elastic loop (optional)
Choose sturdy fabric if you want additional protection for your phone.
Step 1: Measure Your Phone
Measure your phone carefully, including any protective case you normally use.
Record:
- Height
- Width
- Thickness
Add about ½ inch (1.3 cm) around all sides to allow for seams and easy insertion.
Accurate measurements ensure the finished case fits comfortably.
Step 2: Cut the Fabric
Cut:
- 2 outer fabric pieces
- 2 lining pieces
- 2 batting pieces (optional)
Each piece should match your measured dimensions plus the seam allowance.
If you are making a simple sleeve without a lining, only cut the two outer fabric pieces.
Step 3: Prepare the Padding (Optional)
If using batting or foam interfacing, attach it to the wrong side of the outer fabric.
Padding provides extra protection against bumps and scratches.
Follow the manufacturer’s instructions if using fusible interfacing.
Step 4: Decorate the Front (Optional)
Before assembling the case, add any decorative elements you like.
Ideas include:
- Embroidery
- Appliqué
- Fabric paint
- Decorative stitching
- Iron-on patches
- Monograms
- Lace trim
- Decorative labels
Decorating now is easier than after the case has been sewn together.
Step 5: Assemble the Layers
Place the outer fabric and lining pieces right sides together.
If using batting, it should be attached to the wrong side of the outer fabric.
Pin the layers securely.
Repeat for the second set of fabric pieces.
Step 6: Sew the Top Edge
Sew across the top edge of each fabric set.
Turn the pieces right side out and press them flat.
This creates a clean opening for the phone case.
Step 7: Place the Pieces Together
Lay the two prepared pieces with the lining sides facing each other.
Align all edges carefully.
Pin around the sides and bottom.
Step 8: Sew the Side and Bottom Seams
Using a backstitch (for hand sewing) or a straight stitch (for machine sewing), sew around both sides and the bottom.
Leave the top open.
Keep a seam allowance of about ¼–½ inch (6–13 mm).
Backstitch at the beginning and end to reinforce the seams.
Step 9: Trim and Turn
Trim excess fabric from the corners without cutting the stitches.
Turn the phone case right side out.
Use a blunt tool to gently push out the corners.
Press the finished case with an iron.
Step 10: Add a Closure (Optional)
Although many phone sleeves remain open at the top, you can add a closure for extra security.
Popular options include:
Snap Button
Easy to use and provides a secure closure.
Hook-and-Loop Tape
Simple and beginner-friendly.
Magnetic Snap
Creates a clean, modern appearance.
Button and Elastic Loop
Adds a decorative handmade touch.
Choose the closure that best suits your style and needs.
Optional Pocket
Add a small front pocket to hold:
- Earbuds
- Credit cards
- Cash
- Transit passes
- Keys
Sew the pocket onto the front panel before assembling the phone case.
Best Fabrics for a Phone Case
Different fabrics provide different levels of protection.
Cotton
Soft, lightweight, and easy to sew.
Canvas
Durable and excellent for everyday use.
Denim
Strong and fashionable.
Felt
Easy to work with and naturally soft.
Quilted Fabric
Provides additional cushioning for electronic devices.
Choose a fabric that balances appearance with protection.
Tips for Success
Follow these helpful tips:
- Measure your phone carefully.
- Test the fit before sewing the final seam.
- Use matching thread.
- Press the fabric before and after sewing.
- Reinforce stress points with extra stitches.
- Keep stitches small and even.
Careful preparation leads to a professional-looking result.
Common Beginner Mistakes
Avoid these common problems:
- Forgetting seam allowance
- Making the case too tight
- Crooked seams
- Uneven cutting
- Skipping the ironing step
- Using thread that contrasts unintentionally
Double-check each step before continuing.
Creative Personalization Ideas
Make your phone case unique with creative decorations such as:
- Floral embroidery
- Patchwork designs
- Quilted patterns
- Decorative buttons
- Fabric labels
- Contrast stitching
- Initials
- Printed fabric
- Color-block panels
- Tassels or charms
These small details give your handmade project extra personality.
Caring for Your Fabric Phone Case
Keep your phone case looking its best by following these care tips:
- Hand wash or machine wash according to the fabric’s care instructions.
- Air dry completely.
- Press lightly if needed.
- Repair loose stitches promptly.
- Avoid exposing the case to excessive moisture if it contains padding.
Proper care helps extend the life of your handmade accessory.
Skills You’ll Learn
This project helps beginners practice several essential sewing techniques, including:
- Measuring accurately
- Cutting fabric neatly
- Sewing straight seams
- Working with lining fabric
- Attaching closures
- Turning fabric projects right side out
- Finishing edges professionally
These skills provide a solid foundation for many future sewing projects.
Final Thoughts
Sewing a fabric phone case is a simple, practical project that combines creativity with useful sewing skills. With just a few pieces of fabric and basic sewing supplies, you can create a protective sleeve that reflects your personal style while keeping your phone safe from scratches and everyday wear. As you gain confidence, you can experiment with different fabrics, padding, pockets, and decorative details to create custom phone cases for yourself, family, and friends. It’s an enjoyable project that is both functional and rewarding for sewists of all skill levels.
