
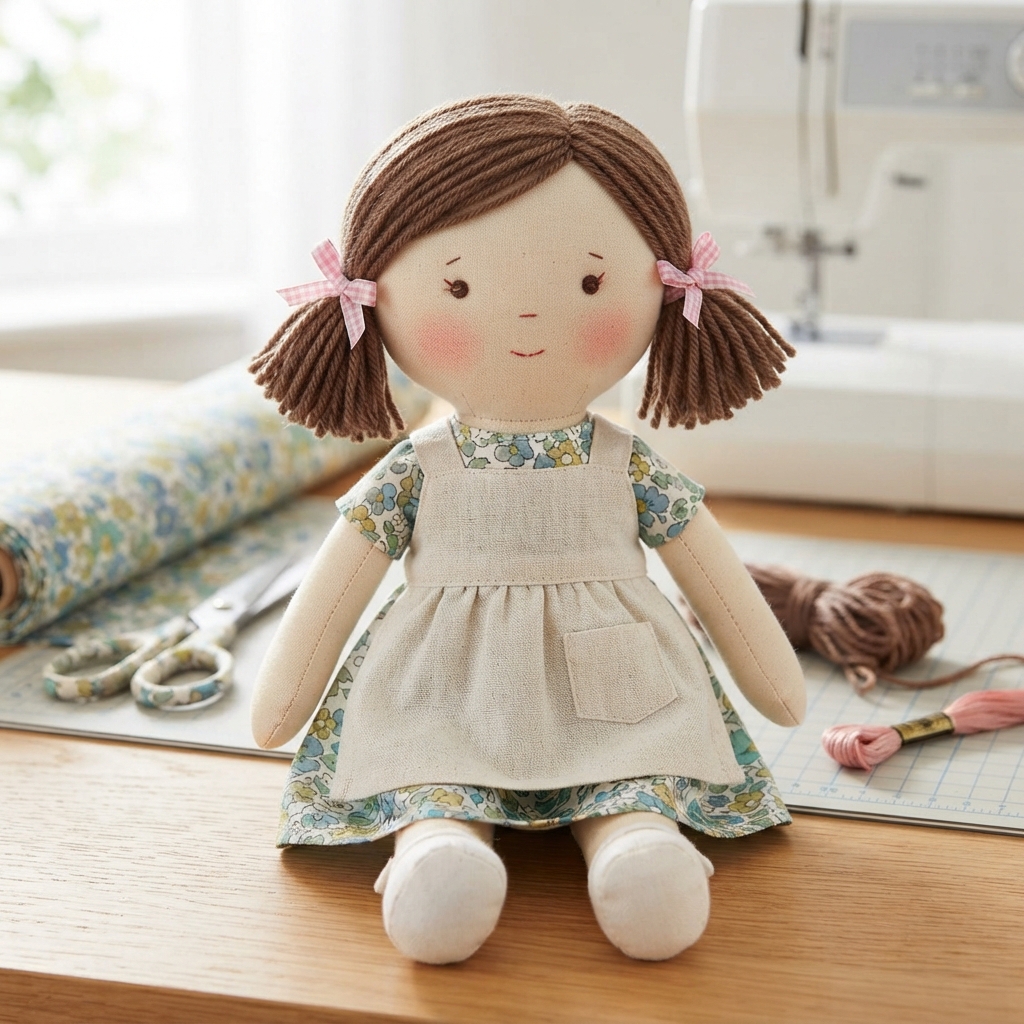
Making a rag doll is a wonderful beginner sewing project that combines creativity, basic sewing skills, and the joy of creating a handmade toy. Rag dolls have been loved for generations because they are soft, safe, and full of character. Unlike plastic toys, every handmade doll is unique and can be personalized with different fabrics, hairstyles, clothing, and facial expressions.
This step-by-step guide will teach you how to make a simple rag doll using basic sewing techniques. Whether you’re sewing by hand or with a sewing machine, this project is easy to follow and perfect for beginners.
Why Make a Rag Doll?
A rag doll is an excellent first sewing project because it introduces many essential sewing skills without being too complicated.
Some benefits include:
- Easy for beginners
- Uses simple sewing techniques
- Great way to use fabric scraps
- Encourages creativity
- Makes a thoughtful handmade gift
- Safe for children when securely sewn
- Helps improve hand-sewing skills
Once you’ve completed your first doll, you can experiment with different designs and accessories.
Materials You’ll Need
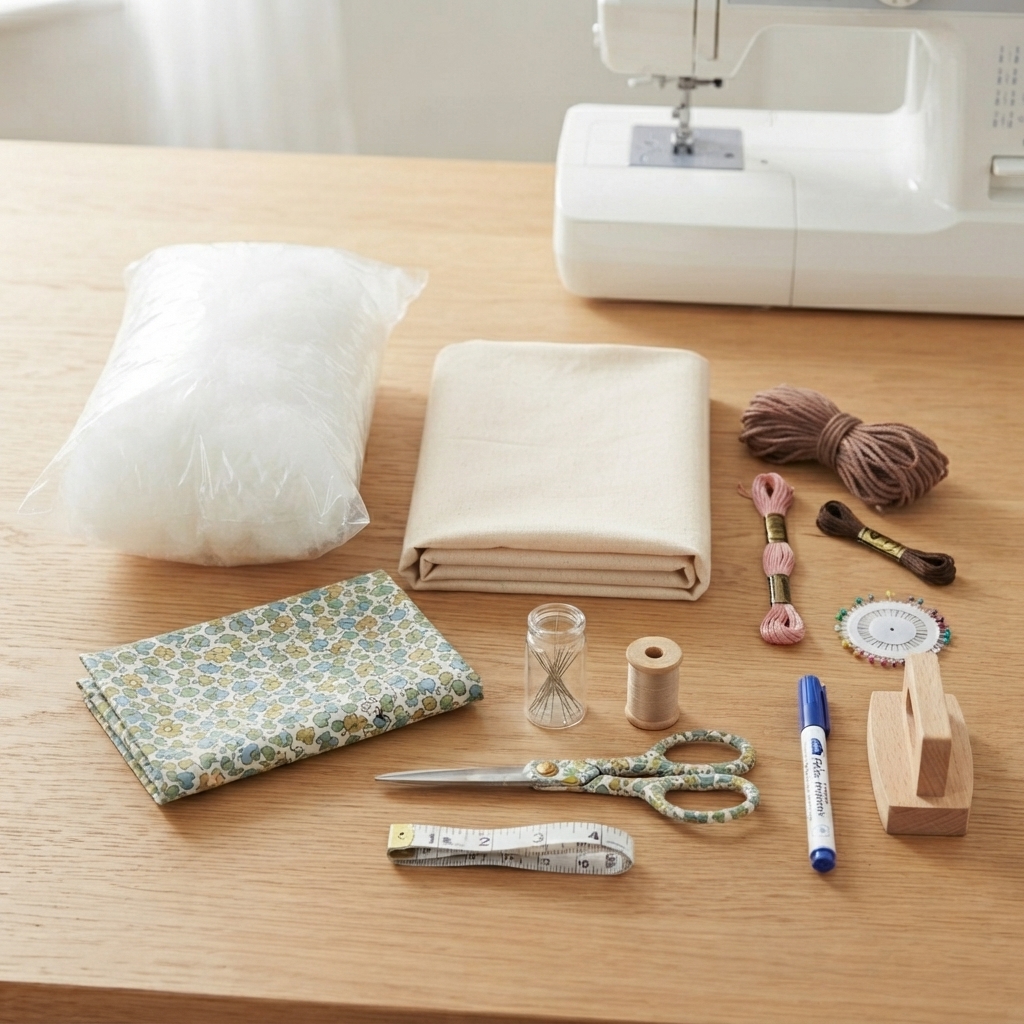
Before you begin, gather the following supplies:
- Cotton fabric for the doll’s body
- Patterned cotton fabric for clothing
- Polyester fiberfill stuffing
- Hand sewing needle or sewing machine
- Matching sewing thread
- Embroidery floss for the face
- Yarn for the hair
- Fabric scissors
- Measuring tape or ruler
- Straight pins or sewing clips
- Fabric marker or tailor’s chalk
- Iron and ironing board
- Safety pins or a stuffing tool (optional)
Choose soft, tightly woven cotton fabric because it is easy to sew and comfortable to handle.
Step 1: Draw or Print a Doll Pattern
Begin with a simple rag doll pattern that includes:
- Head
- Body
- Two arms
- Two legs
You can draw your own pattern on paper or download a beginner-friendly template.
Keep the design simple with rounded shapes that are easy to sew.
Step 2: Cut the Fabric
Fold the body fabric in half with the right sides facing together.
Pin the pattern pieces to the fabric.
Carefully cut:
- Two body pieces
- Four arm pieces
- Four leg pieces
Remember to include a seam allowance if your pattern does not already include one.
Step 3: Sew the Arms and Legs
Place each pair of arm pieces with the right sides together.
Sew around the edges, leaving the top open.
Repeat the same process for both legs.
Trim the seam allowances around curves if necessary.
Step 4: Turn the Pieces Right Side Out
Carefully turn each arm and leg right side out.
Use a blunt tool or chopstick to gently push out the curves.
Press the pieces with an iron to smooth the seams.
Step 5: Stuff the Arms and Legs
Fill each arm and leg with small amounts of polyester fiberfill.
Stuff firmly enough to hold their shape while remaining soft and flexible.
Leave the top edge unstuffed to make attaching the limbs easier.
Step 6: Attach the Limbs
Position the arms and legs on one body piece.
Pin them securely inside the seam allowance.
Make sure both sides are even and symmetrical.
Baste them in place if needed.
Step 7: Sew the Body
Place the second body piece on top with the right sides facing together.
Pin around the entire body.
Sew around the edges, leaving a small opening along one side for turning and stuffing.
Take extra care around the neck and curved areas.
Step 8: Turn the Doll Right Side Out
Turn the doll through the opening.
Use your fingers or a blunt tool to shape the head, arms, and legs.
Press the doll lightly if needed.
Step 9: Stuff the Body
Fill the doll with polyester fiberfill.
Start with the arms and legs if they need additional stuffing, then fill the body and head.
Distribute the stuffing evenly to create a smooth, balanced shape.
Avoid overstuffing, which can strain the seams.
Step 10: Close the Opening
Fold the raw edges inward.
Use a slip stitch to close the opening with nearly invisible stitches.
Tie a secure knot and trim the thread.
The doll’s body is now complete.
Step 11: Create the Face
Embroidery is the safest way to make a rag doll’s face.
Use embroidery floss to sew:
- Eyes
- Eyebrows
- Nose
- Smile
Avoid using buttons for very young children, as they may become a choking hazard.
Keep the facial features simple and cheerful.
Step 12: Add the Hair
Cut several strands of yarn to the desired length.
Sew the strands onto the head along the center part or around the scalp.
Style the hair in different ways, such as:
- Braids
- Ponytails
- Pigtails
- Short hair
- Curly yarn loops
- Buns
Trim the hair evenly when finished.
Step 13: Make Simple Clothes
Dress your doll using small fabric pieces.
Easy clothing ideas include:
- Dress
- Skirt
- Shirt
- Pants
- Apron
- Pajamas
- Cape
- Hat
Simple elastic waistbands or hook-and-loop tape closures make the clothes easy to remove.
Decorating Your Rag Doll
Personalize your doll with decorative details such as:
- Embroidered flowers
- Lace trim
- Fabric bows
- Colorful ribbons
- Patchwork clothing
- Tiny pockets
- Decorative stitching
- Fabric paint
Every decoration makes your doll more unique.
Tips for Beginners
For the best results:
- Use cotton fabric.
- Keep stitches small and even.
- Press fabric before sewing.
- Stuff gradually.
- Reinforce stress points.
- Practice embroidery on scrap fabric first.
Working slowly helps improve accuracy and confidence.
Common Mistakes to Avoid
Watch out for these beginner mistakes:
- Uneven stuffing
- Crooked facial features
- Forgetting seam allowances
- Loose yarn hair
- Overstuffing the limbs
- Skipping the ironing step
Taking your time leads to a more polished finished doll.
Caring for Your Handmade Rag Doll
To keep your doll looking its best:
- Hand wash gently with mild detergent.
- Air dry completely.
- Repair loose seams promptly.
- Brush or restyle the yarn hair when needed.
- Store in a clean, dry place.
Proper care helps your handmade doll last for many years.
Skills You’ll Learn
Making a rag doll teaches many valuable sewing techniques, including:
- Reading a simple pattern
- Measuring and cutting fabric
- Sewing curves
- Turning fabric shapes
- Stuffing evenly
- Closing openings with a slip stitch
- Basic embroidery
- Attaching yarn hair
- Making simple doll clothes
These skills provide an excellent foundation for more advanced sewing and soft toy projects.
Fun Ways to Customize Your Rag Doll
Once you’ve made your first rag doll, try creating different versions by changing the design.
Ideas include:
- Animal-themed dolls
- Holiday dolls
- Fairy dolls
- Superhero dolls
- Cultural costumes
- Seasonal outfits
- Matching family dolls
- Mini keychain dolls
The possibilities are endless, making every project a chance to express your creativity.
Final Thoughts
Making a simple rag doll is a rewarding beginner sewing project that combines creativity with practical sewing skills. From cutting fabric and sewing the body to adding embroidered facial features and handmade clothing, each step helps you build confidence while creating a unique keepsake. Whether you keep the doll for yourself, give it as a heartfelt gift, or make it for a child, a handmade rag doll is a timeless project filled with personality and charm. With practice, you can continue experimenting with new designs, fabrics, and accessories, turning each doll into a one-of-a-kind handmade treasure.
