
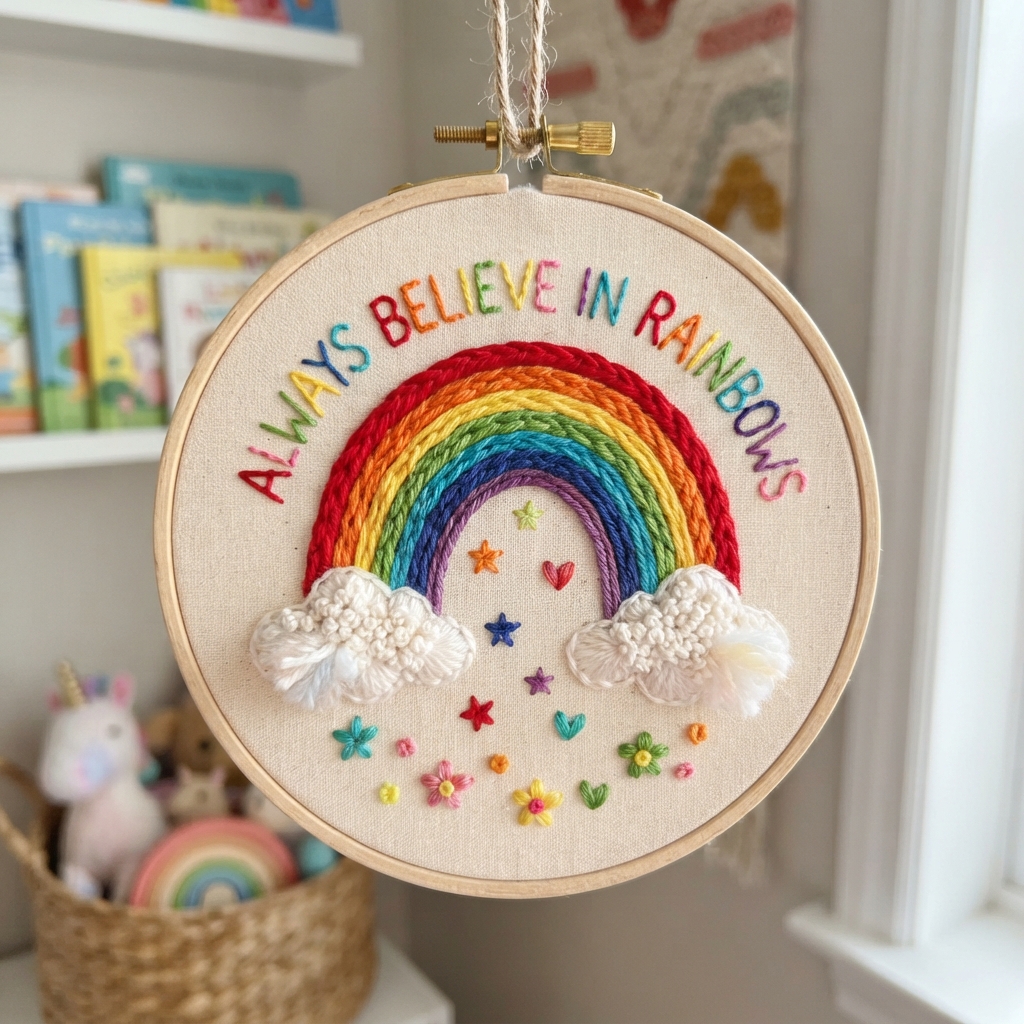
Rainbow embroidery is a fun creative activity that introduces children to the basics of hand sewing. With colorful embroidery thread, a piece of fabric, and a few simple stitches, children can create a bright rainbow they can be proud of.
This craft is a wonderful way to encourage creativity, patience, and careful hand movements. Children can choose their favorite colors, decorate their rainbow in different ways, and turn their finished embroidery into a handmade decoration or gift.
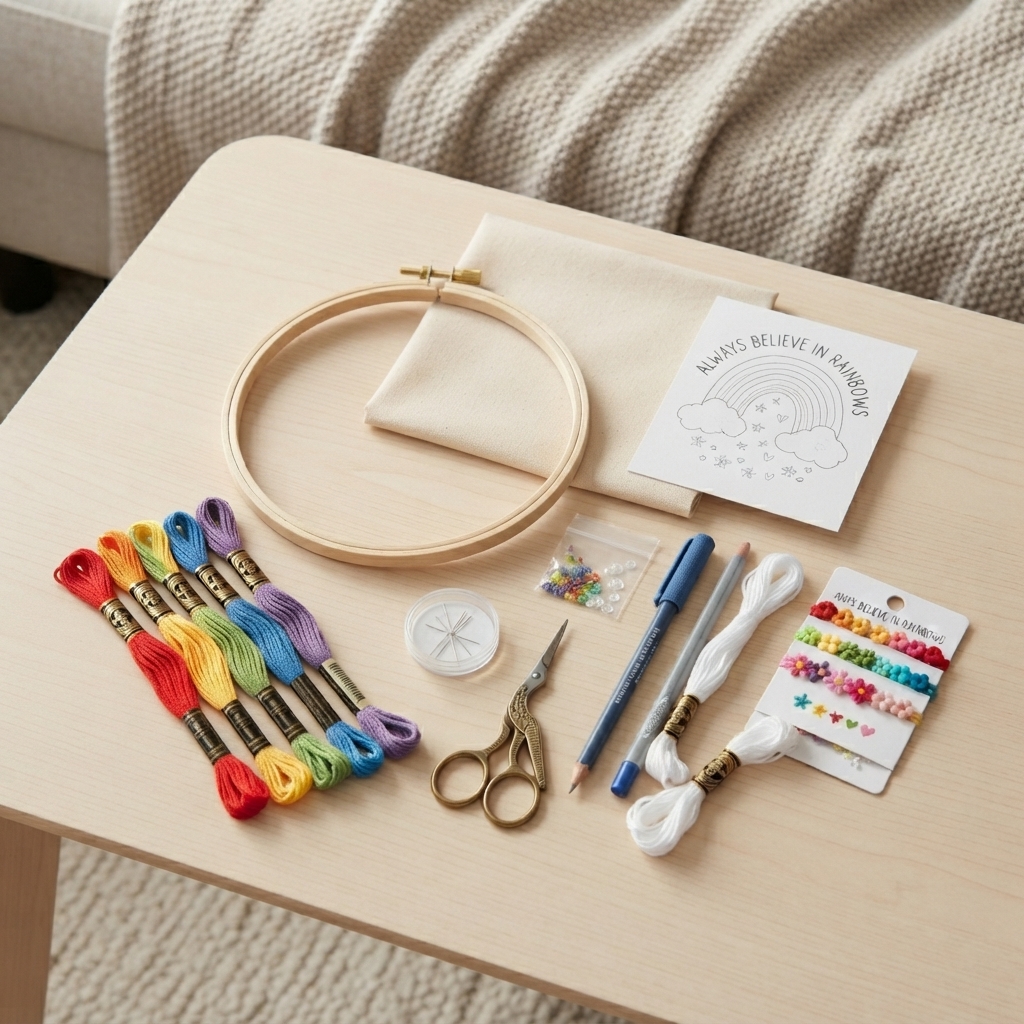
Materials You Will Need
Gather these simple supplies before starting:
- A piece of cotton or felt fabric
- An embroidery hoop
- Embroidery needle
- Embroidery floss in rainbow colors
- Small scissors
- Pencil or washable fabric marker
- Optional: white embroidery thread
- Optional: small beads or sequins for decoration
For younger children, an adult should handle the needle and scissors or provide close supervision.
Step 1: Draw a Rainbow
Place the fabric inside the embroidery hoop and make sure it is smooth and secure.
Use a pencil or washable fabric marker to draw a simple rainbow. Start with several curved lines that follow the same shape.
You can draw three, four, five, or more rainbow bands depending on how large you want the design to be.
Keep the lines simple so children can easily follow them with their stitches.
Step 2: Choose the Rainbow Colors
Traditional rainbow colors can include:
- Red
- Orange
- Yellow
- Green
- Blue
- Purple
However, children do not have to follow traditional rainbow colors. Let them choose any colors they like.
A rainbow made with pink, turquoise, purple, and yellow can be just as beautiful.
Step 3: Start With Simple Stitches
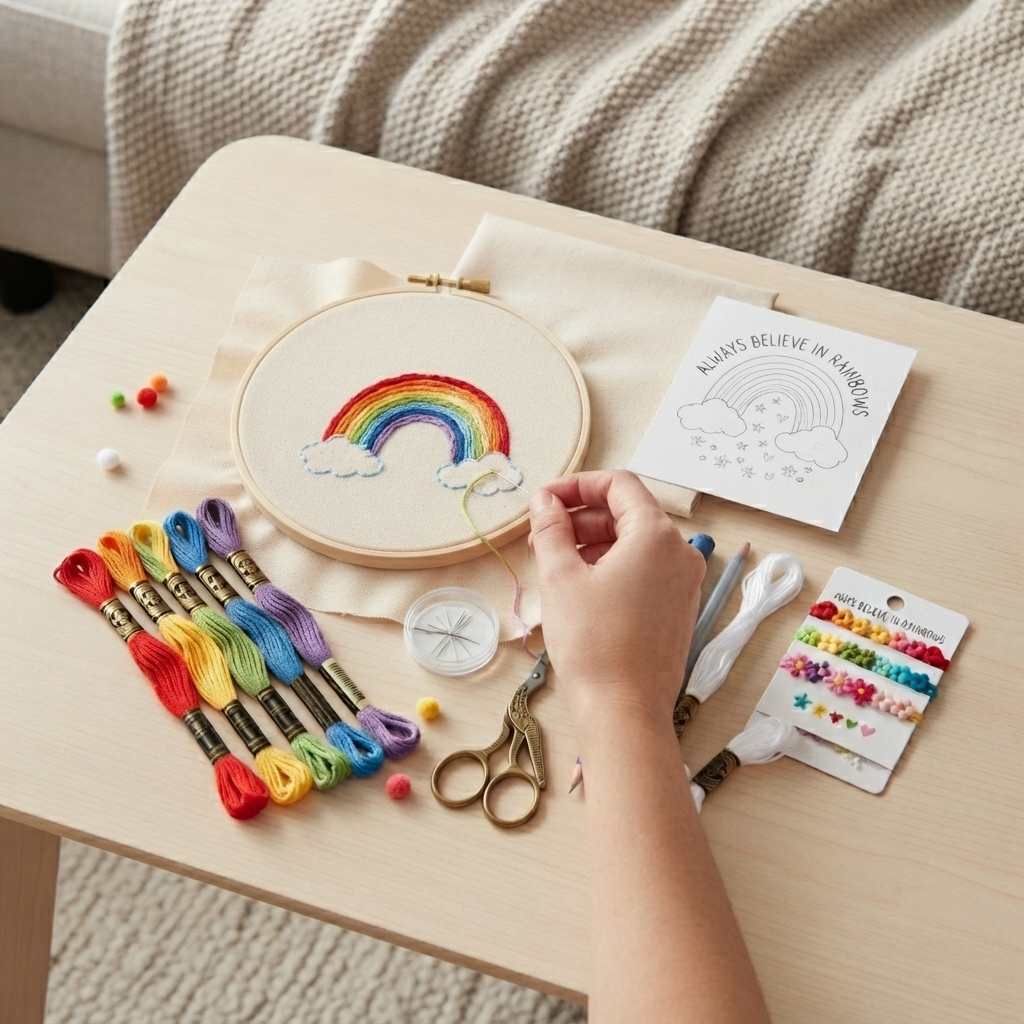
For children who are new to embroidery, the running stitch is a great place to start.
Thread the needle with the first color and make a small knot at the end.
Bring the needle up through the fabric and make a small stitch along the first curved line. Bring the needle back up a short distance away and repeat.
Continue until you reach the end of the rainbow band.
The stitches do not need to be perfect. The goal is to have fun while learning.
Step 4: Embroider Each Rainbow Band
Choose a different color for each curved line.
For example, the child can use red for the outside band, followed by orange, yellow, green, blue, and purple.
Follow the drawn lines with small running stitches.
Encourage children to work slowly and carefully. This helps them practice controlling the needle and thread.
Step 5: Try a Backstitch
Once children are comfortable with the running stitch, they can try a backstitch.
Backstitch creates a stronger, continuous line and works well for outlining the rainbow.
It may take a little practice, but children can learn the technique by working on a small piece of scrap fabric first.
Step 6: Add Fluffy Clouds
A rainbow looks even more cheerful with clouds.
Use white embroidery thread to make two small clouds at the ends of the rainbow.
Children can use simple stitches to outline the clouds or fill them with white thread.
For a fun texture, try using French knots to make the clouds look fluffy.
Step 7: Add Sparkles and Decorations
Let children personalize their rainbow with small decorative details.
They can add:
- Stars
- Hearts
- Flowers
- Tiny clouds
- Raindrops
- Small beads
- Sequins
- Smiley faces
For younger children, an adult should handle small beads and sequins because they can be choking hazards.
Step 8: Create a Rainbow Garden
For an expanded project, turn the rainbow into a colorful garden scene.
Add green stems and leaves underneath the rainbow. Children can embroider small flowers using colorful thread.
They can also add butterflies, bees, clouds, and little birds.
This turns a simple rainbow into a complete embroidered picture.
Easy Embroidery Stitches for Children
Children can learn several simple stitches as they become more comfortable.
Running Stitch
Running stitch is one of the easiest stitches to learn. It creates a simple dotted line and is perfect for rainbow bands.
Backstitch
Backstitch creates a continuous line and works well for outlines.
Satin Stitch
Satin stitch can be used to fill small shapes such as hearts, stars, or flowers.
French Knots
French knots make tiny raised dots. They are useful for flower centers and decorative details.
Safety Tips
Embroidery involves needles and scissors, so children should always work with appropriate adult supervision.
Use child-appropriate tools whenever possible and teach children to carry needles carefully.
Keep unused needles, scissors, beads, and thread away from very young children.
An adult can help younger children with threading the needle, starting stitches, and finishing the project.
Creative Ways to Use Rainbow Embroidery
Once the embroidery is complete, there are many ways to use it.
The finished rainbow can become:
- A small wall decoration
- A fabric bookmark
- A handmade greeting card
- A decorated pencil case
- A tote bag decoration
- A small gift
- A classroom craft
- A colorful fabric picture
Children can also make several rainbows and combine them into a cheerful classroom or bedroom display.
What Children Learn From This Craft
Rainbow embroidery is more than a colorful craft. It can help children practice several useful skills.
They can develop:
- Hand-eye coordination
- Fine motor skills
- Patience
- Concentration
- Creativity
- Color recognition
- Following simple instructions
Most importantly, children get to experience the satisfaction of making something with their own hands.
Final Thoughts
Rainbow embroidery is a simple, colorful, and enjoyable sewing project for children. With basic materials and easy stitches, kids can create a beautiful rainbow while learning important hand-sewing skills.
Let children choose their own colors and decorations rather than worrying about making a perfect design. Every handmade rainbow can be different, and that is what makes this craft special.
