
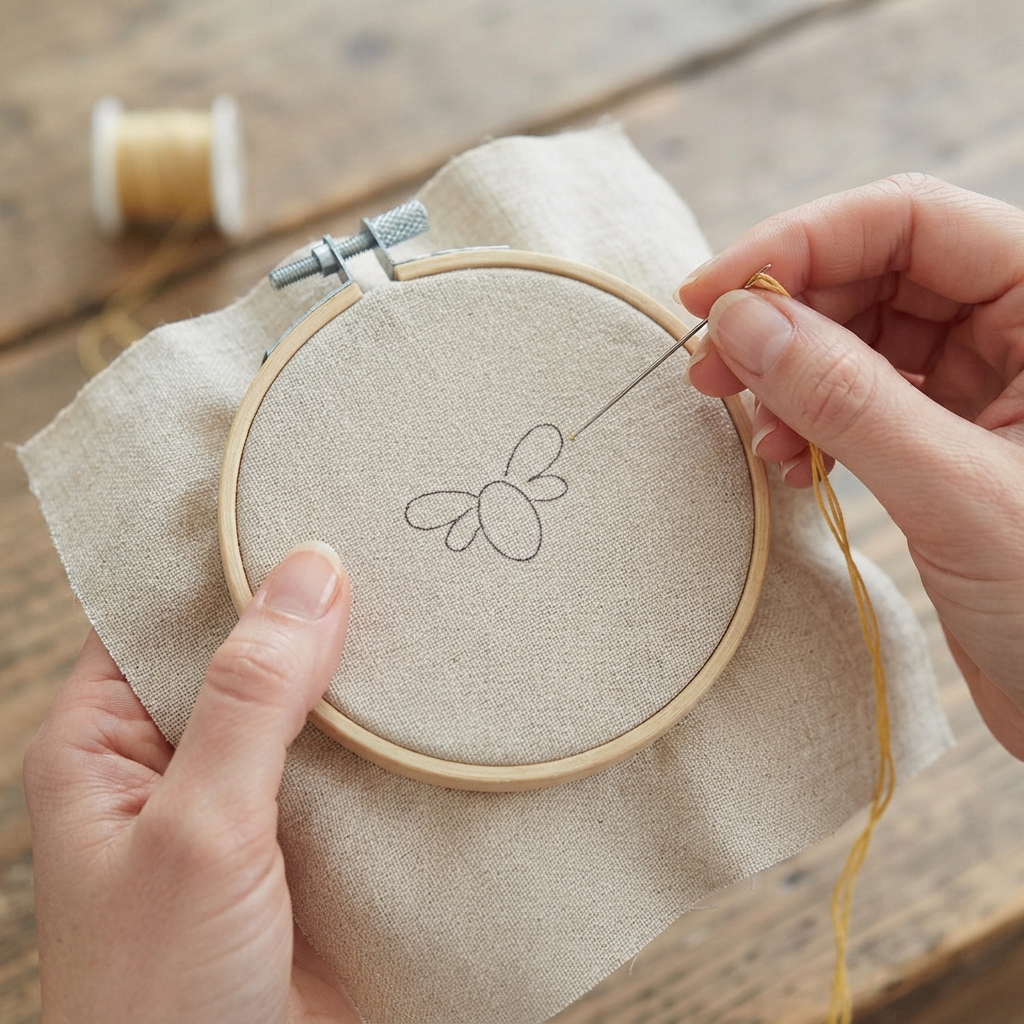
Embroidering a small bee is a fun and creative hand-sewing project for beginners. With a piece of fabric, a few colors of embroidery thread, and some basic stitches, you can create a cute little bee by hand. This project is simple enough for beginners and can also become a fun supervised craft activity for older children.
A small embroidered bee can be used to decorate tote bags, pencil cases, clothing, bookmarks, pillow covers, fabric pouches, and handmade gifts. You can make one bee or create several bees flying around flowers for a cheerful nature-inspired design.
Materials You Will Need
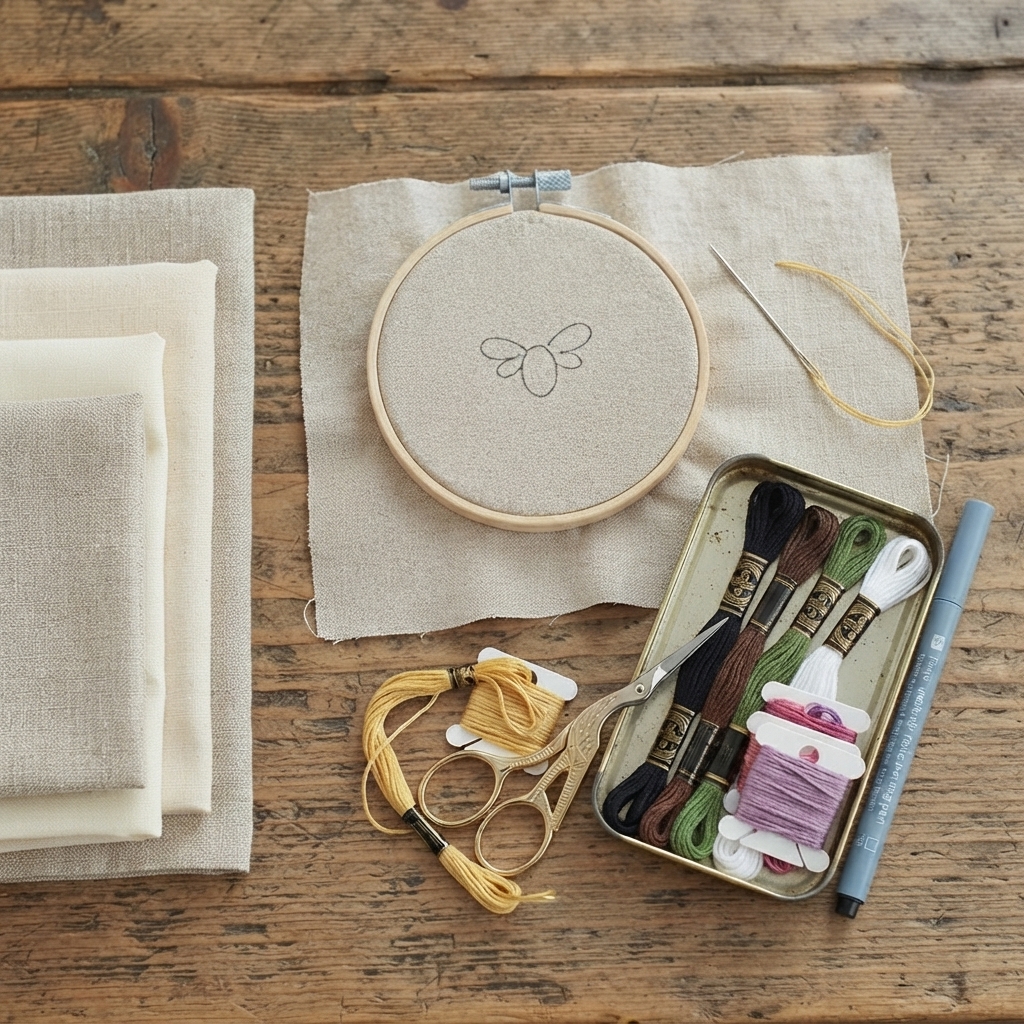
Before you begin, gather the following materials:
- A small piece of cotton or linen fabric
- An embroidery hoop
- Embroidery needle
- Yellow embroidery floss
- Black or dark brown embroidery floss
- Green embroidery floss
- White embroidery floss
- Small scissors
- Pencil or washable fabric marker
- Optional: pink or purple thread for flowers
Choose a light-colored fabric so the bee’s bright yellow and dark details are easy to see.
Step 1: Draw a Simple Bee
Place the fabric inside the embroidery hoop and make sure it is smooth and secure.
Using a pencil or washable fabric marker, draw a small bee.
Start with a small oval body. Add two or three curved lines across the body for the stripes. Then draw two small wings above the body.
You can also add tiny antennae and simple eyes.
Keep the drawing small and uncomplicated. A bee about 4–6 centimeters long is a good size for a beginner.
Step 2: Choose Your Thread Colors
A traditional bee can be embroidered with yellow and black thread.
For the wings, use white or light blue thread. You can also add green thread for leaves and bright colors for flowers if you want to create a small garden scene.
Try different combinations to make your bee unique.
Step 3: Outline the Bee
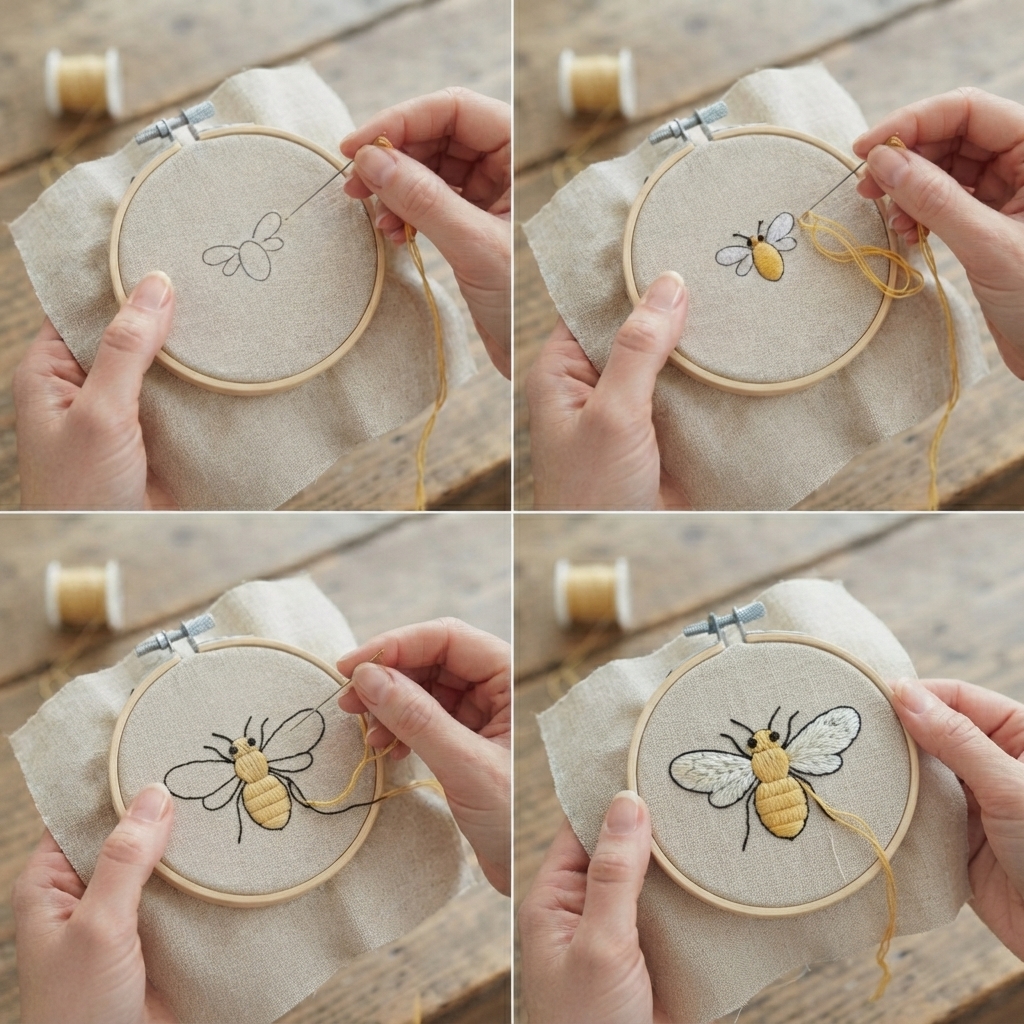
Begin by outlining the bee’s body and wings with a backstitch.
Thread your needle with black or dark brown embroidery floss. Bring the needle up through the fabric at the beginning of the outline.
Make a small stitch forward, then bring the needle back up where the previous stitch ended.
Continue around the body and wings until the outline is complete.
Keep the stitches small, especially around the curves.
Step 4: Fill the Bee’s Body
Now it is time to add the bee’s yellow color.
Use a satin stitch to fill the main body. Make straight stitches close together until the inside of the oval is covered.
Leave space for the dark stripes.
You can use one shade of yellow or combine yellow and orange for a warmer appearance.
Step 5: Add the Black Stripes
Use black or dark brown embroidery thread for the stripes.
You can create two or three stripes across the bee’s body using backstitches.
For a thicker appearance, fill each stripe with small satin stitches.
The contrast between yellow and black will make the bee easy to recognize.
Step 6: Embroider the Wings
Use white embroidery thread for the wings.
You can simply outline the wings with backstitch, or fill them with a few satin stitches.
For a delicate effect, use only a few long stitches inside each wing.
You can also use pale blue or silver thread to give the wings a slightly different appearance.
Step 7: Add the Face and Antennae
Use black thread to add two tiny eyes.
For the antennae, make two thin curved lines above the bee’s head.
A simple backstitch works well for these small details.
If you want a playful bee, add a tiny smile underneath the eyes.
Step 8: Create a Small Garden Scene
Your bee can look even more beautiful when surrounded by flowers.
Use green embroidery thread to create small stems and leaves. Add simple flowers using pink, purple, red, or blue thread.
You can also embroider a few tiny dots around the bee to represent movement.
For example, three small curved lines behind the bee can make it look like it is flying.
Easy Stitches for Bee Embroidery
You only need a few basic stitches for this project.
Backstitch
Backstitch is perfect for outlining the bee and creating the stripes, antennae, and small details.
Satin Stitch
Satin stitch works well for filling the yellow body and other small areas.
Running Stitch
Running stitch can be used for decorative lines or small flight trails.
French Knots
French knots are useful for tiny flower centers or decorative dots around the bee.
Tips for Beginners
Start with a simple bee design. Small projects are easier to manage while you are learning.
Keep the fabric tight inside the embroidery hoop. This helps you make cleaner and more even stitches.
Avoid pulling the thread too tightly because it can cause the fabric to wrinkle.
If you make a mistake, carefully remove the stitches and try again. Embroidery improves with practice.
Practice the basic stitches on a scrap piece of fabric before starting your final design.
Creative Bee Embroidery Ideas
Once you have learned how to embroider a small bee, try different designs.
You could create:
- A bee flying around flowers
- Several bees in a garden
- A bee sitting on a flower
- A bee next to a honeycomb
- A bee with colorful wings
- A small bee on a fabric pocket
- A bee surrounded by embroidered leaves
You can also make a honeycomb pattern using yellow or golden thread.
A Fun Craft for Children
Small bee embroidery can be an enjoyable sewing activity for older children who are learning basic embroidery. An adult should supervise children when they are using needles and scissors.
Let children choose the bee’s colors and decorate the surrounding area with flowers, leaves, and clouds.
This activity can help children practice fine motor skills, concentration, patience, and creativity while learning a useful craft.
Where to Use Your Embroidered Bee
A finished bee can add a cute handmade touch to many items.
Try decorating:
- Tote bags
- Pencil cases
- Fabric pouches
- Pillow covers
- Clothing
- Bookmarks
- Wall decorations
- Handkerchiefs
- Gift bags
- Fabric notebooks
You can also embroider a small bee onto a piece of felt and turn it into a simple handmade patch.
Final Thoughts
Embroidering a small bee is an easy and charming project for beginners. With yellow, black, and white embroidery thread and a few basic stitches, you can create a cute little insect on fabric.
Start with a simple outline, fill the body with bright yellow thread, and add dark stripes and delicate wings. Once you become comfortable with the basic design, experiment with flowers, leaves, honeycombs, and colorful backgrounds to create your own tiny embroidered garden.
