
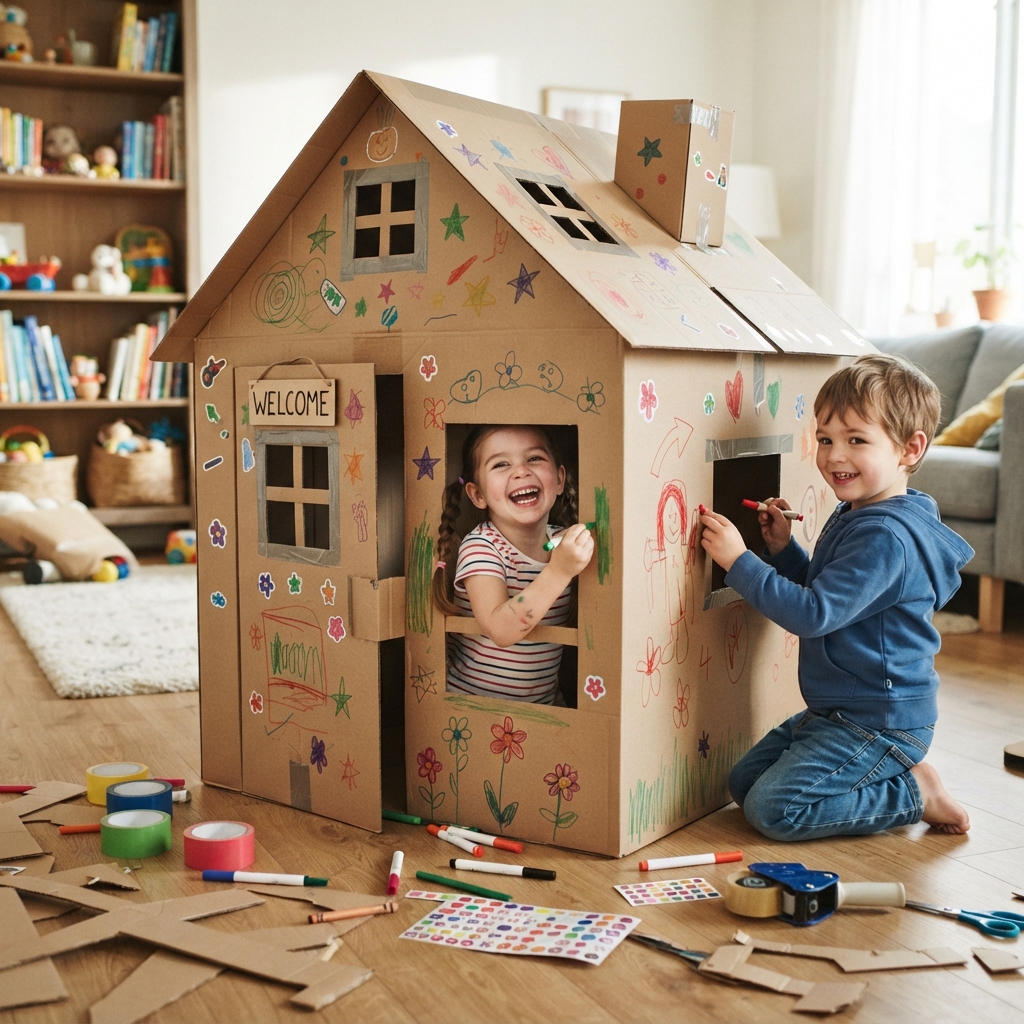
Building a house under construction out of cardboard is a creative and educational craft that children will love. This exciting project lets kids imagine they are architects, engineers, and builders while learning about the different stages of constructing a home. Using simple craft materials, children can design walls, roofs, windows, and even tiny construction details to create a realistic miniature building site.
Whether you are a parent, teacher, or homeschool educator, this hands-on activity encourages creativity, improves fine motor skills, and introduces basic engineering concepts in a fun way.
Why Make a Cardboard House Under Construction?
A cardboard construction project offers many educational and creative benefits. Children can:
- Develop imagination through pretend play.
- Practice cutting, folding, and gluing skills.
- Learn about building structures.
- Improve hand-eye coordination.
- Explore architecture and construction careers.
- Create a reusable toy for storytelling.
The project is inexpensive because most materials can be recycled from around the house.
Materials You’ll Need
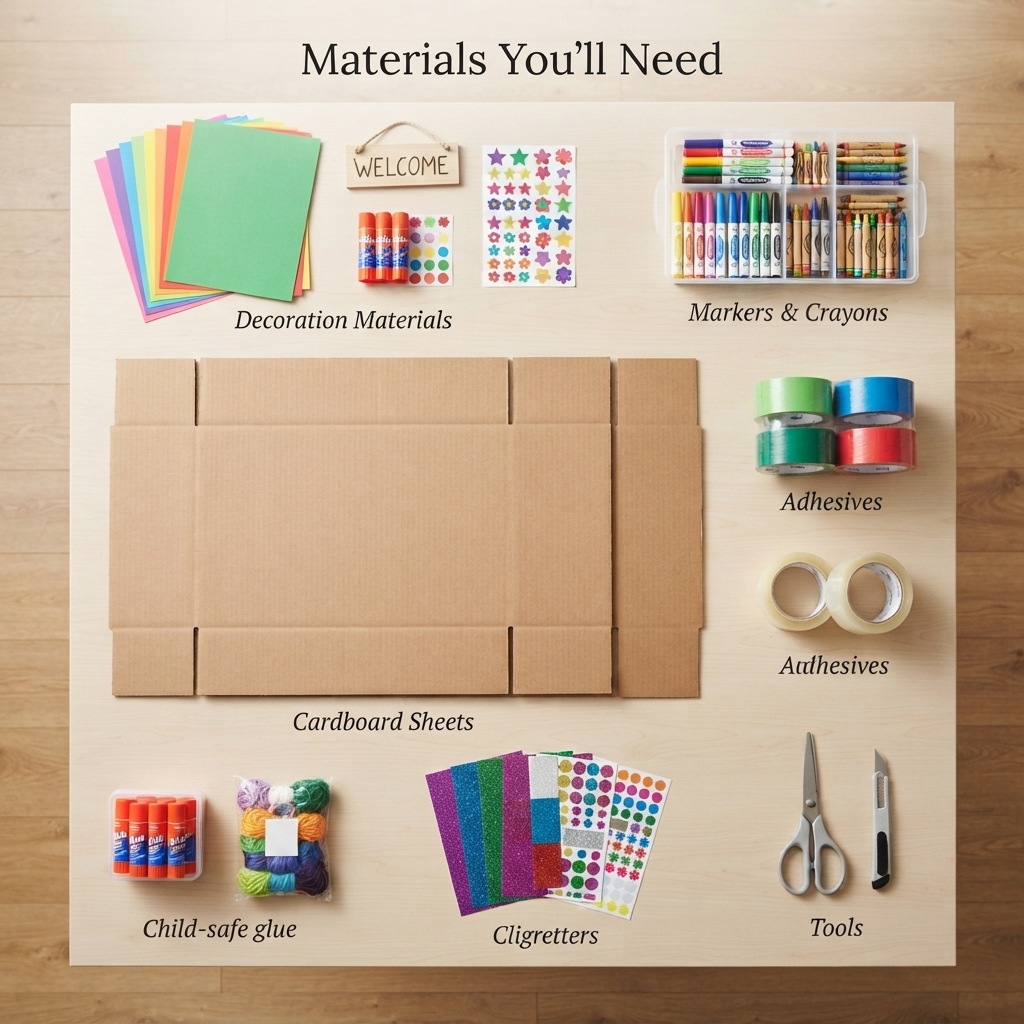
Gather the following supplies before starting:
- Corrugated cardboard
- Thin cardboard or cereal boxes
- Pencil
- Ruler
- Child-safe scissors
- Craft knife (adult use only)
- White glue or hot glue (adult supervision)
- Brown and gray paint
- Paintbrushes
- Colored paper
- Popsicle sticks
- Wooden skewers
- Drinking straws
- Small pebbles
- Sand
- Craft foam
- Markers
- Construction paper
- Bottle caps
- Cardboard tubes
Using recycled materials makes the project environmentally friendly while teaching children about reusing everyday items.
Step 1: Design Your Construction Site
Begin by drawing a simple plan for your house.
Think about:
- Foundation
- Walls
- Door openings
- Window frames
- Roof supports
- Front yard
- Construction area
Sketching first helps children understand how real buildings are planned.
Step 2: Create the Foundation
Cut a large rectangle from thick cardboard to serve as the base.
Paint it gray to resemble concrete.
Glue small stones around the edges to create a realistic construction site.
Add patches of sand to represent unfinished ground.
Step 3: Build the Walls
Cut cardboard rectangles for each wall.
Instead of completing every wall, leave some sections unfinished to show that the house is still being built.
Draw:
- Wooden framing
- Brick patterns
- Concrete blocks
- Support beams
Glue the walls upright onto the base.
Step 4: Add Window and Door Openings
Carefully cut openings for:
- Front door
- Back door
- Windows
Use strips of cardboard to create window frames.
Leaving some openings unfinished gives the model the appearance of an active construction project.
Step 5: Build the Roof Frame
Rather than adding a finished roof, create only the roof supports.
Use:
- Popsicle sticks
- Cardboard strips
- Wooden skewers
Arrange them into triangular roof trusses.
This shows that the roof is still under construction.
Step 6: Create Construction Details
This is where the project becomes exciting.
Add:
- Stacks of cardboard “bricks”
- Tiny wooden pallets
- Pipe bundles made from straws
- Construction cones from rolled paper
- Cement bags from folded paper
- Wheelbarrows made from cardboard
- Toolboxes
- Ladders
- Buckets
- Scaffolding
Small details make the construction scene come alive.
Step 7: Build Scaffolding
Use drinking straws or skewers to create scaffolding around the house.
Connect them with glue and small cardboard platforms.
Paint them silver or gray for a realistic appearance.
Step 8: Make Construction Signs
Create miniature signs such as:
- Construction Zone
- Hard Hat Area
- Keep Out
- Future Home
- Safety First
Glue each sign onto a toothpick or wooden skewer.
These signs make the model look like a real worksite.
Step 9: Paint the Project
Use different colors to represent various building materials.
For example:
- Gray for concrete
- Brown for wood
- Red for bricks
- White for insulation
- Black for roofing material
- Yellow for safety equipment
Allow everything to dry completely before moving on.
Step 10: Add Landscaping
Although the house is unfinished, you can decorate the surrounding area.
Include:
- Dirt piles
- Gravel paths
- Small grass patches
- Tiny trees
- Wooden fences
- Construction fencing
These finishing touches make the entire scene more realistic.
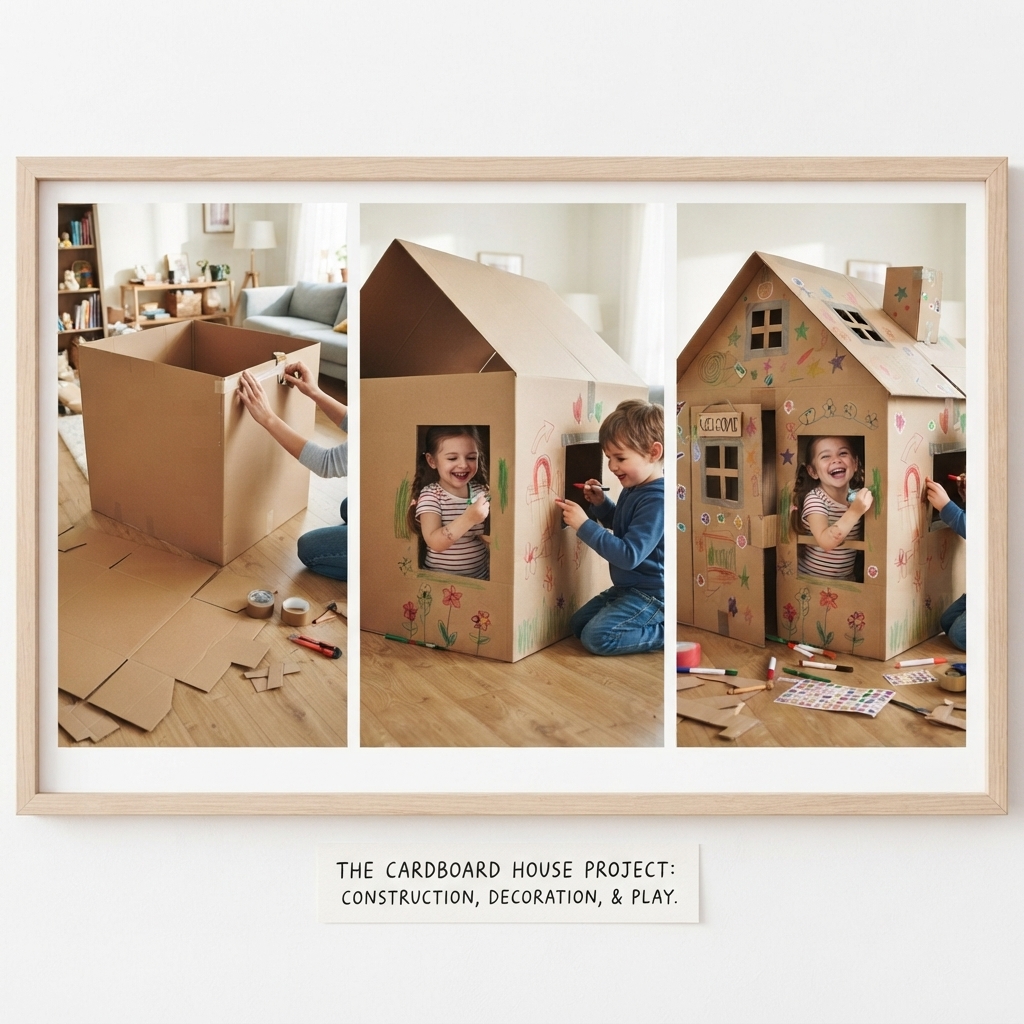
Educational Benefits
This project teaches children many valuable skills, including:
- Creative thinking
- Problem-solving
- Engineering basics
- Planning and organization
- Measurement
- Spatial awareness
- Patience
- Teamwork
- Environmental awareness through recycling
Children also learn how homes are built from the ground up.
Creative Extensions
After completing the house, kids can expand the construction site by making additional cardboard projects such as:
- Construction crane
- Cement mixer
- Bulldozer
- Excavator
- Dump truck
- Forklift
- Portable office
- Worker figures
- Traffic signs
- Safety barriers
Together, these projects create an impressive miniature construction world.
Safety Tips
Always supervise children when using scissors or craft knives.
Keep the workspace clean and organized.
Use non-toxic glue and paints whenever possible.
Allow paint and glue to dry before handling the model.
Encourage children to recycle leftover cardboard for future projects.
Conclusion
Making a house under construction out of cardboard is a fun, affordable, and educational activity that inspires creativity while introducing children to the exciting world of architecture and construction. With recycled materials, simple tools, and a little imagination, kids can build an impressive miniature worksite that encourages hours of imaginative play. Whether completed at home, in the classroom, or during a craft workshop, this project is an excellent way to combine learning, creativity, and environmental responsibility into one enjoyable experience.
