
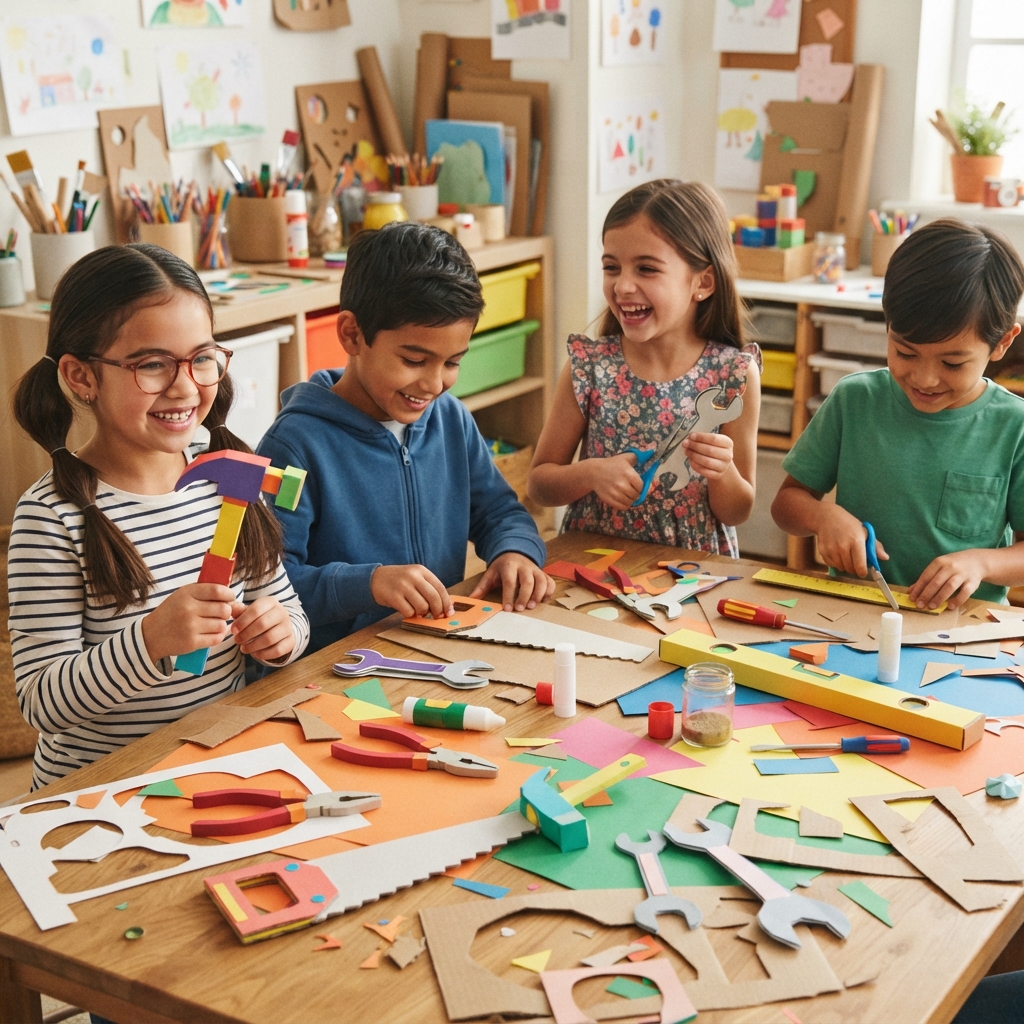
A paper carpentry tools project is a fantastic way to introduce children to the exciting world of woodworking through creative play. Instead of using real tools, kids can design and build safe versions from paper, cardboard, and other recycled materials. This hands-on craft encourages imagination, develops fine motor skills, and helps children learn the names and purposes of common carpentry tools.
Whether at home, in the classroom, or during an art workshop, this simple project combines creativity, learning, and environmental awareness in one enjoyable activity.
Why Make Paper Carpentry Tools?
Children love pretending to build and fix things. Making paper tools allows them to explore construction and craftsmanship safely while improving important developmental skills.
This project helps children:
- Develop creativity and imagination.
- Strengthen fine motor skills.
- Practice cutting, folding, and gluing.
- Learn about basic carpentry tools.
- Improve hand-eye coordination.
- Encourage problem-solving and teamwork.
- Discover the value of recycling everyday materials.
Materials You’ll Need
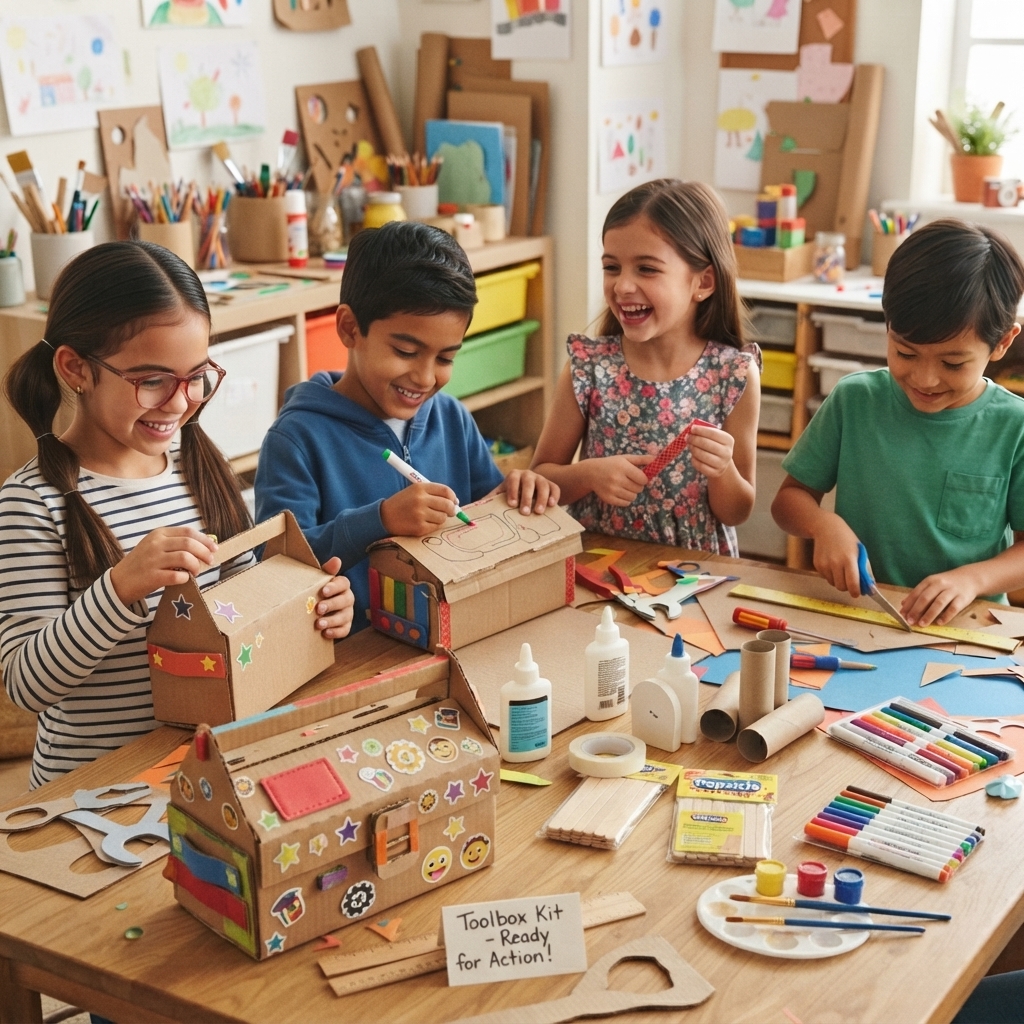
Most of the supplies can be found around the house.
- Thick cardboard
- Colored paper
- Construction paper
- Pencil
- Ruler
- Child-safe scissors
- White craft glue
- Double-sided tape
- Markers or crayons
- Paint and paintbrushes
- Popsicle sticks
- Cardboard tubes
- Craft foam (optional)
- Stickers for decoration
Using recycled cardboard from cereal boxes or shipping cartons makes this project both affordable and eco-friendly.
Paper Carpentry Tools to Create
Children can build a complete pretend toolbox filled with paper versions of common carpentry tools, including:
- Hammer
- Hand saw
- Screwdriver
- Wrench
- Pliers
- Measuring tape
- Paintbrush
- Chisel
- Wooden mallet
- Carpenter’s square
- Toolbox
Each tool can be decorated with bright colors and creative patterns to make the set unique.
Step 1: Draw the Tool Shapes
Begin by sketching each tool on cardboard.
Use simple outlines with rounded edges so they are easy for children to cut out safely.
Older children can draw their own designs, while younger children may use printed templates.
Step 2: Cut Out the Pieces
Carefully cut out each tool using child-safe scissors.
Adults can help with thicker cardboard if necessary.
Encourage children to cut slowly and follow the lines carefully to improve their cutting skills.
Step 3: Build Stronger Tools
Glue two identical cardboard pieces together for each tool.
This makes the finished tools sturdier and easier to hold during pretend play.
Allow the glue to dry completely before decorating.
Step 4: Add Color
Paint or color the tools.
Children might choose:
- Brown handles
- Gray tool heads
- Yellow measuring tapes
- Red toolboxes
- Blue handles
- Black outlines
There are no right or wrong color choices—creativity is encouraged.
Step 5: Decorate the Tools
Add fun details using markers, stickers, or colored paper.
Draw:
- Wood grain on handles
- Metal bolts
- Measurement markings
- Brand logos
- Safety symbols
- Smiling faces
Personalizing the tools makes the project even more enjoyable.
Step 6: Make a Paper Toolbox
Create a small toolbox from folded cardboard.
Decorate it with:
- Tool labels
- Handles
- Drawers
- Compartments
- Name tags
Children can store all of their handmade tools inside for easy cleanup and imaginative play.
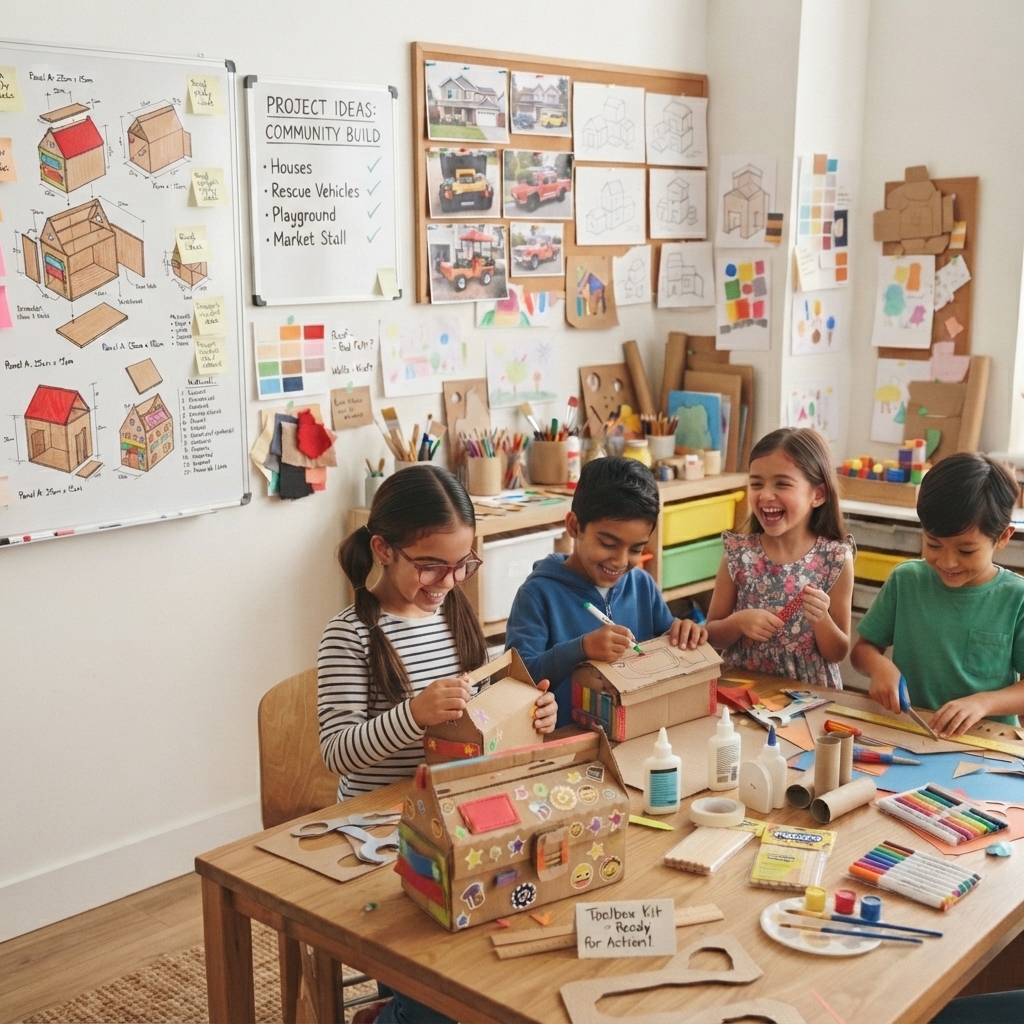
Educational Benefits
This project teaches many valuable skills while keeping children engaged.
Benefits include:
- Fine motor development
- Creativity
- Problem-solving
- Shape recognition
- Early engineering concepts
- Planning and organization
- Patience
- Confidence through completing a project
- Environmental awareness by reusing materials
It also introduces children to different tools and explains how each one helps people build and repair everyday objects.
Fun Learning Activities
After completing the tools, children can enjoy imaginative activities such as:
- Pretending to build a birdhouse
- Repairing a cardboard chair
- Measuring paper furniture
- Designing a pretend workshop
- Acting as carpenters on a construction site
- Building cardboard houses and bridges
These activities encourage storytelling, teamwork, and creative thinking.
Safety Tips
Although the tools are made from paper and cardboard, children should still work carefully.
Remember to:
- Use child-safe scissors.
- Ask an adult for help when cutting thick cardboard.
- Keep the workspace neat.
- Use non-toxic glue and paints.
- Wash hands after crafting if paint or glue is used.
Teaching safe crafting habits helps children become confident and responsible creators.
Creative Extension Ideas
Once the paper carpentry tools are complete, children can expand their workshop by making additional crafts, such as:
- A cardboard workbench
- A miniature tool cabinet
- Safety helmets made from paper
- Construction signs
- Wooden planks made from painted cardboard
- A toy house under construction
- Tiny worker figures
- Paper bricks
- Cardboard ladders
- A pretend workshop floor
Combining these projects creates an exciting miniature construction world for hours of imaginative play.
Conclusion
A paper carpentry tools project for children is an enjoyable and educational craft that blends creativity with hands-on learning. By transforming simple paper and cardboard into colorful pretend tools, children gain confidence, strengthen important motor skills, and learn about the world of carpentry in a safe and engaging way. Best of all, the finished toolbox provides endless opportunities for imaginative play, making this project a wonderful activity for home, school, or community craft sessions.
