
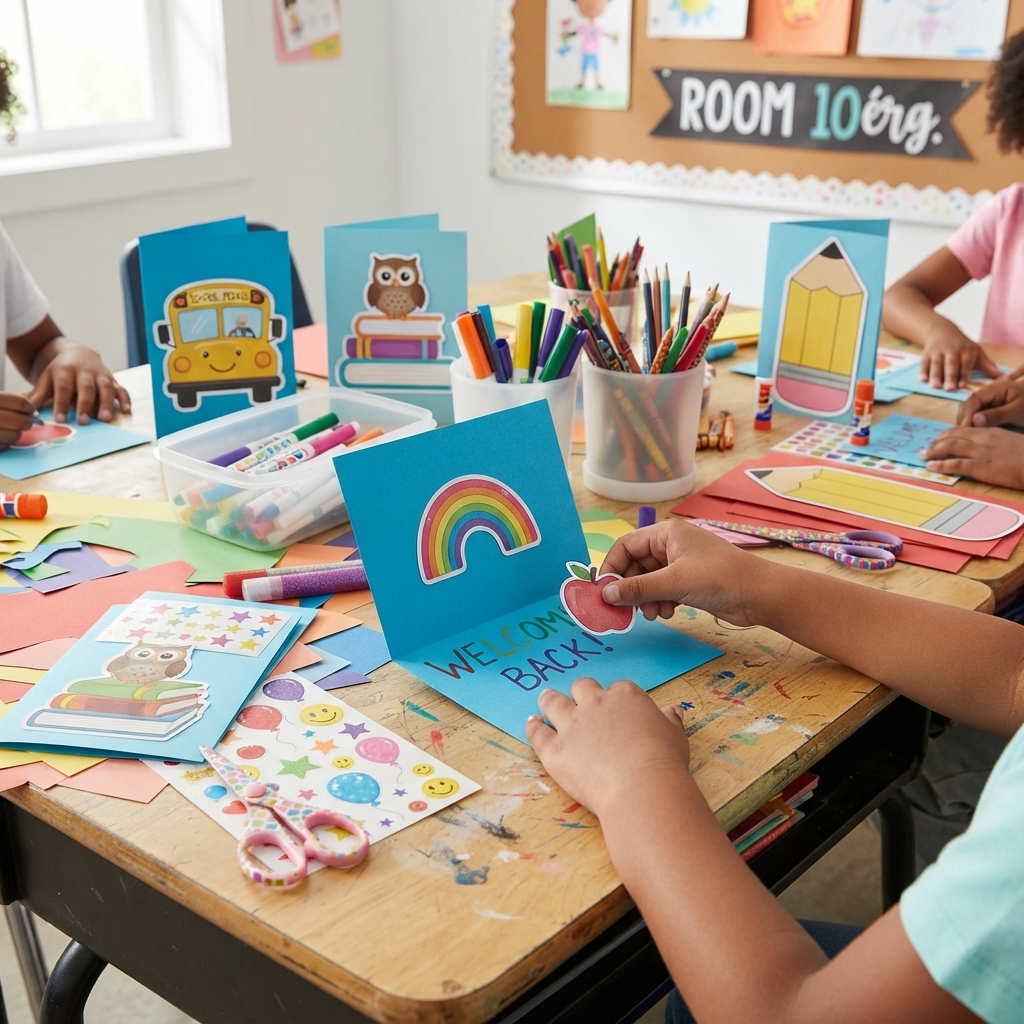
The first day of school is an exciting time filled with new friends, fresh supplies, and exciting learning adventures. One wonderful way to make students feel special is by creating back-to-school welcome cards. These handmade cards are easy to make, encourage creativity, and help children start the school year with smiles and confidence.
Whether you’re a teacher preparing for your class, a parent planning a fun craft activity, or a student who enjoys making handmade gifts, this guide will show you how to make back-to-school welcome cards using simple materials and lots of imagination.
Why Make Back-to-School Welcome Cards?
Handmade welcome cards are more than just colorful crafts. They help create a warm and friendly classroom atmosphere.
Benefits include:
- Helping students feel welcomed
- Encouraging creativity
- Building excitement for the new school year
- Improving fine motor skills
- Practicing writing and drawing
- Creating meaningful keepsakes
- Promoting kindness and friendship
A simple handmade card can make a child’s first day of school even more memorable.
Materials You’ll Need
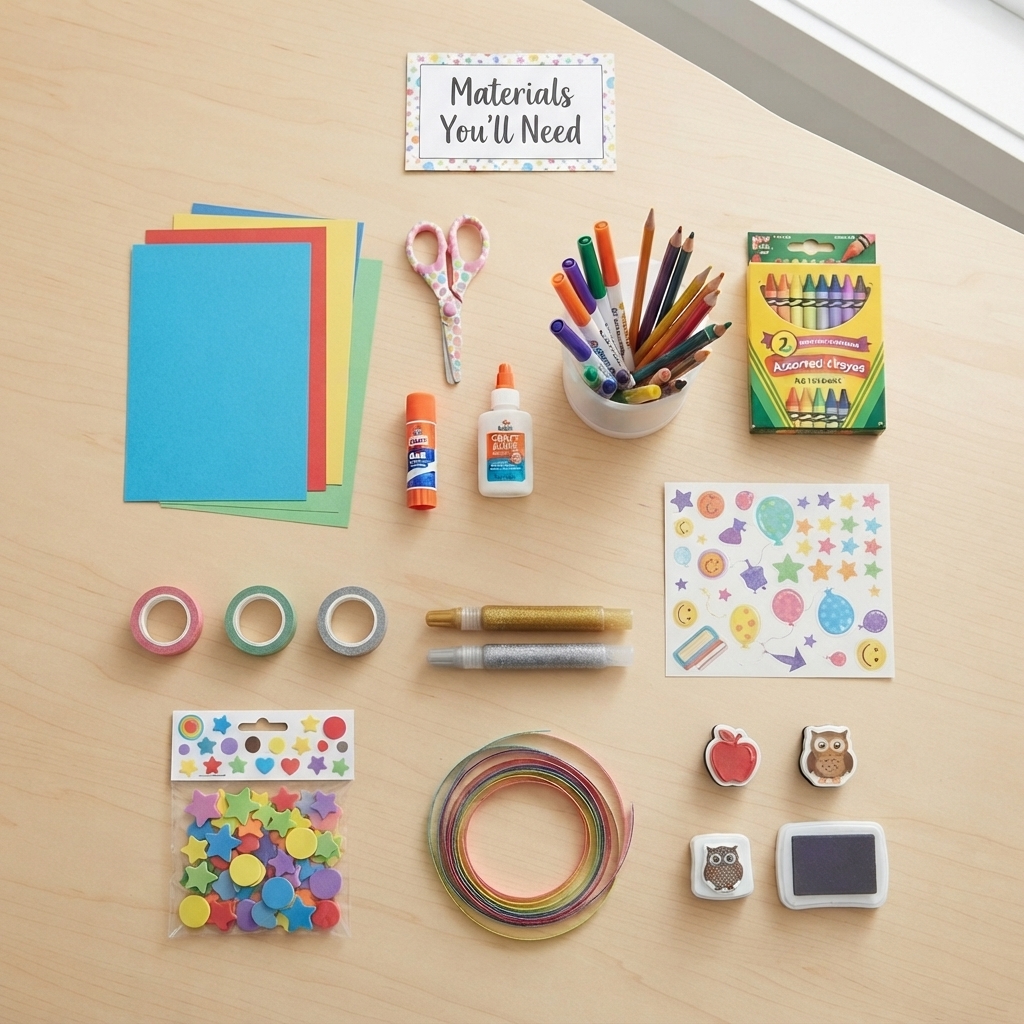
Gather these easy-to-find craft supplies:
- Colored cardstock or construction paper
- Scissors
- Glue stick or craft glue
- Markers or colored pencils
- Crayons
- Stickers
- Washi tape (optional)
- Glitter glue (optional)
- Foam shapes (optional)
- Decorative ribbon (optional)
- Stamps (optional)
Choose bright, cheerful colors to make the cards stand out.
Step 1: Fold the Card
Take a sheet of colored cardstock and fold it neatly in half.
This creates the basic shape of your welcome card.
Press the fold firmly for a clean finish.
Step 2: Create the Front Cover
Decorate the front of the card with fun school-themed designs.
Ideas include:
- Apples
- Pencils
- Books
- Backpacks
- School buses
- Rainbows
- Smiling children
- Stars
- Balloons
A colorful front cover makes the card inviting.
Step 3: Write a Welcome Message
Inside the card, write a kind message.
Examples include:
- Welcome Back to School!
- We’re Happy You’re Here!
- Have an Amazing School Year!
- Let’s Learn Together!
- Welcome to Our Classroom!
Children can also write their own personal messages for friends or teachers.
Step 4: Add Creative Decorations
Now it’s time to personalize the card.
Decorate with:
- Stickers
- Glitter
- Paper flowers
- Foam letters
- Colorful borders
- Hearts
- Smiley faces
- Confetti
- Drawings
Every card becomes unique.
Step 5: Personalize Each Card
Make every welcome card extra special by adding:
- The student’s name
- The teacher’s name
- The school name
- The class grade
- The date
- A favorite quote
Personal touches make each card feel meaningful.
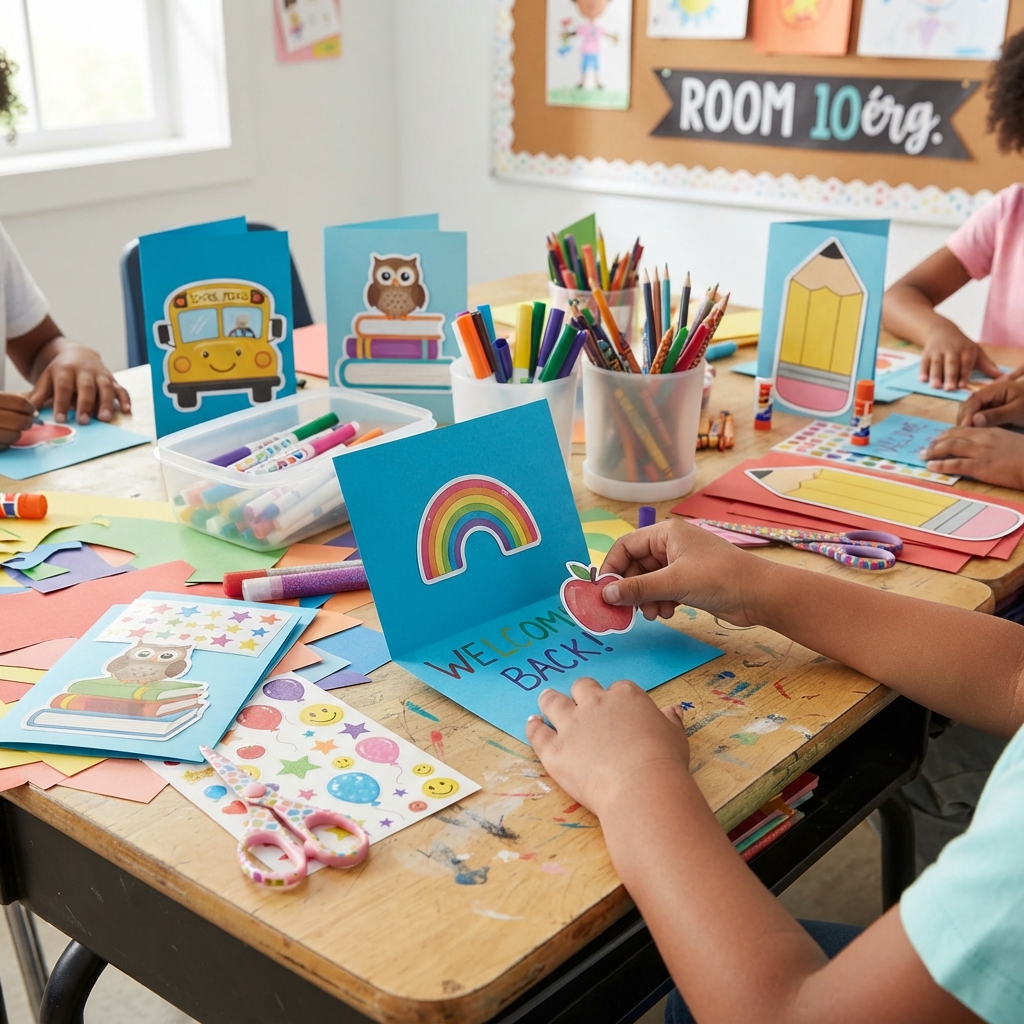
Creative Card Themes
Rainbow Welcome Card
Decorate with colorful rainbows, clouds, and sunshine.
Apple Card
Create a large red apple with a friendly smile.
Pencil-Shaped Card
Cut the card into the shape of a giant pencil.
School Bus Card
Design a cheerful yellow school bus filled with smiling students.
Owl Welcome Card
Use a wise owl sitting on a stack of books.
Backpack Card
Make the front cover look like a colorful school backpack.
Crayon Card
Decorate with bright crayons and paint splashes.
Fun Messages to Include
Here are some cheerful ideas:
- Learning is an Adventure!
- Shine Bright This School Year!
- You Can Do Great Things!
- Every Day Is a New Chance to Learn!
- Believe in Yourself!
- Dream Big and Learn More!
- Let’s Make Wonderful Memories!
Positive messages help children feel encouraged.
Educational Benefits
Making welcome cards helps children practice valuable skills.
They learn:
- Cutting
- Folding
- Gluing
- Drawing
- Handwriting
- Creative thinking
- Fine motor coordination
- Communication
Craft projects also improve patience and attention to detail.
Classroom Activity Idea
Teachers can organize a welcome card workshop during the first week of school.
Each student creates a card for a classmate. After everyone finishes, students exchange cards and introduce themselves.
This activity helps build friendships and creates a welcoming classroom community.
Eco-Friendly Craft Idea
Recycle old materials to create beautiful cards.
Children can use:
- Scrap paper
- Old magazines
- Gift wrap
- Fabric scraps
- Buttons
- Recycled cardboard
This teaches environmental responsibility while encouraging creativity.
Tips for Beautiful Welcome Cards
For the best results:
- Use thick paper for durability.
- Fold carefully for neat edges.
- Write clearly and neatly.
- Avoid adding too much glue.
- Use bright, cheerful colors.
- Leave enough space for the message.
- Let children express their own creativity.
Remember, every handmade card is special because it is made with care.
Display the Cards
Once finished, the welcome cards can be:
- Placed on students’ desks
- Hung on a classroom bulletin board
- Displayed near the classroom entrance
- Given as gifts to classmates
- Sent home as keepsakes
- Included in welcome packets
Displaying the cards adds warmth and excitement to the classroom.
Conclusion
Learning how to make back-to-school welcome cards is a fun and meaningful craft that helps children celebrate the beginning of a new school year. With simple materials and a little creativity, kids can design colorful cards that spread kindness, build friendships, and create lasting memories. Whether used by teachers, parents, or students, handmade welcome cards bring smiles, encourage creativity, and make every child feel valued from the very first day of school.
